Dragon 1/72 Churchill Mk. III, Dieppe 1942 - Paint Scheme: Dieppe Muddied
The model kit I actually bought was the “MK. III Fitted for Wading” edition, but I had intended to build the “Dieppe 1942” edition model since they use the same sprues. I managed to find a semi-high quality scan of the “Dieppe” instructions, but the two instructions were almost identical, save an extra step or two. This is my first time putting in decals and my second time weathering, although my first time with the knowledge of proper techniques. Someone I met through Patch Gaming paints miniatures and he taught me some weathering techniques and tips.
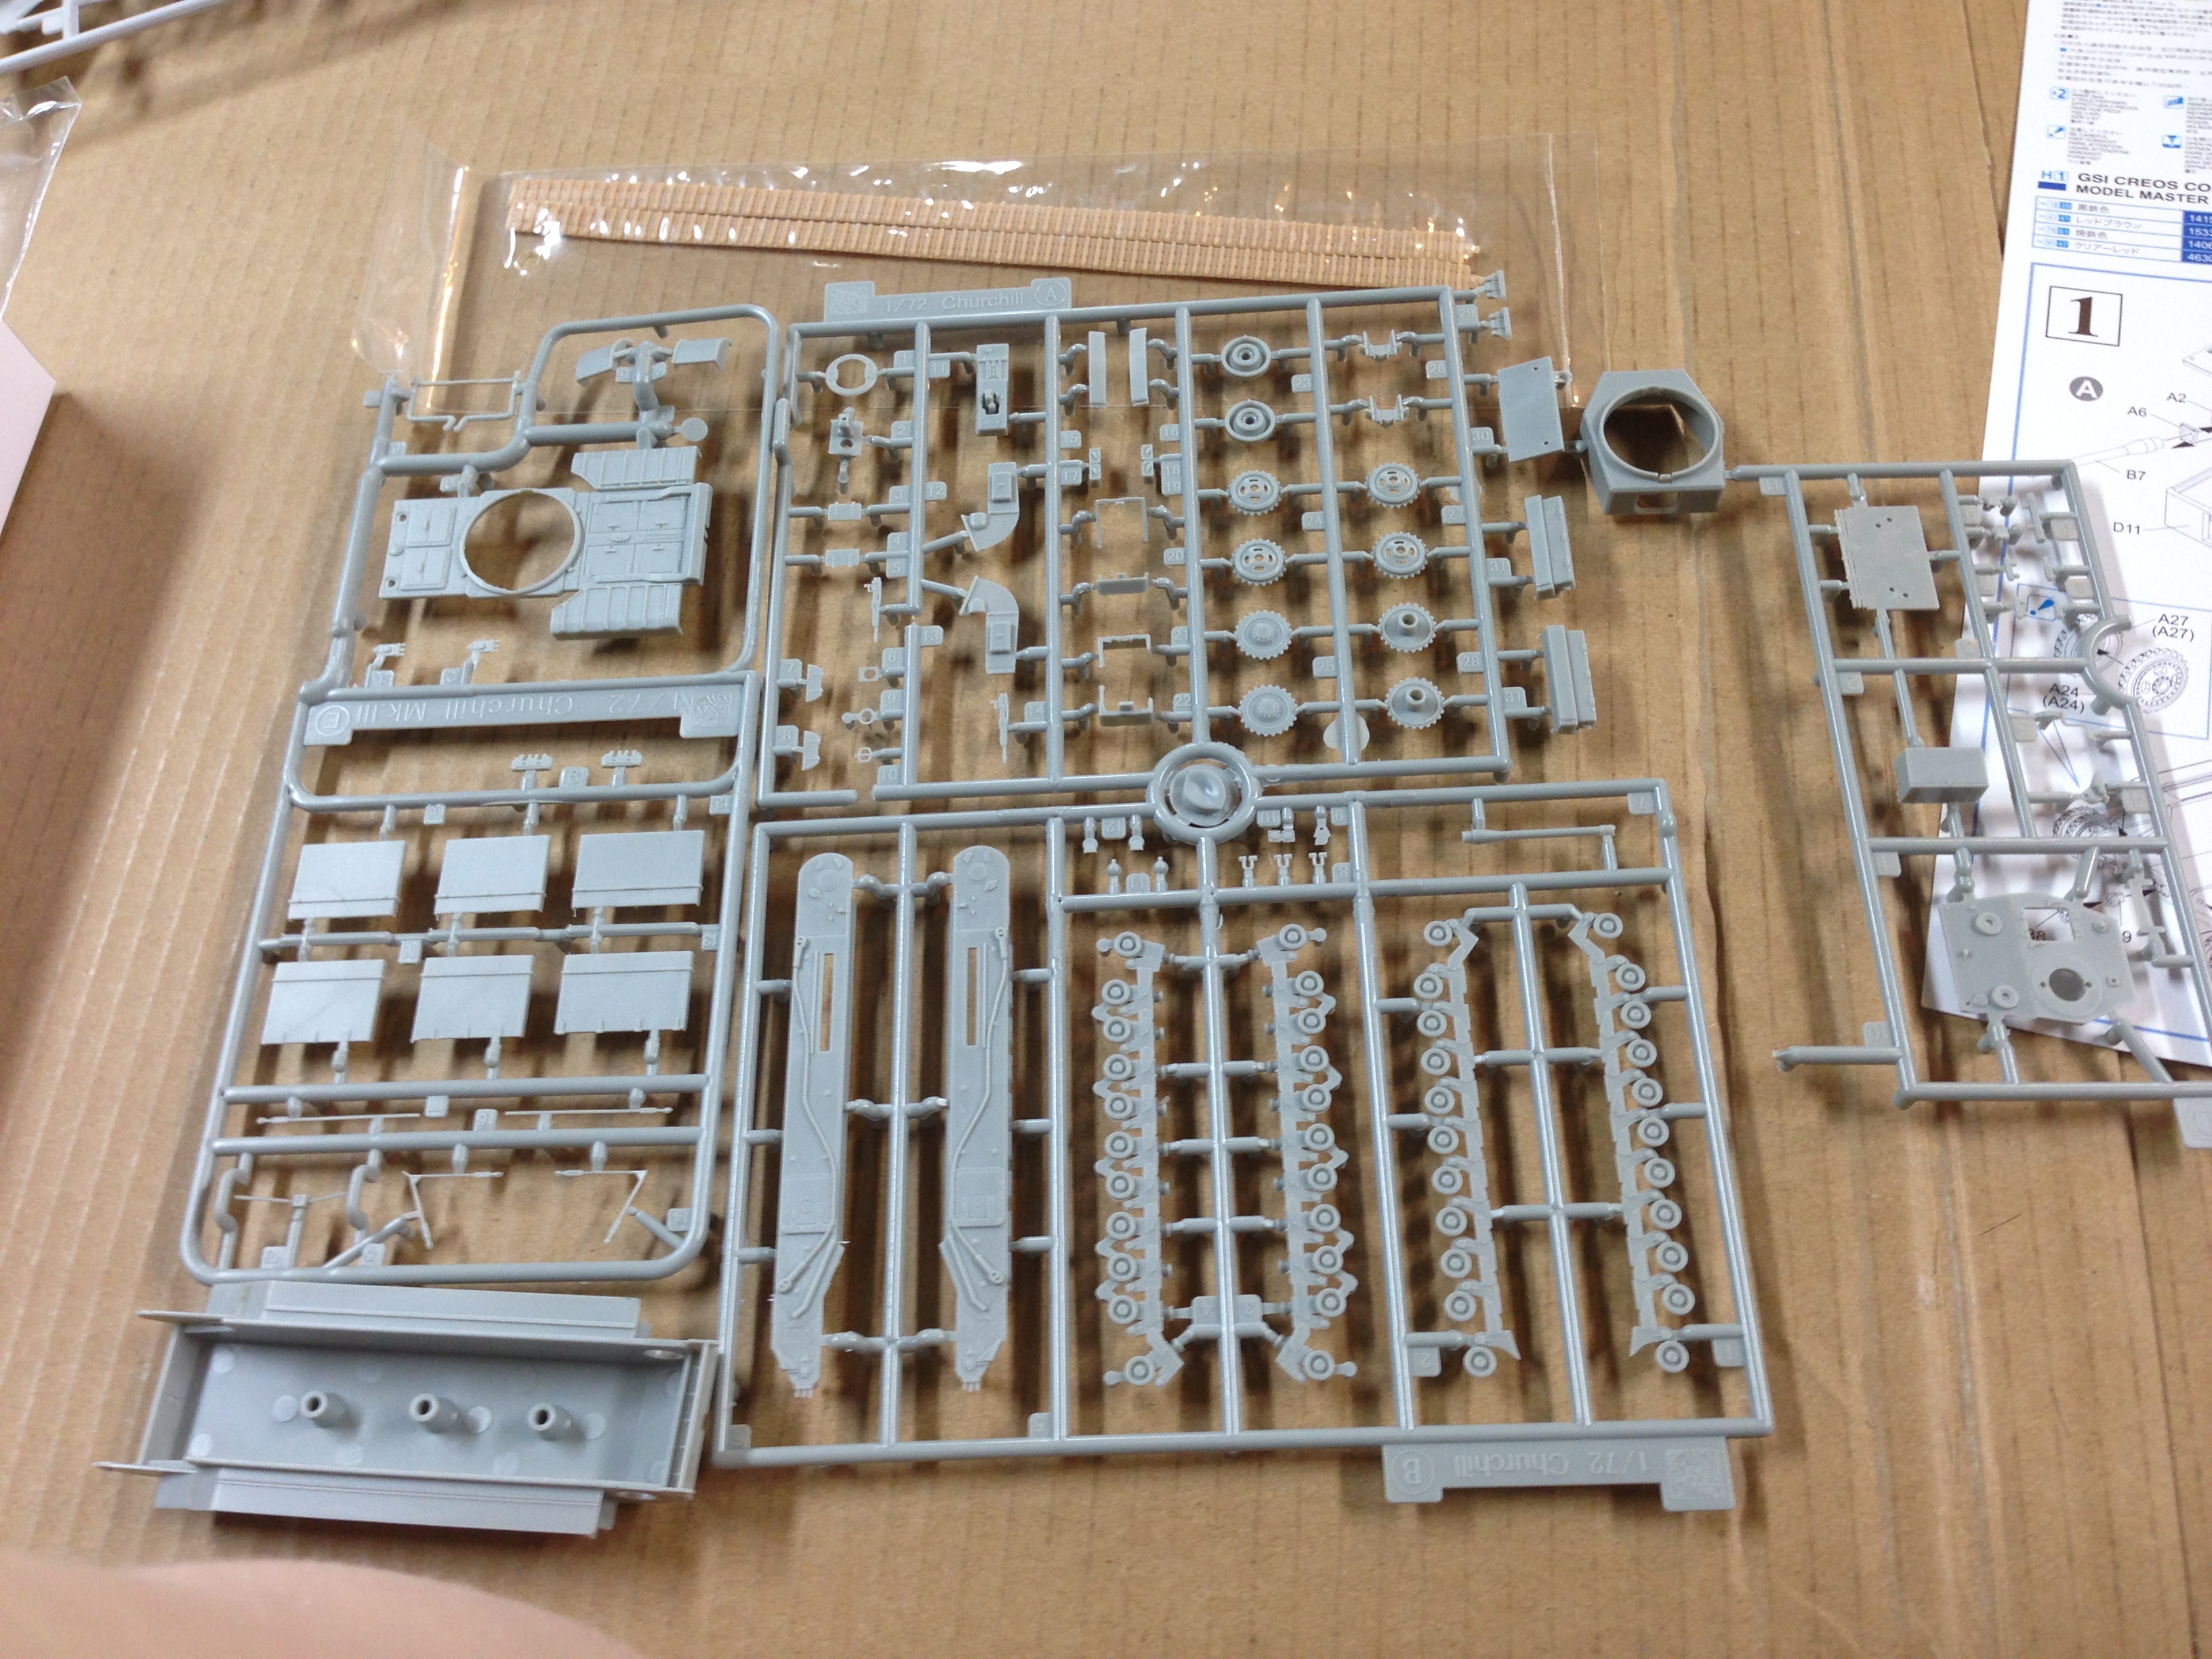
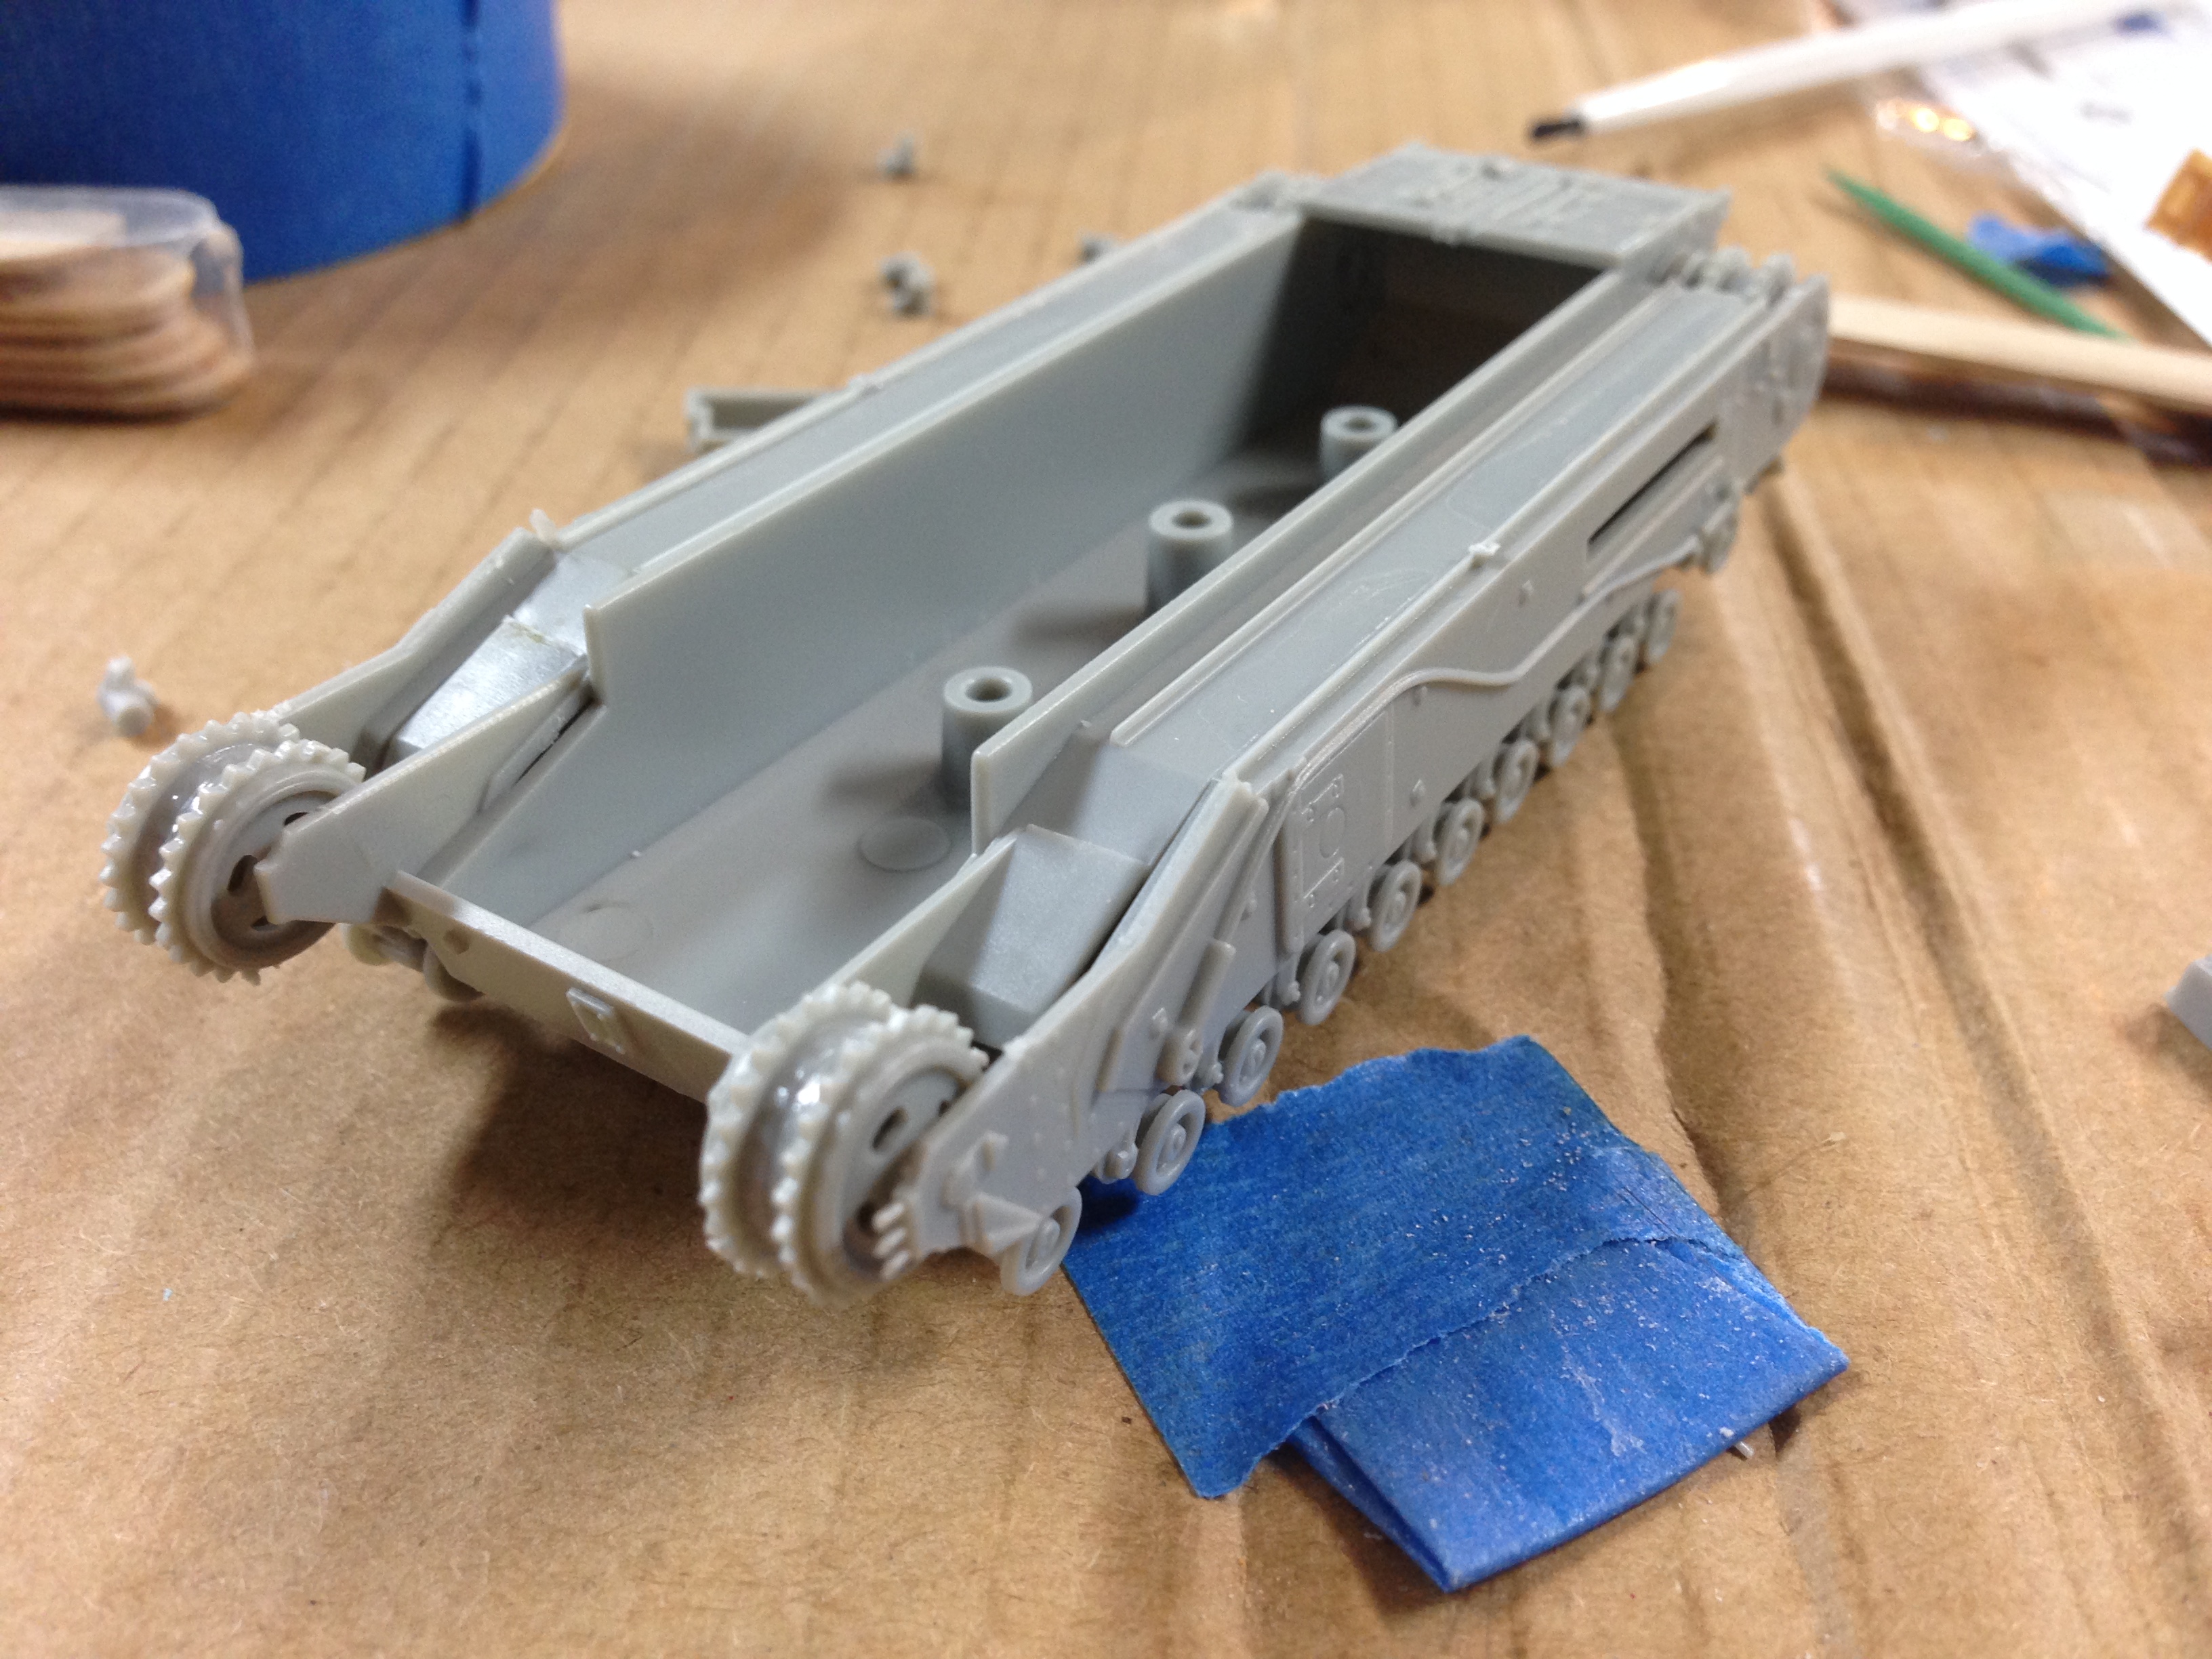
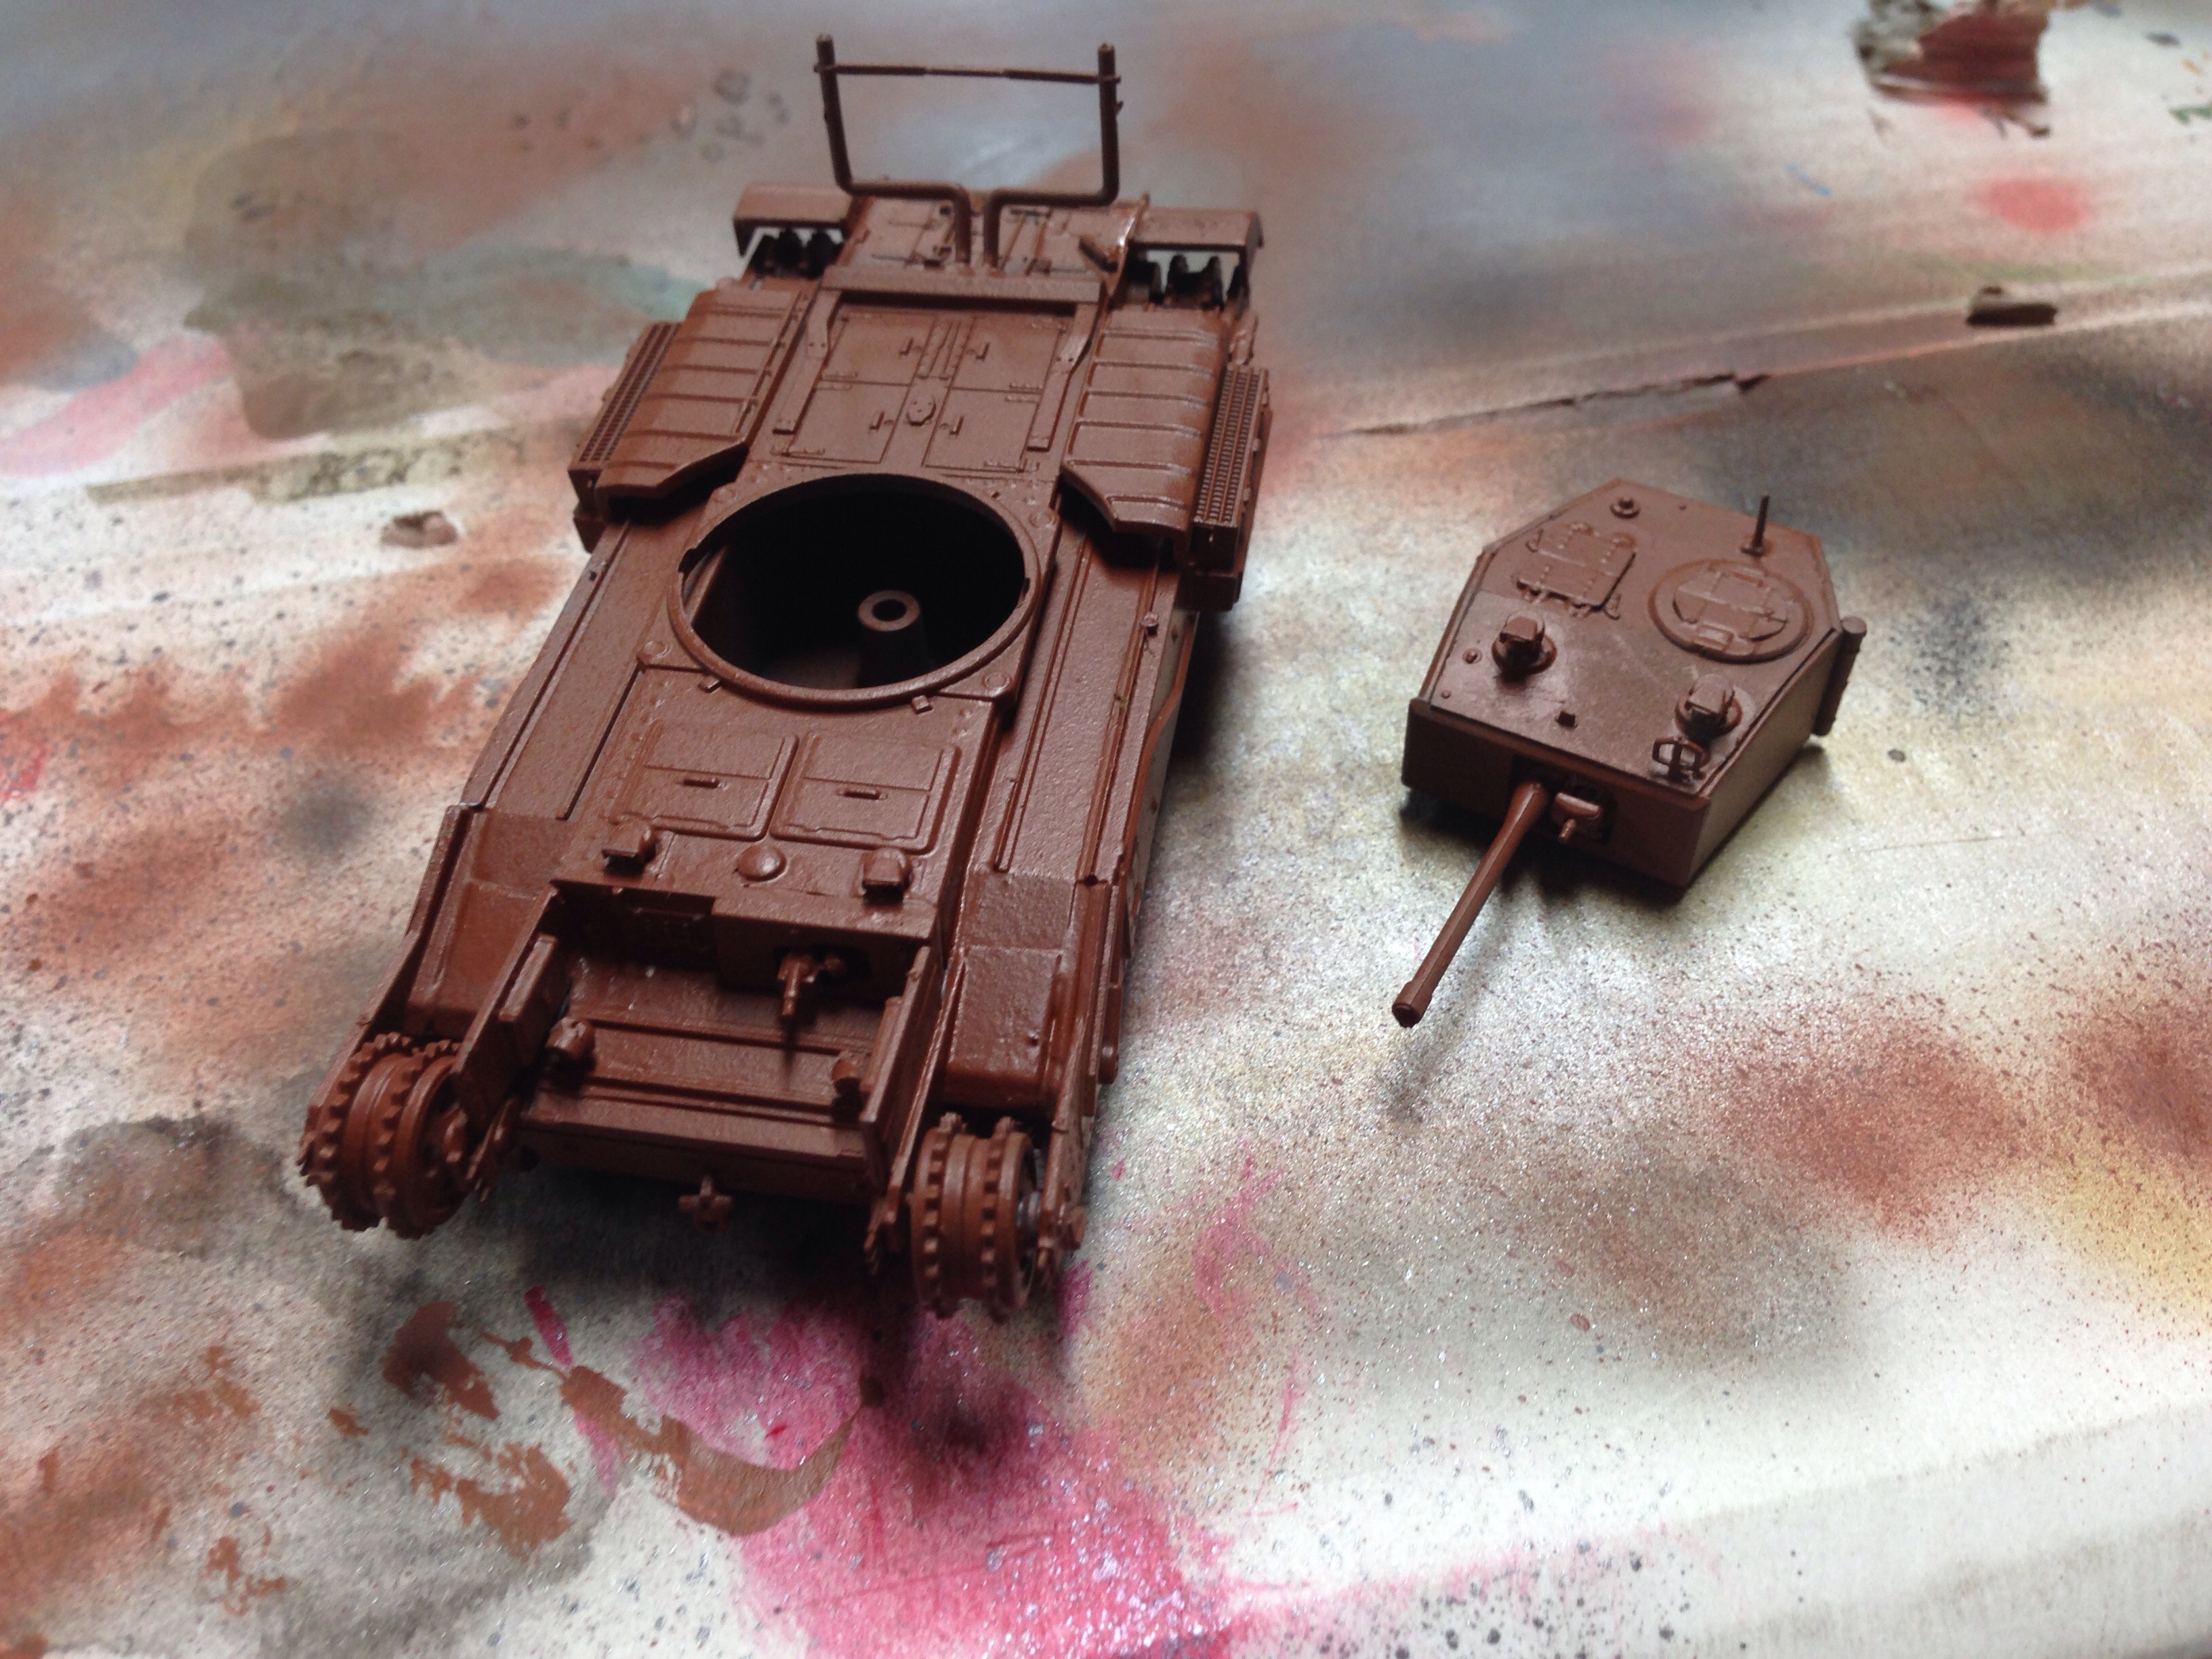
Step Zero - Taking note of the instructions and the sprue:
The the instructions were very clear and mostly concise in what I needed to do. The sprue did have a few issues, but all the parts seemed to be fine. I noted some parts that would be an issue, mainly the headlights, antennae, and exhaust pipes. I ended knocking off 1 of the headlights, all of the antennae dozens of times, and the exhaust pipes 5-6 times.
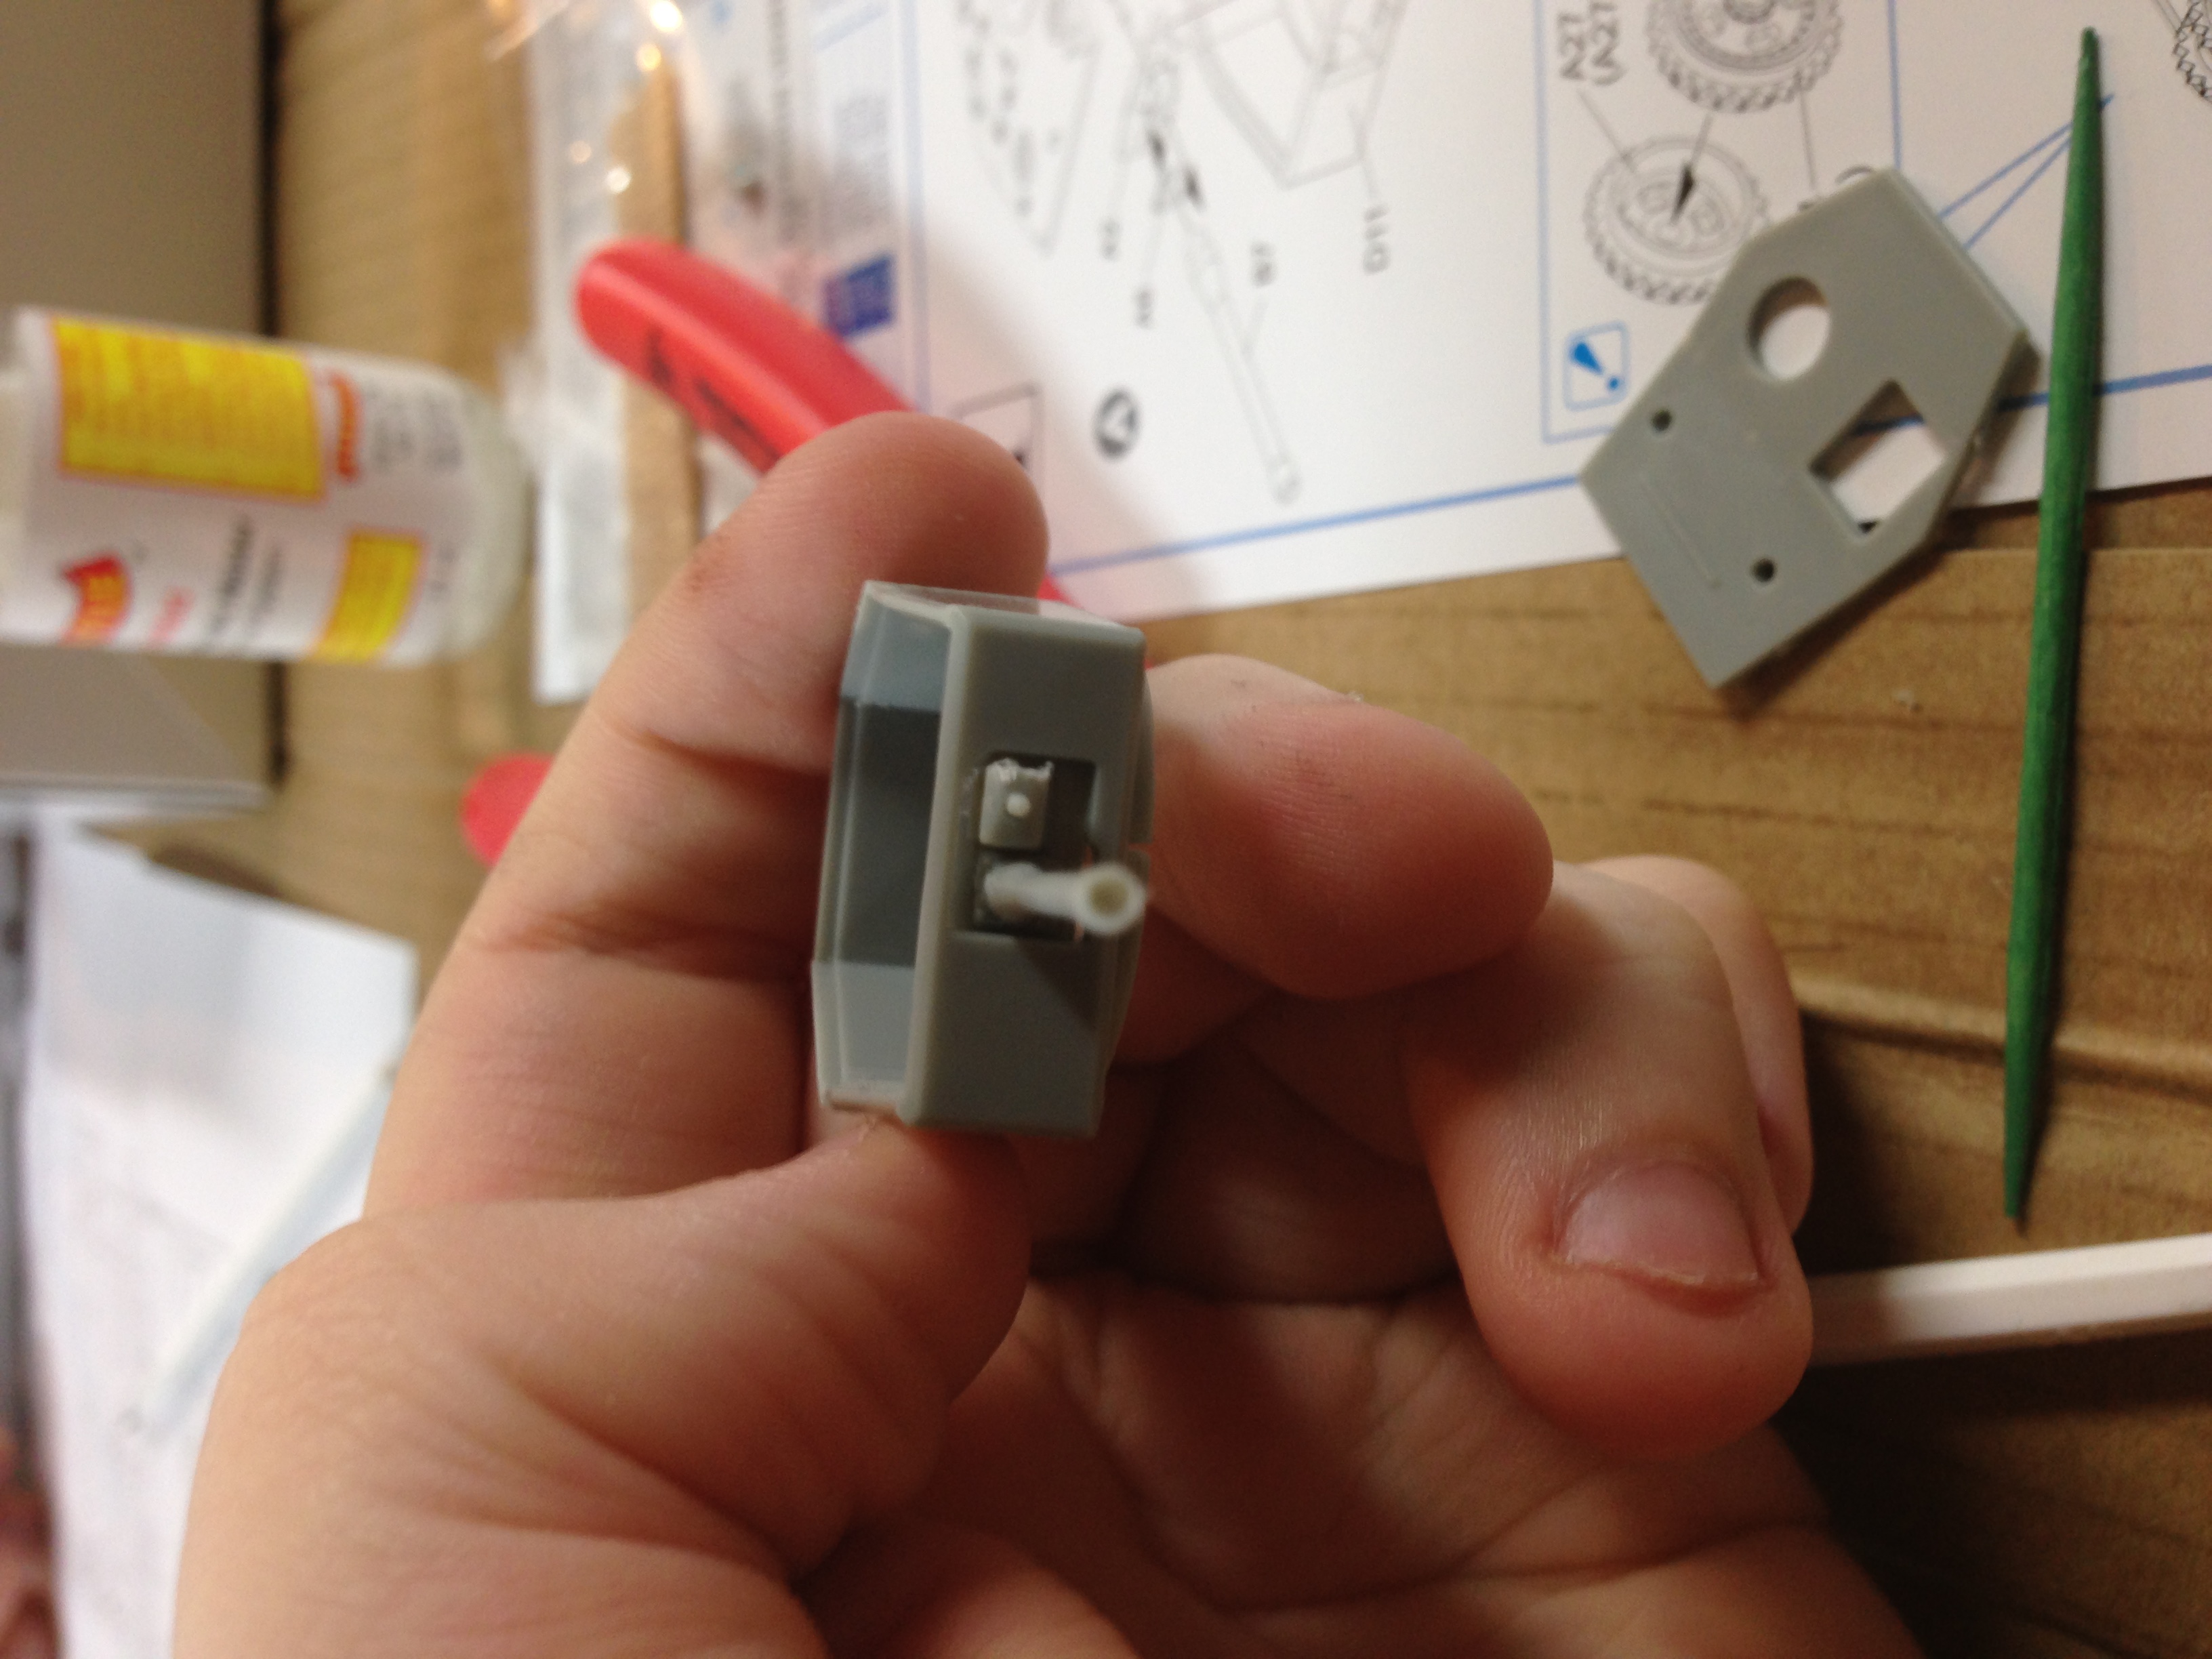
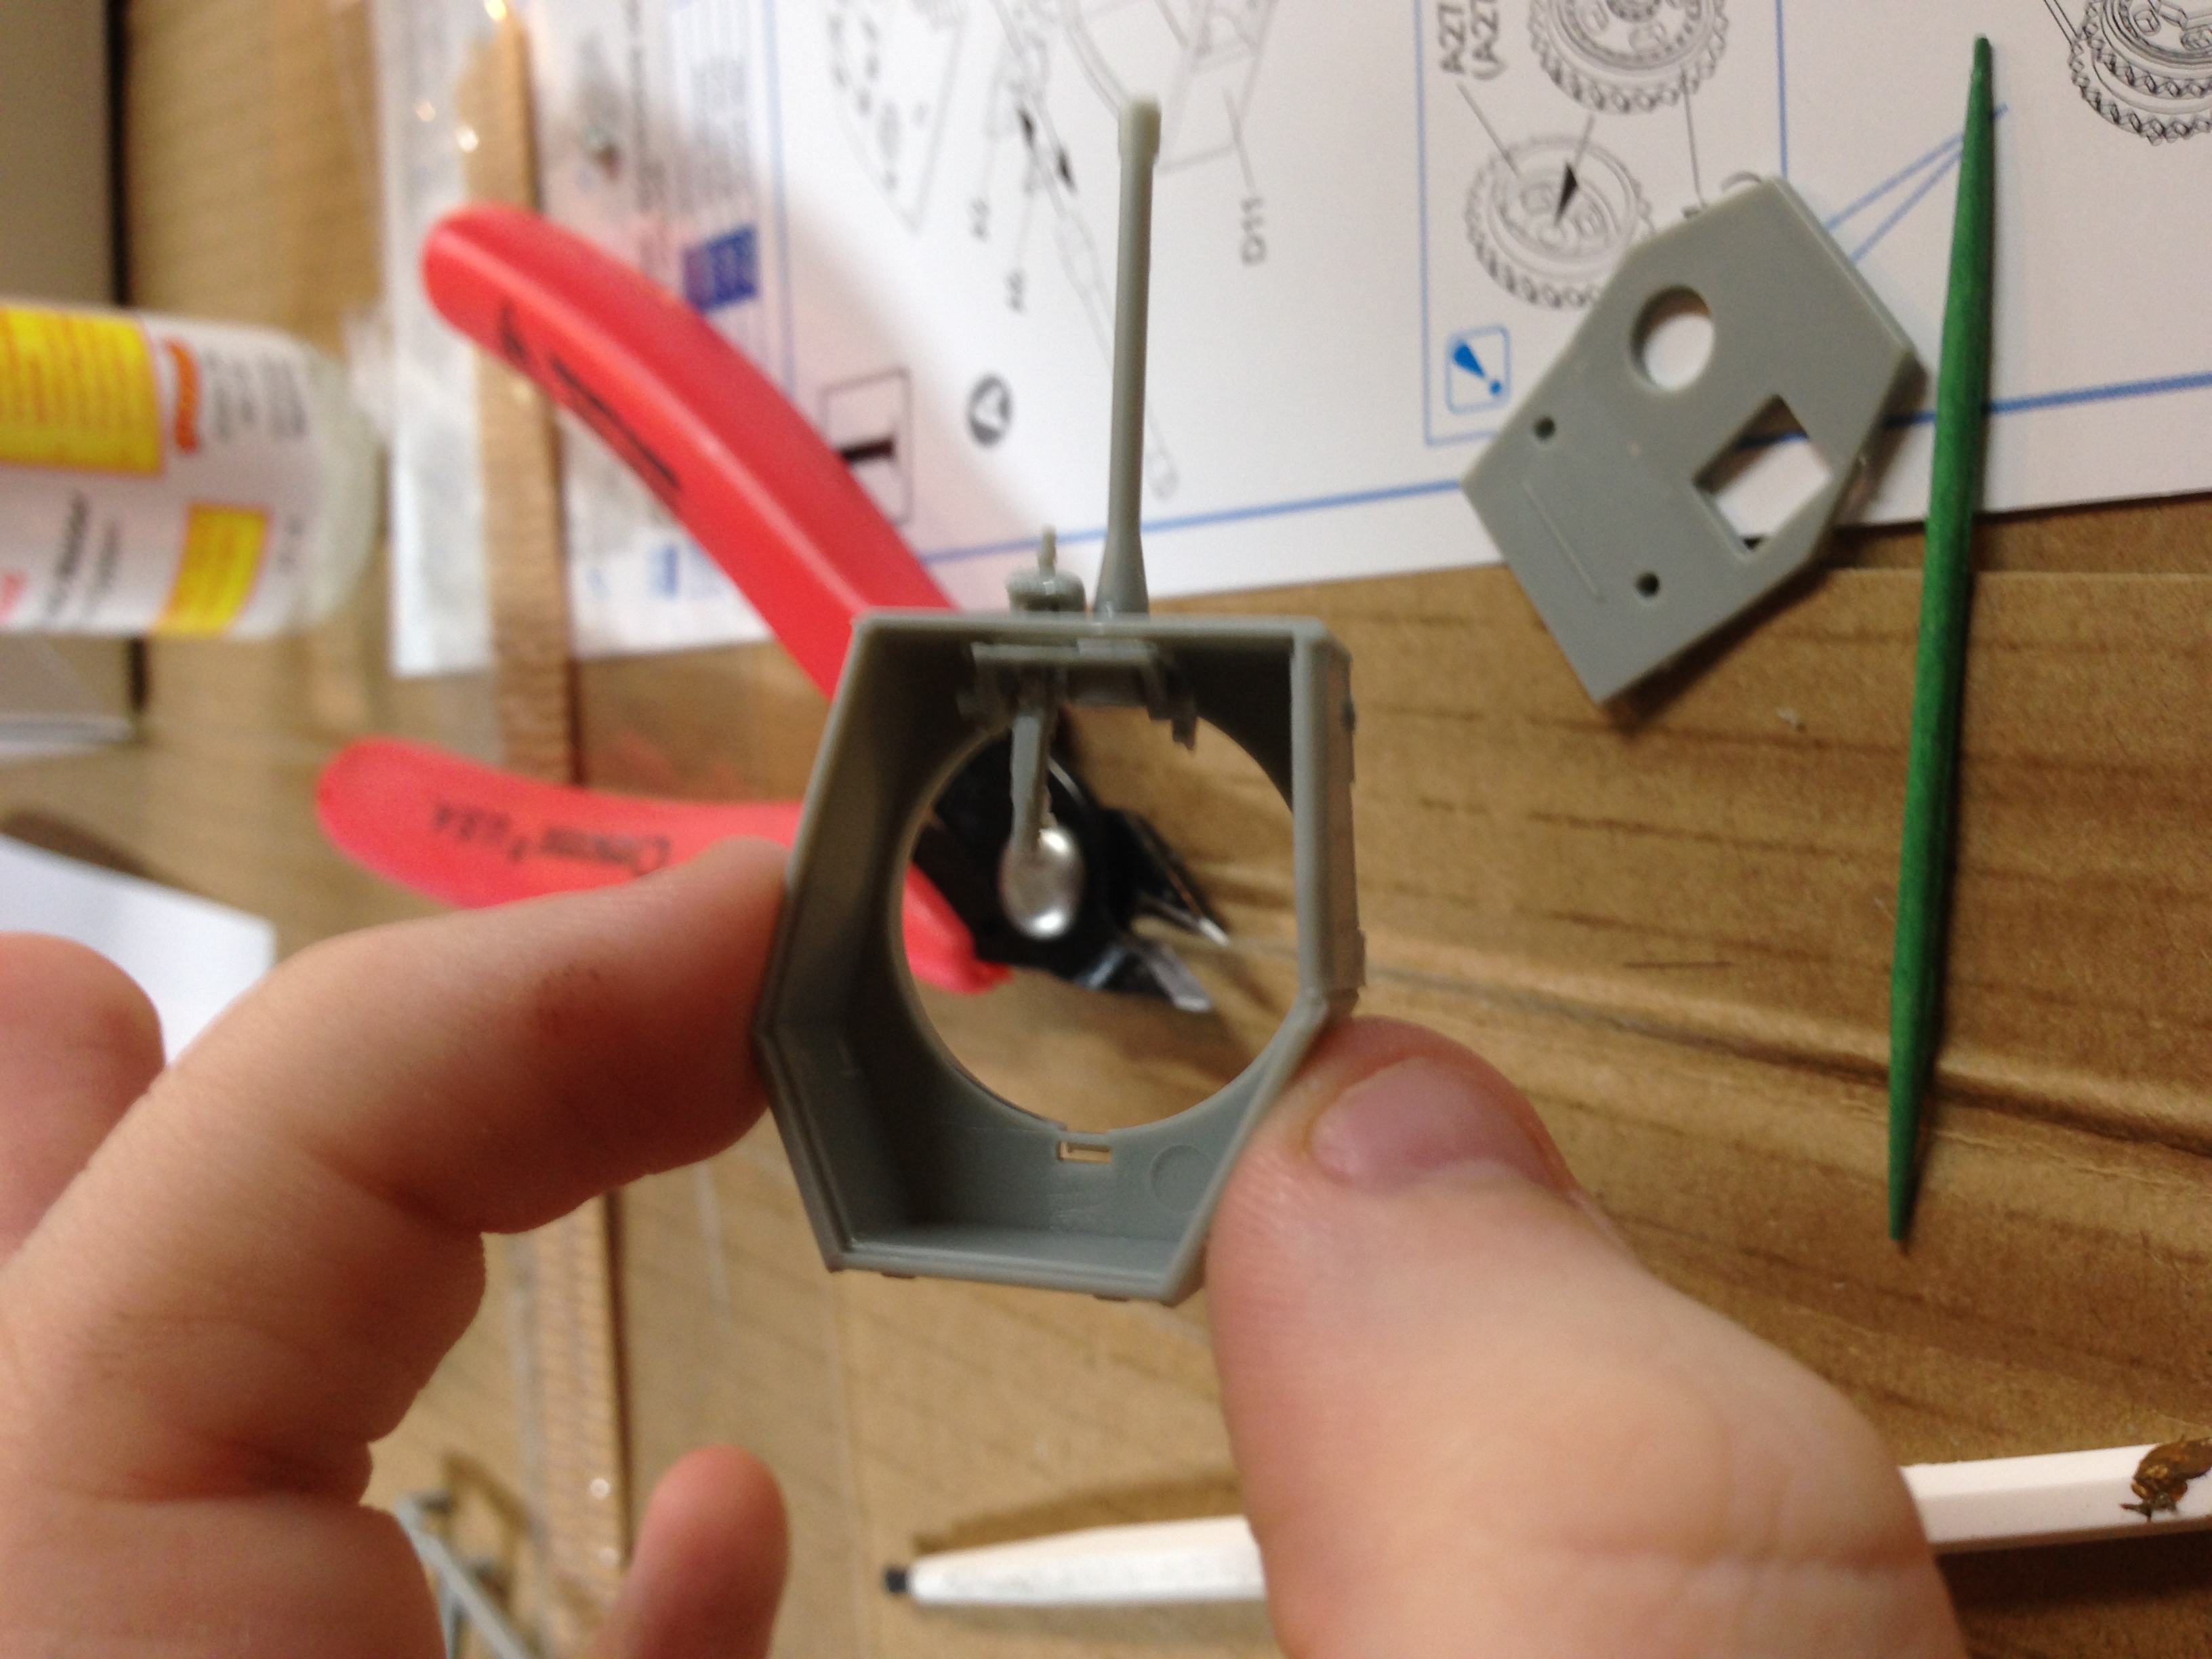
Step One - Assembly:
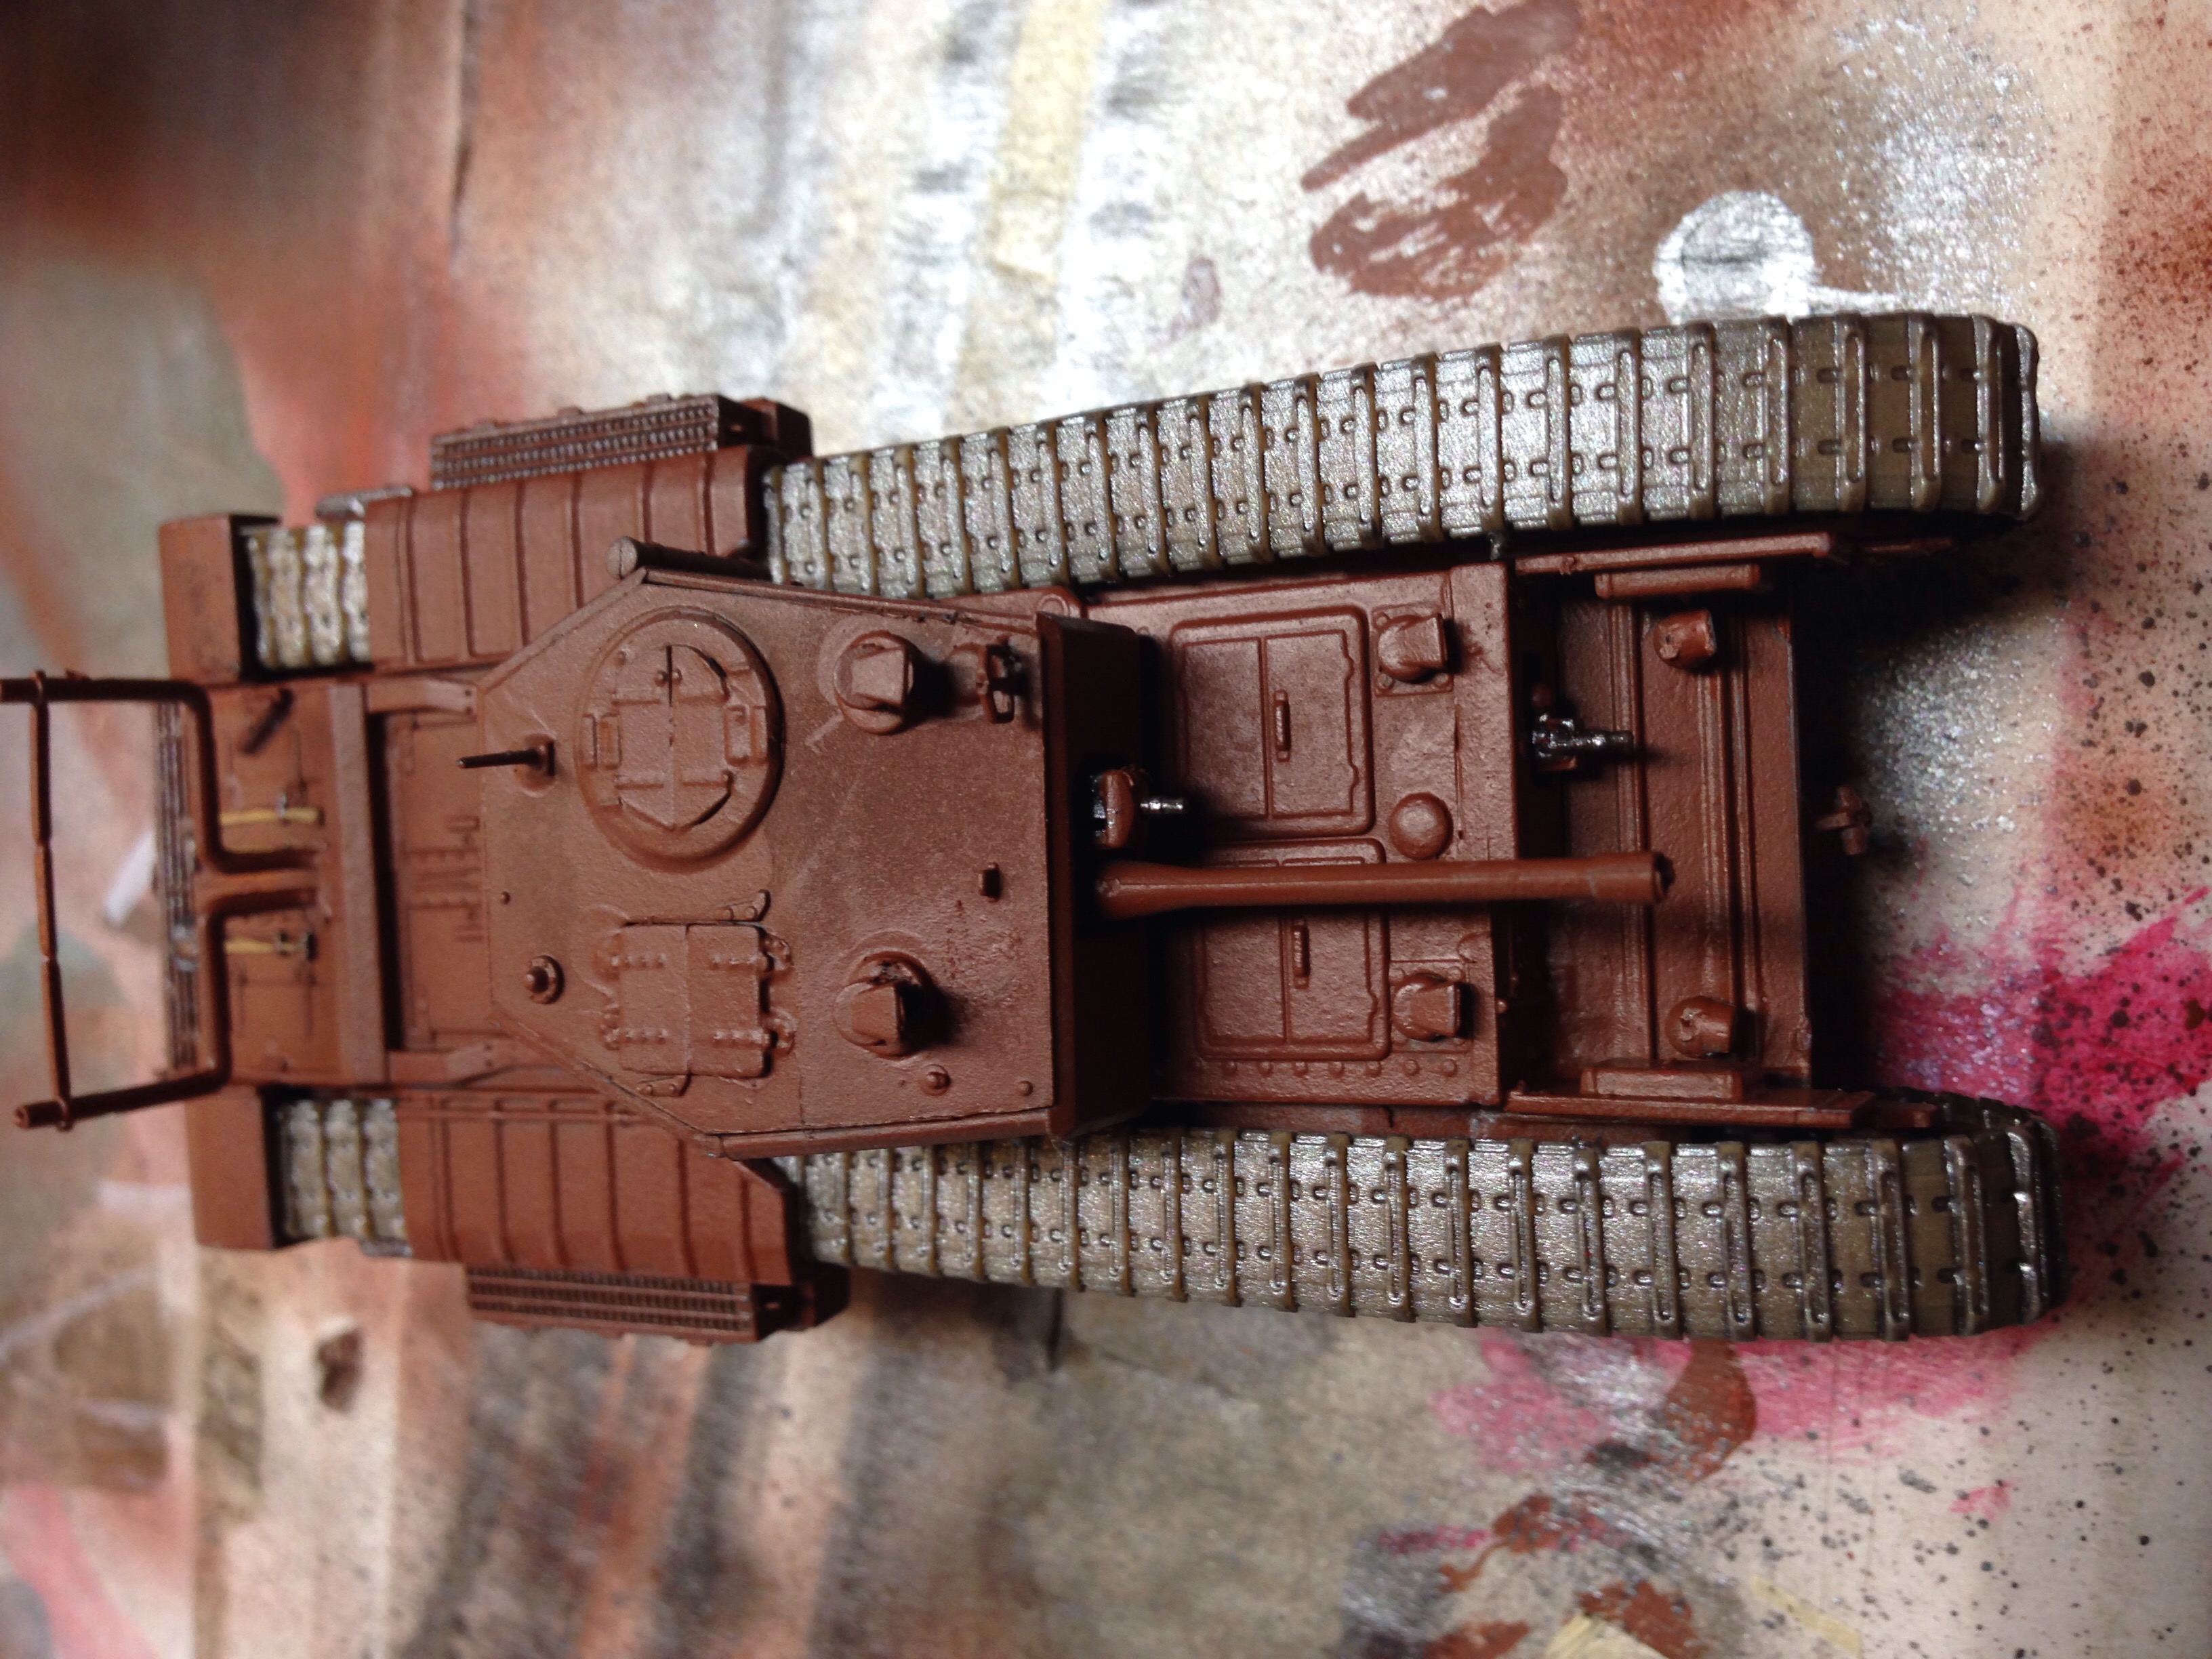
This was pretty easy to do. The instructions were clear on what needed to be done for everything to come together, however I did adjust the order of several things. I painted under the track guard before I glued it on to ensure it had some color of I could not reach it once it was glued on. I attached the rear track “wells”, but I held off on attaching the tracks until the model was painted and I forgot to attach the headlights until after the side walls were connected, so I had to angle and force them in. The front left gear/side panel never fit right, so it is a little bent and does not freely move like the other one. The rear gears are another story though, the instructions have you gluing a tiny piece between the side panned and the frame, but the issue is there is no good place for it to glue to, the is not even a pin that it slides into. I finally was able to attach it, but I needed my brother to help me hold the model.
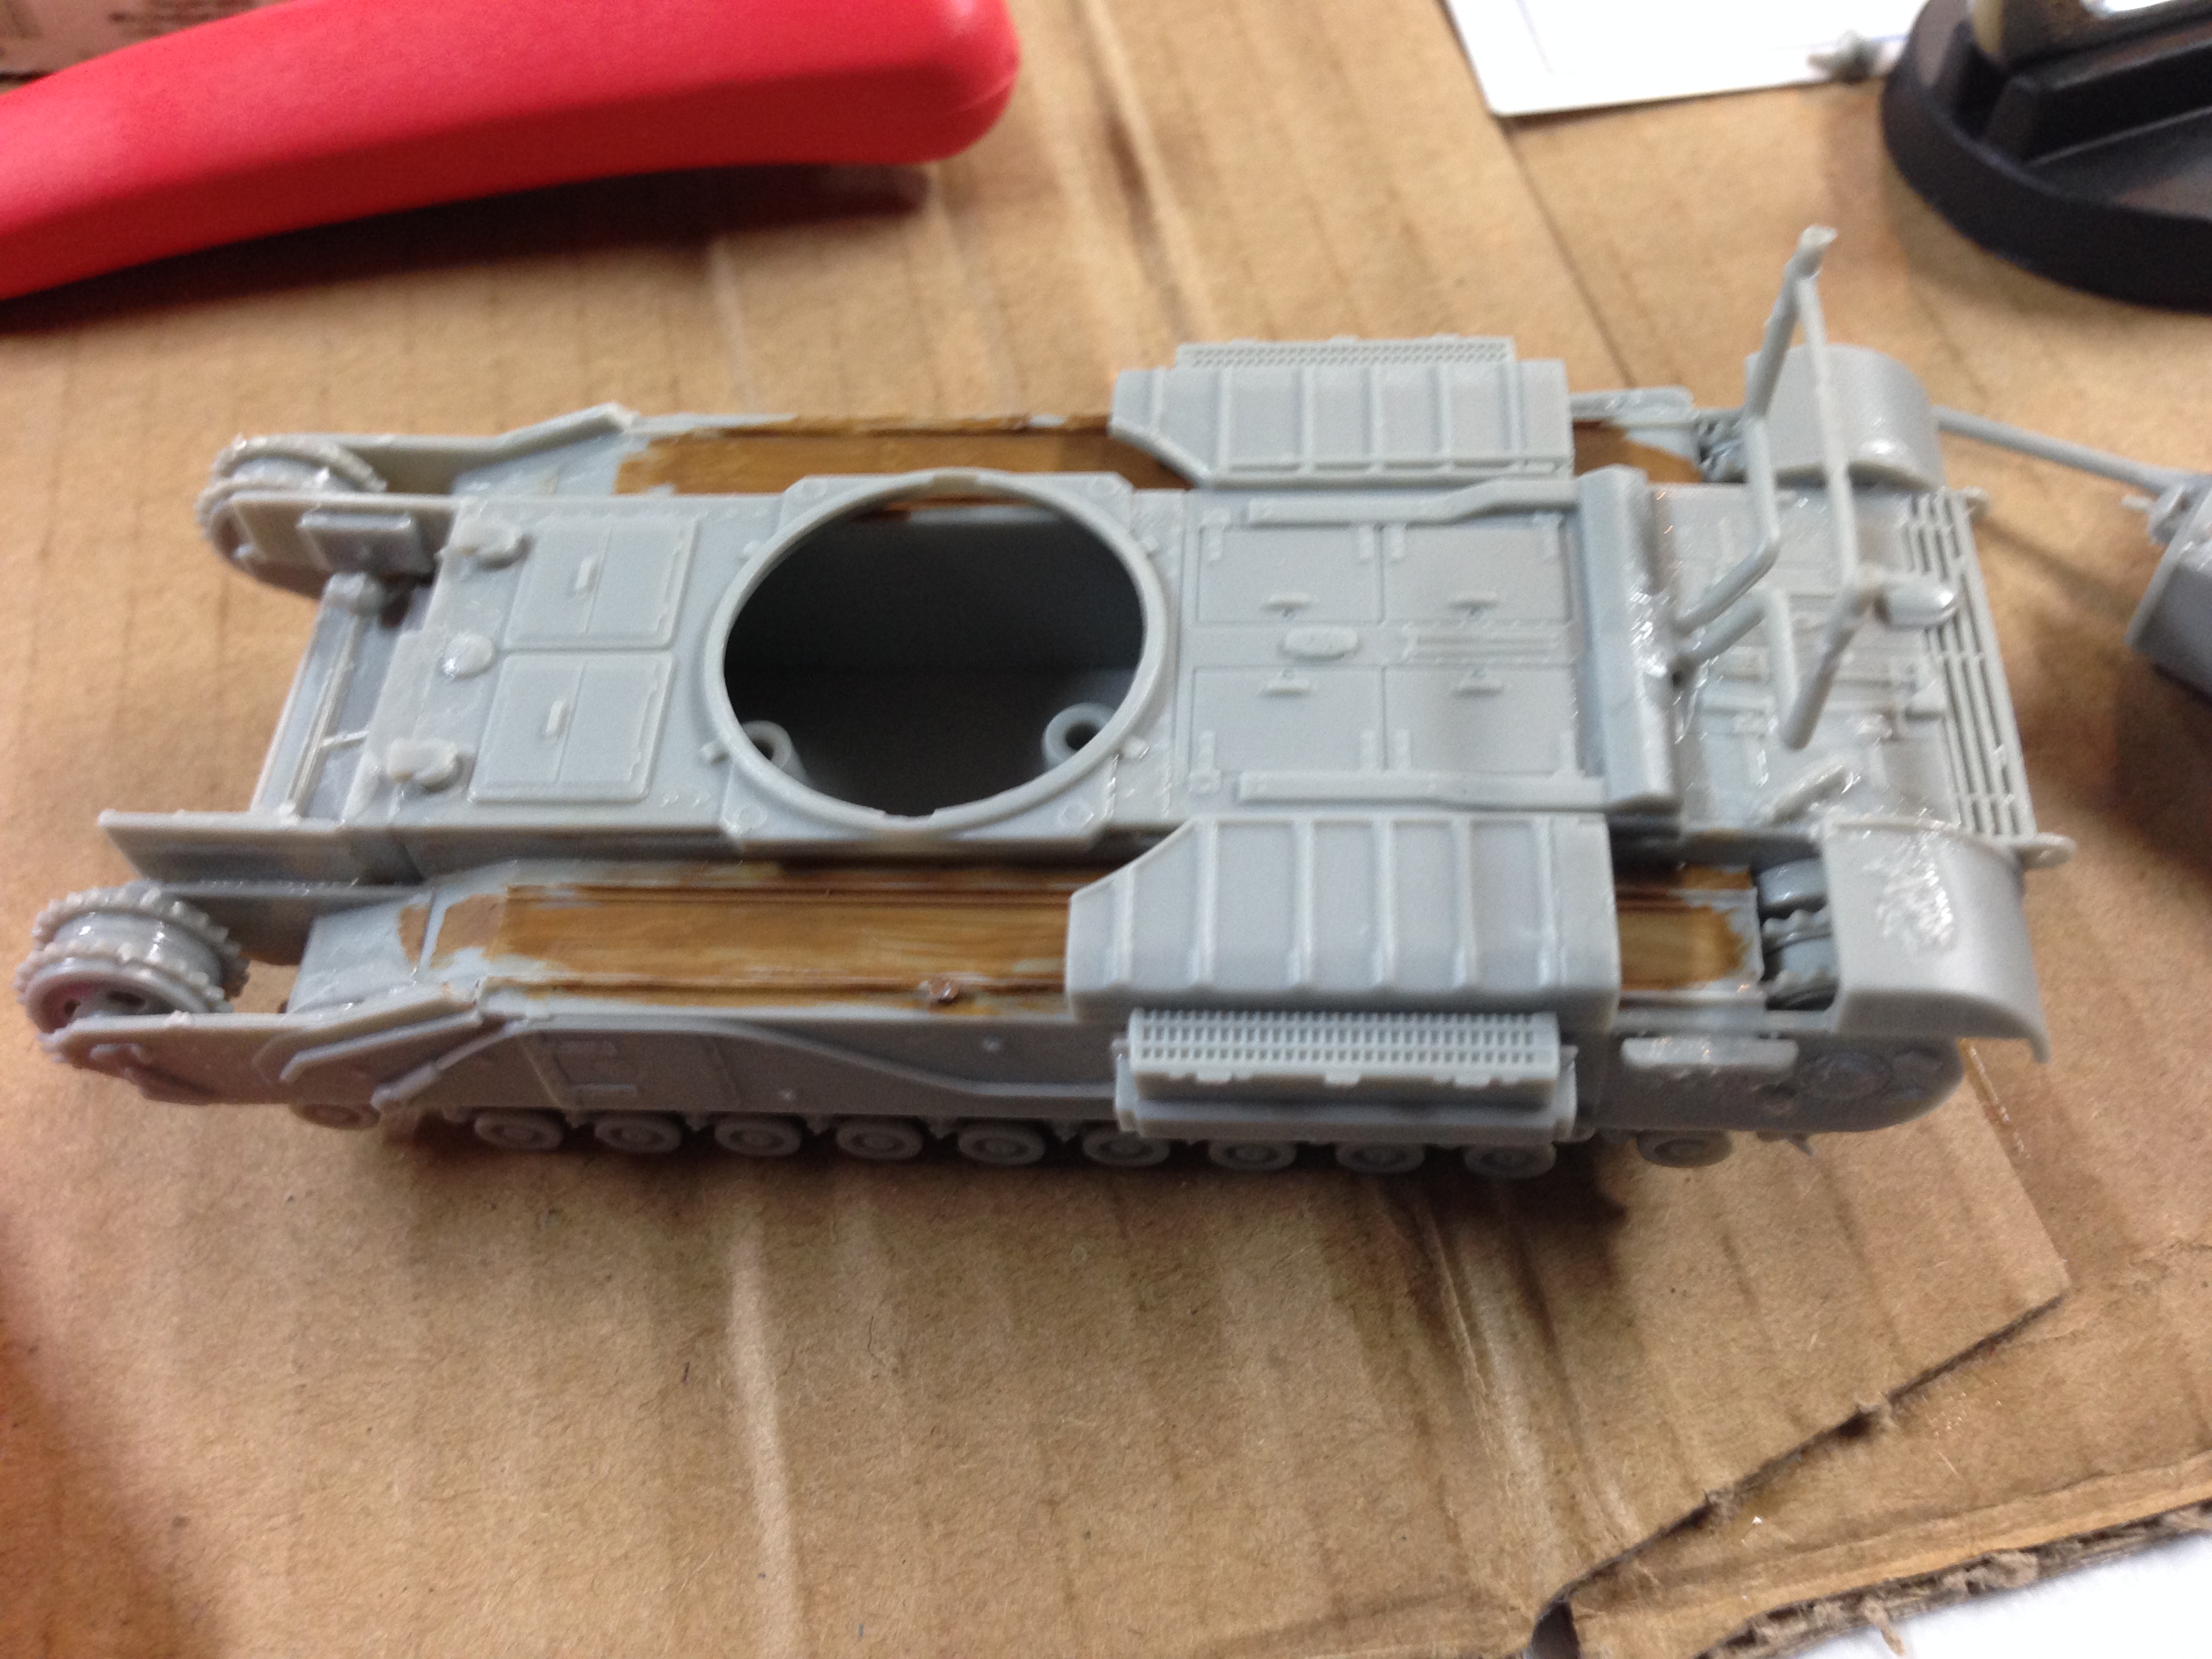

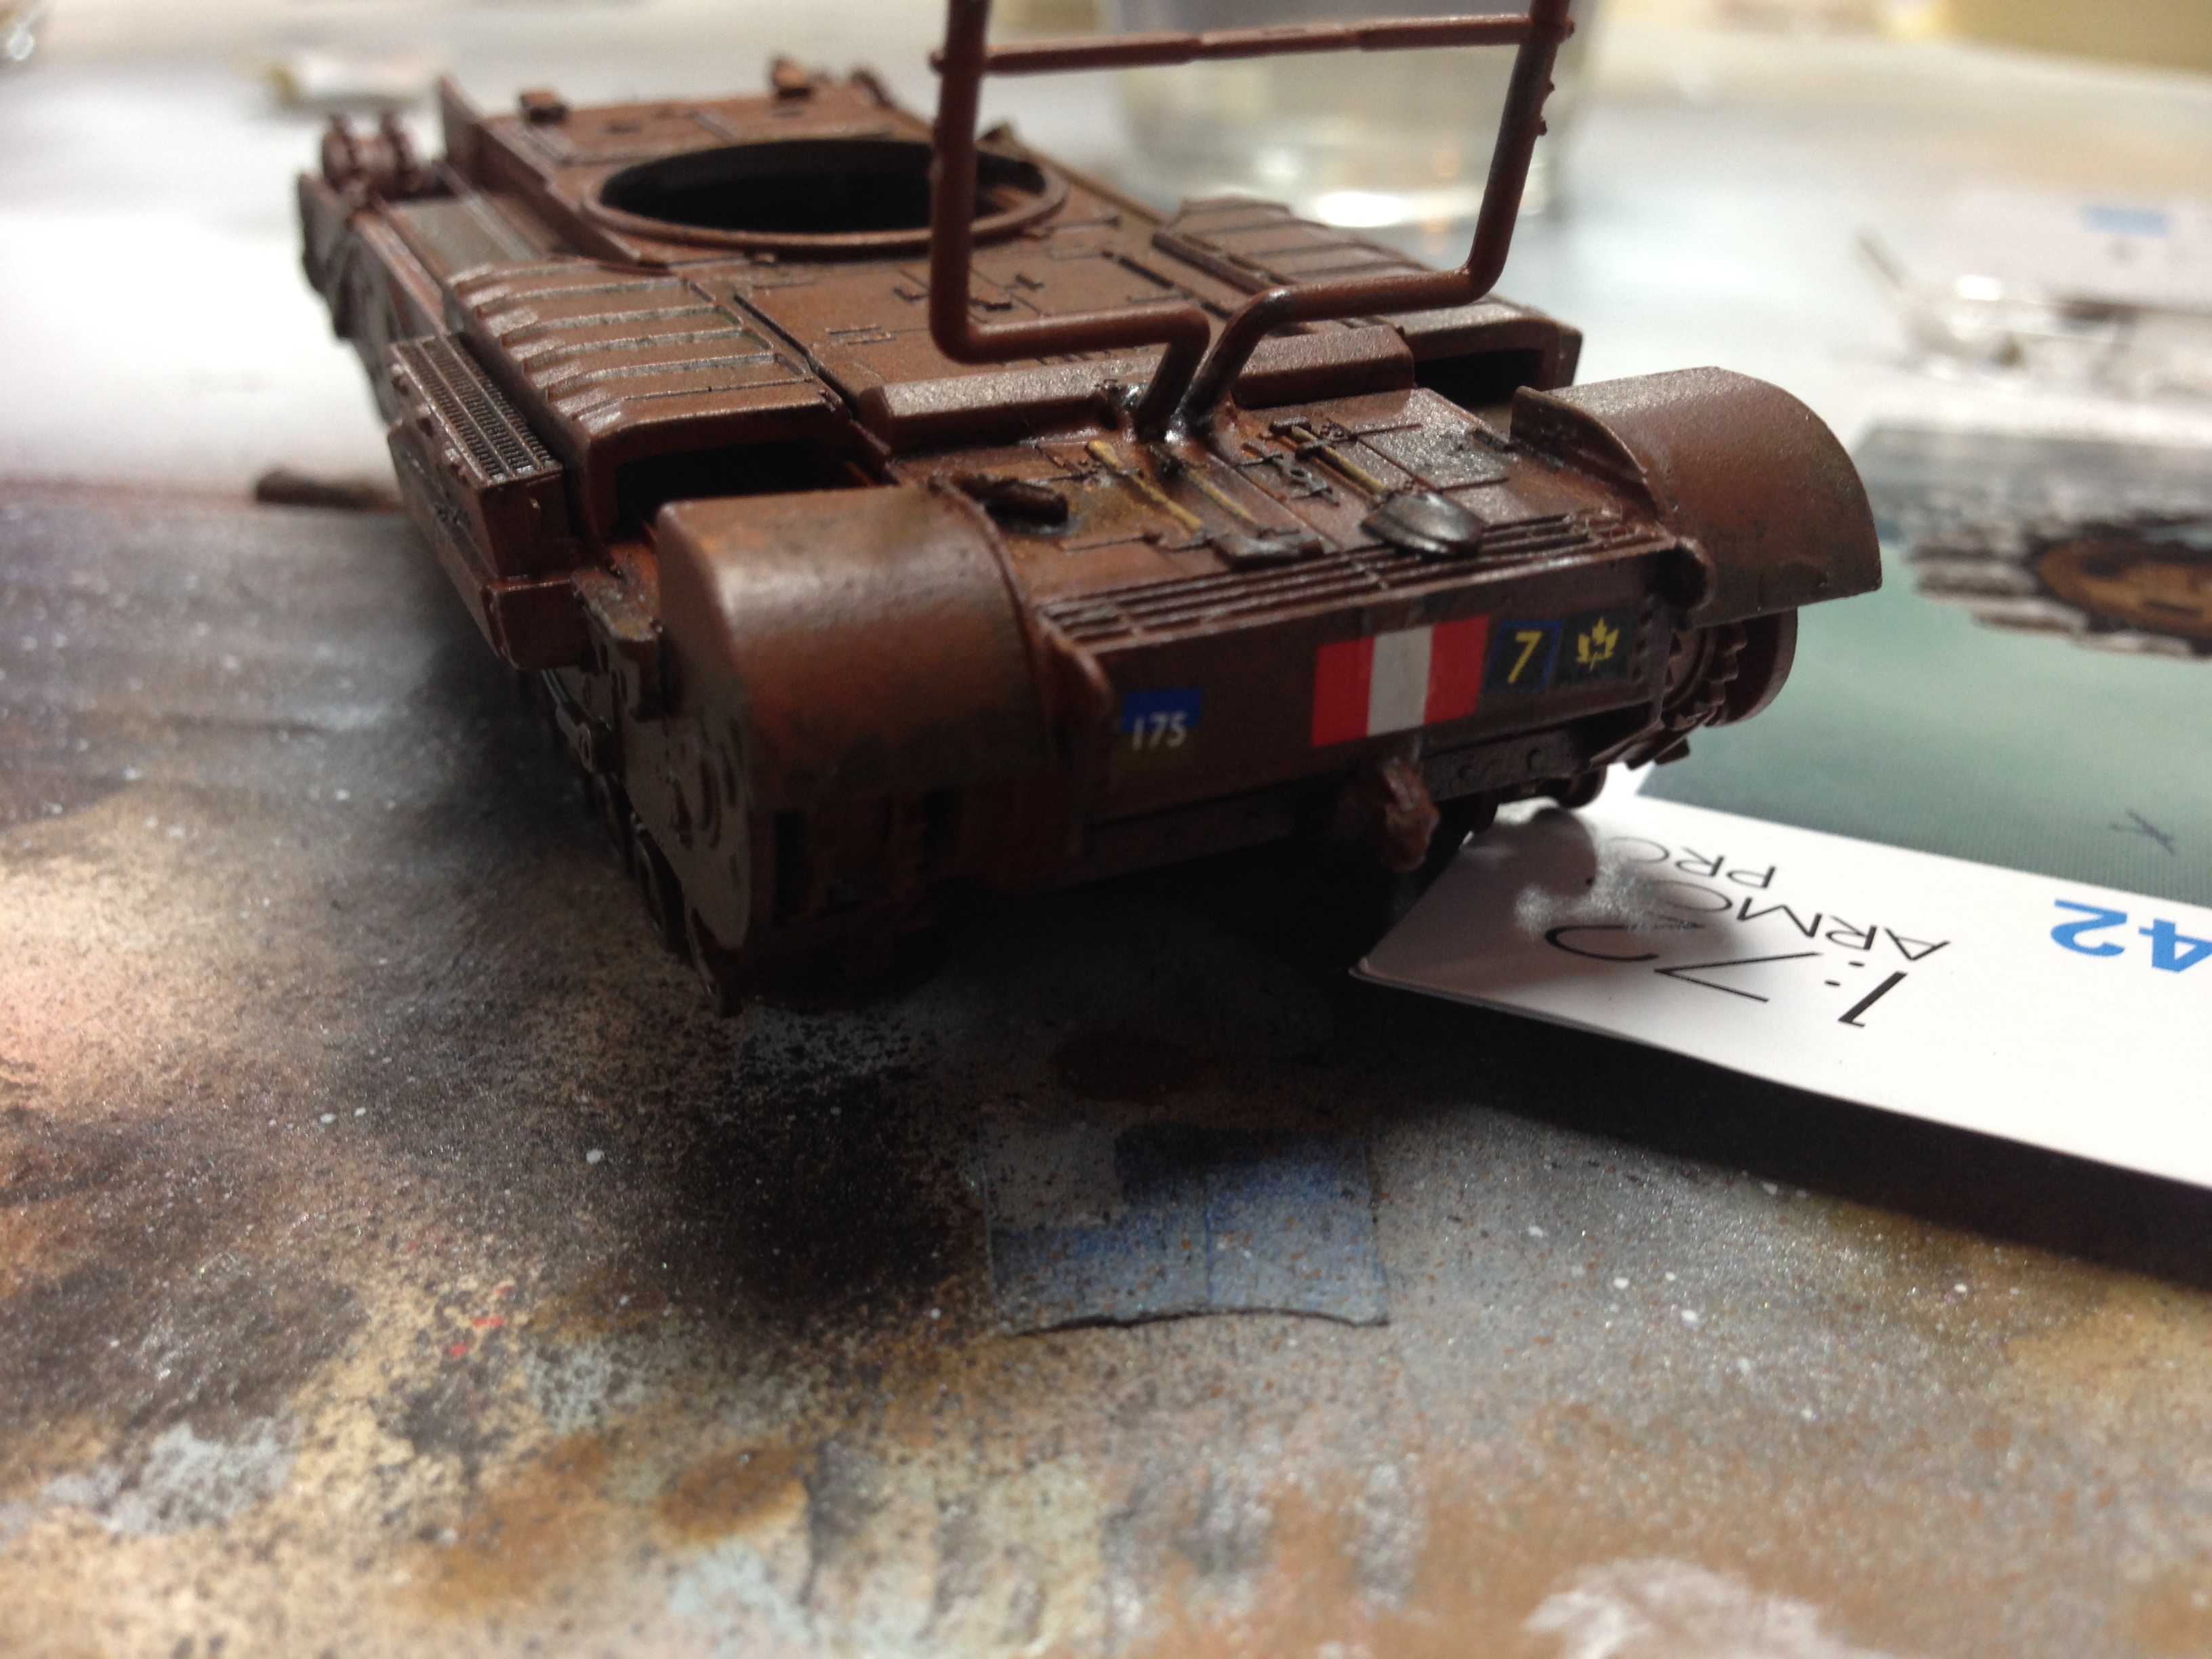
Step Two - Painting the Base Coat:
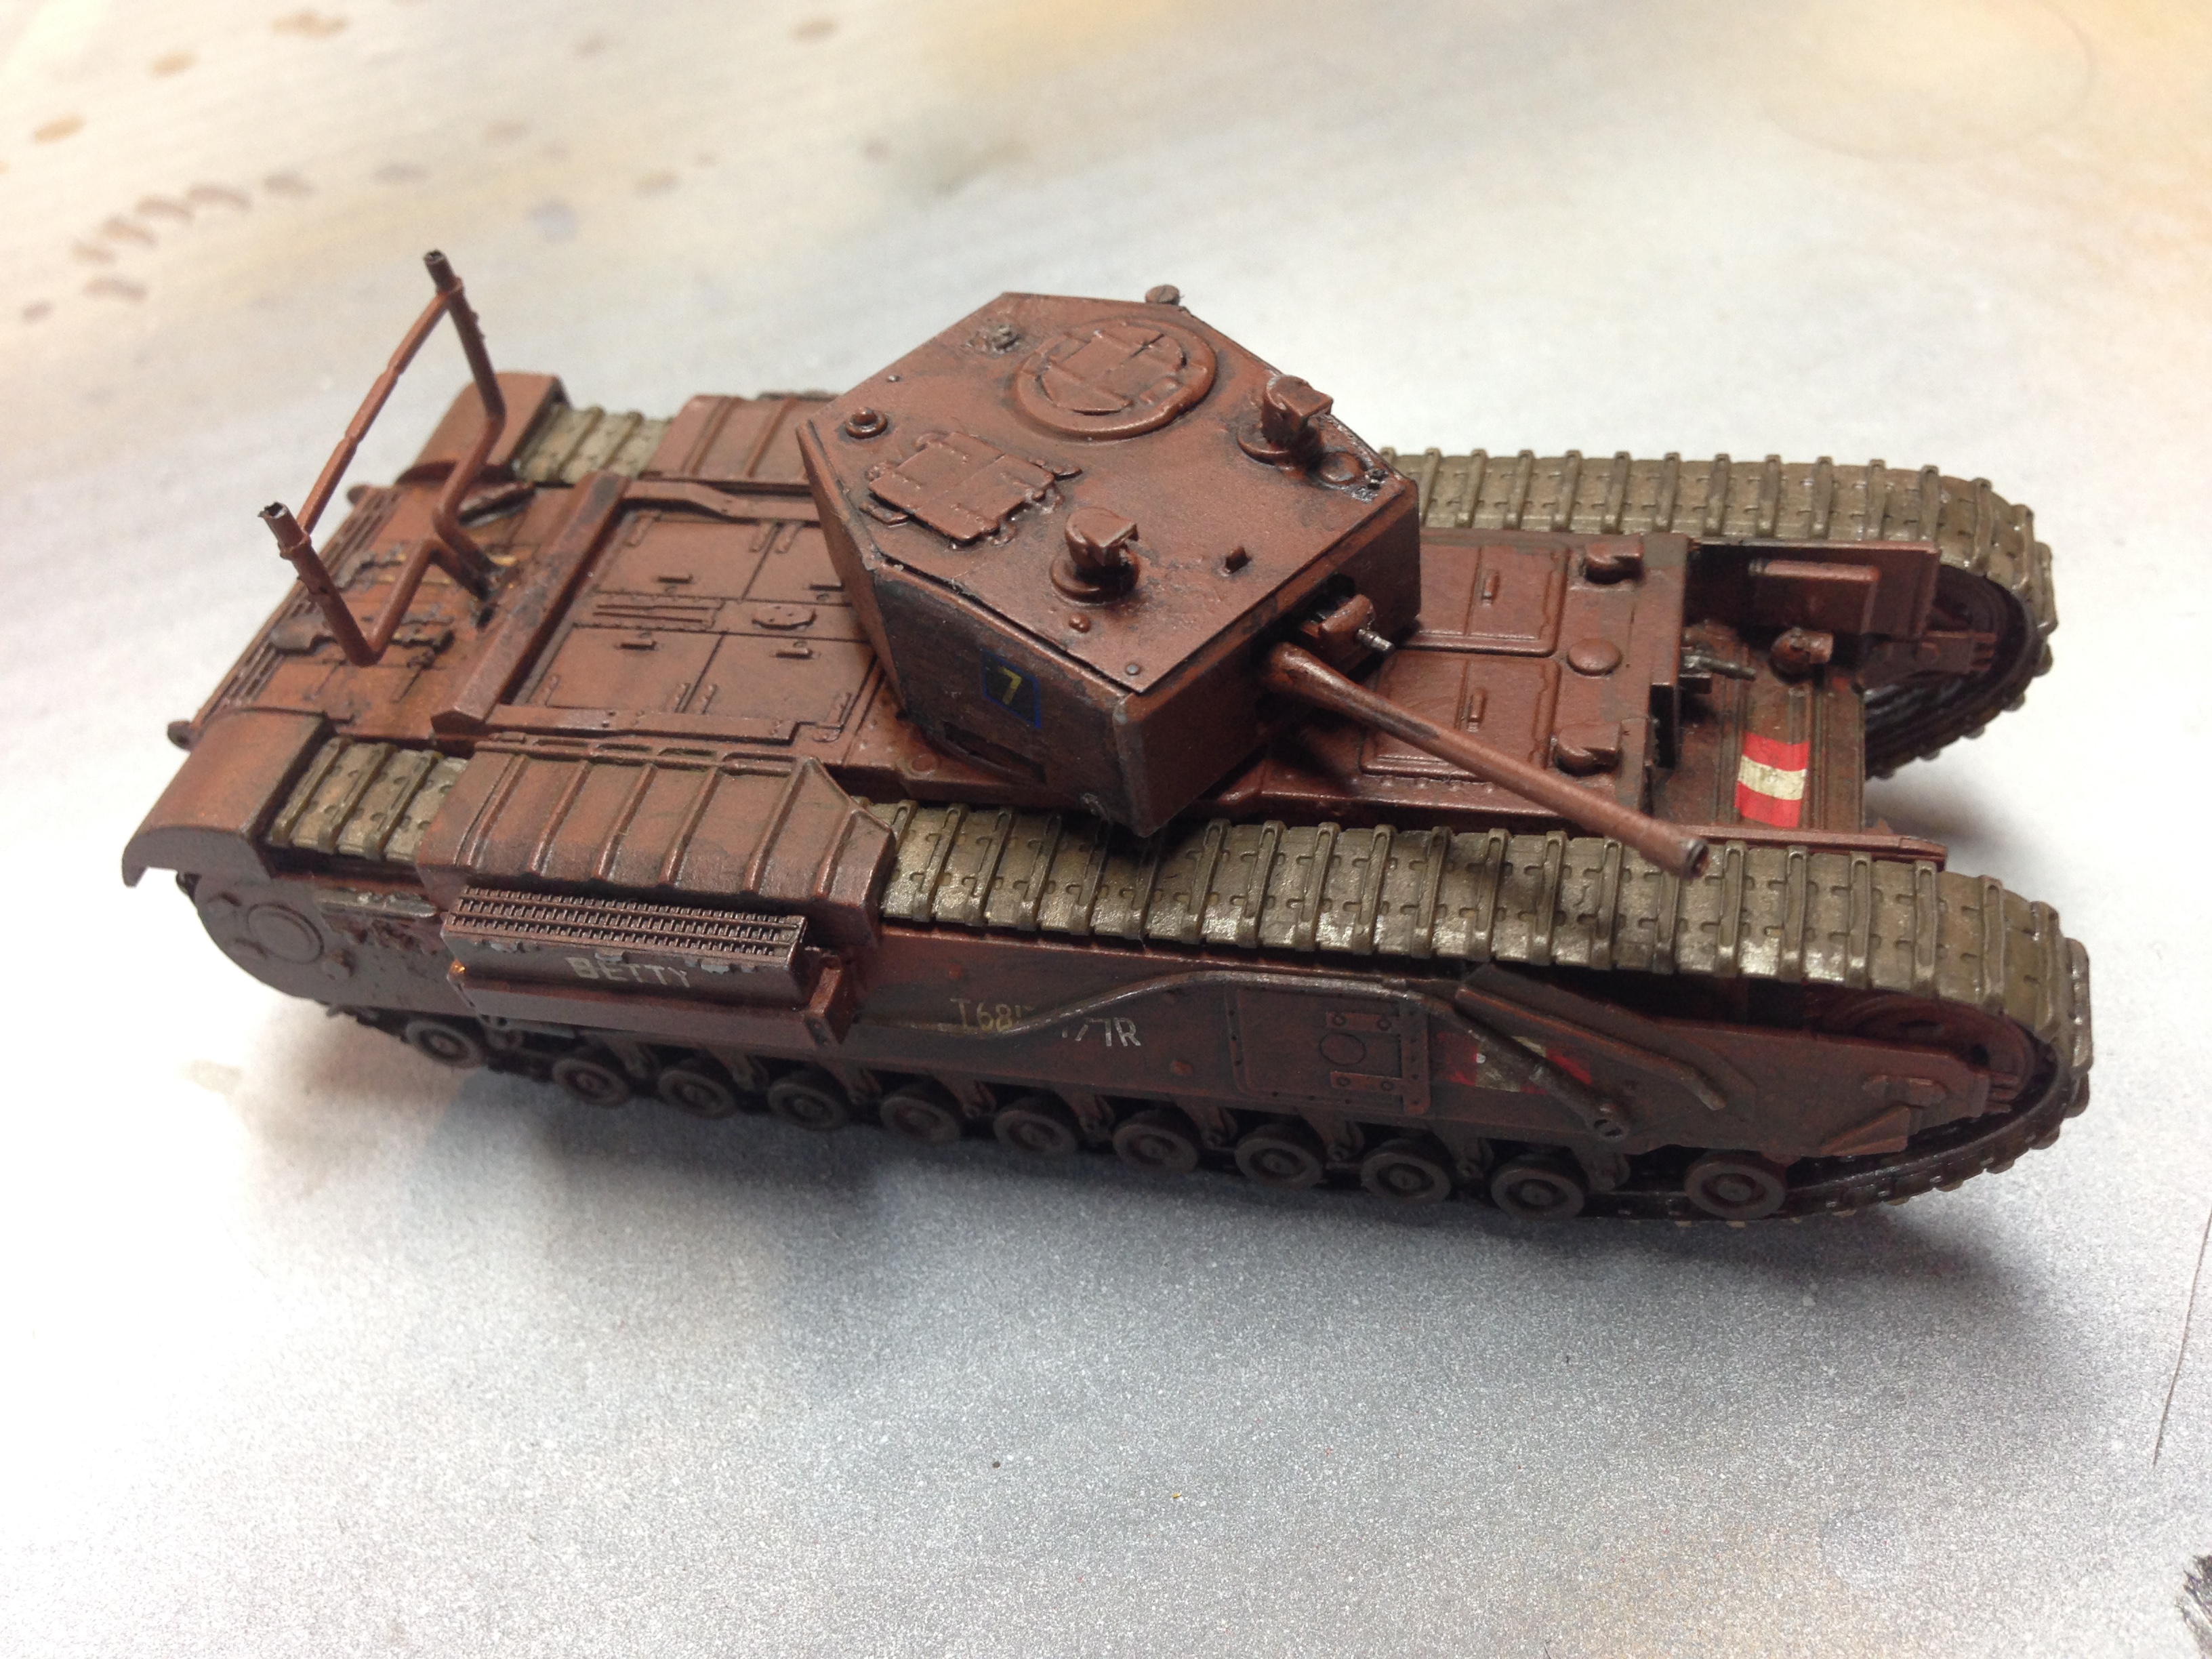
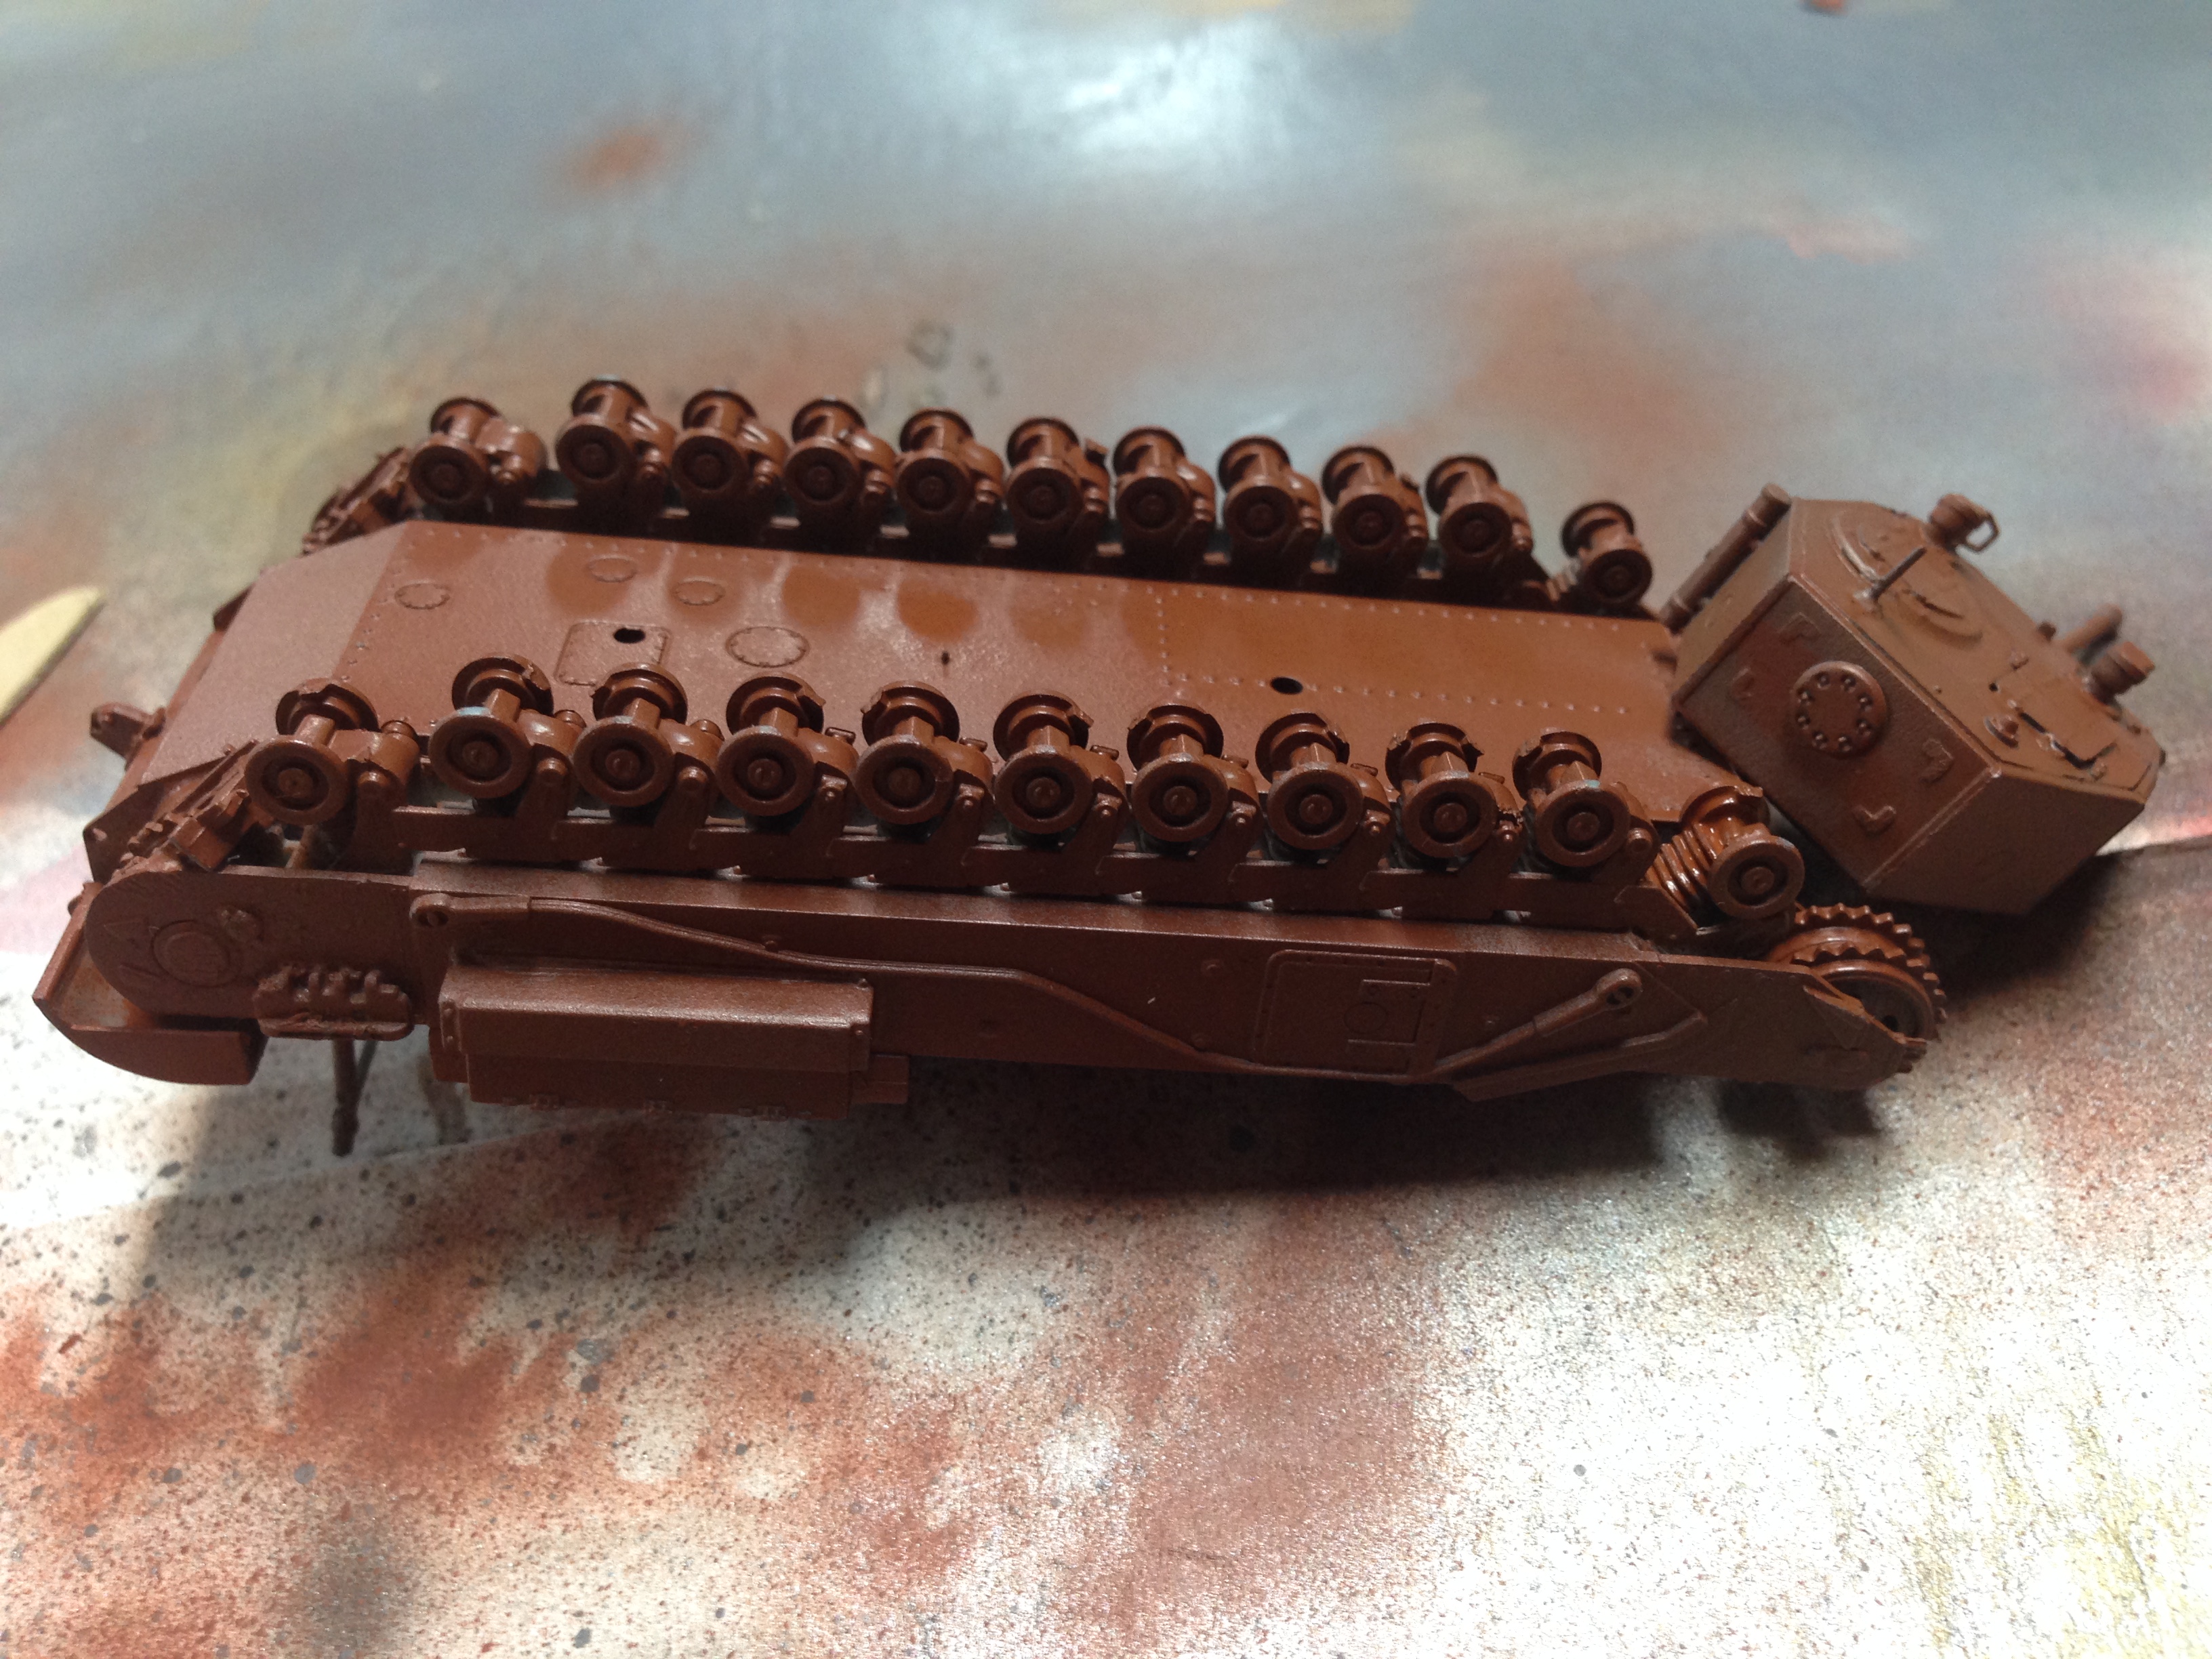
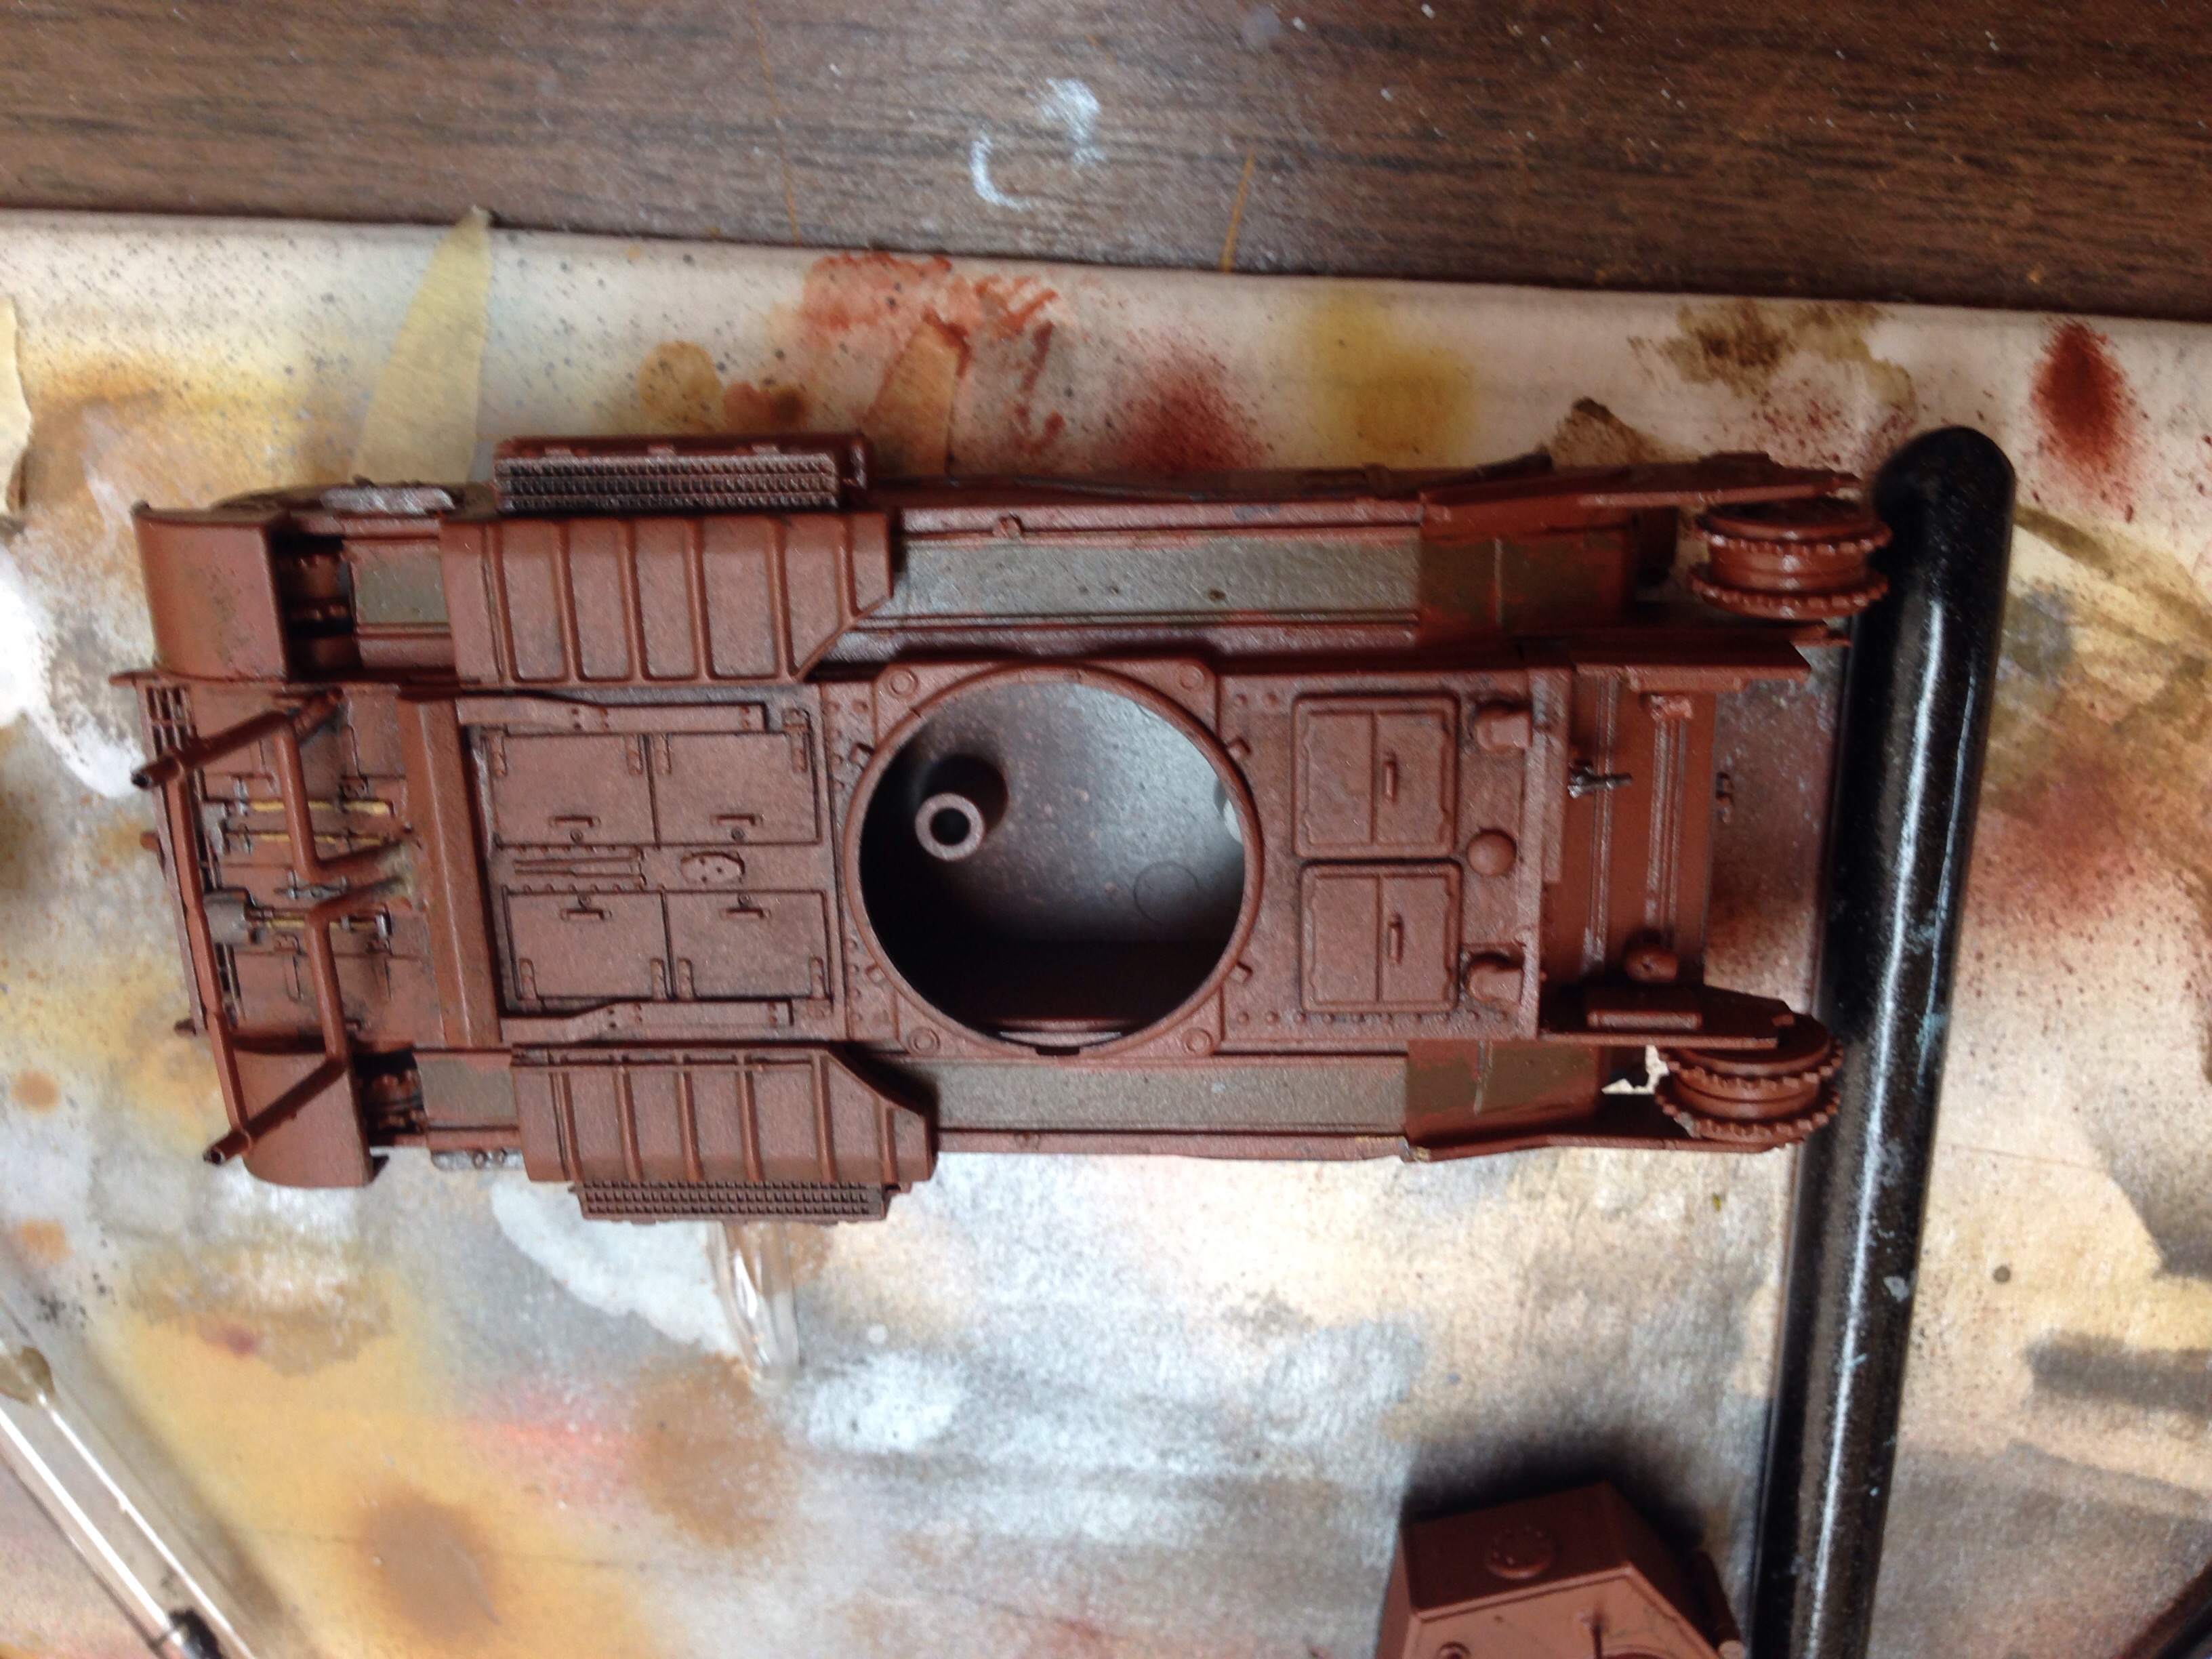
I sprayed the entire model in a medium gray primer. I mixed a red-brown that closely matched the color on the instruction guide using a base of Vallejo “Flat Earth”, a drop or two of Vallejo “Black”, and some Testors “Gloss Red” since that was the only acrylic red I had. I thinned the mixture with some water and airbrushed it on the model as the base coat. For the tracks, I added some Vallejo “Black” to a Vallejo “ Natural Steel” and airbrushed them. The tracks took a while to dry, but came out fine. I painted more mud on the track guides using almost equal parts Vallejo “Flat Earth” and Vallejo “Black”. Next, I dry fitted the tracks to see how they fit in the guards and I found out that the right rear track guard had slumped down some, preventing the track from fitting. I took an X-Acto knife and was able to remove it and reattach it properly.


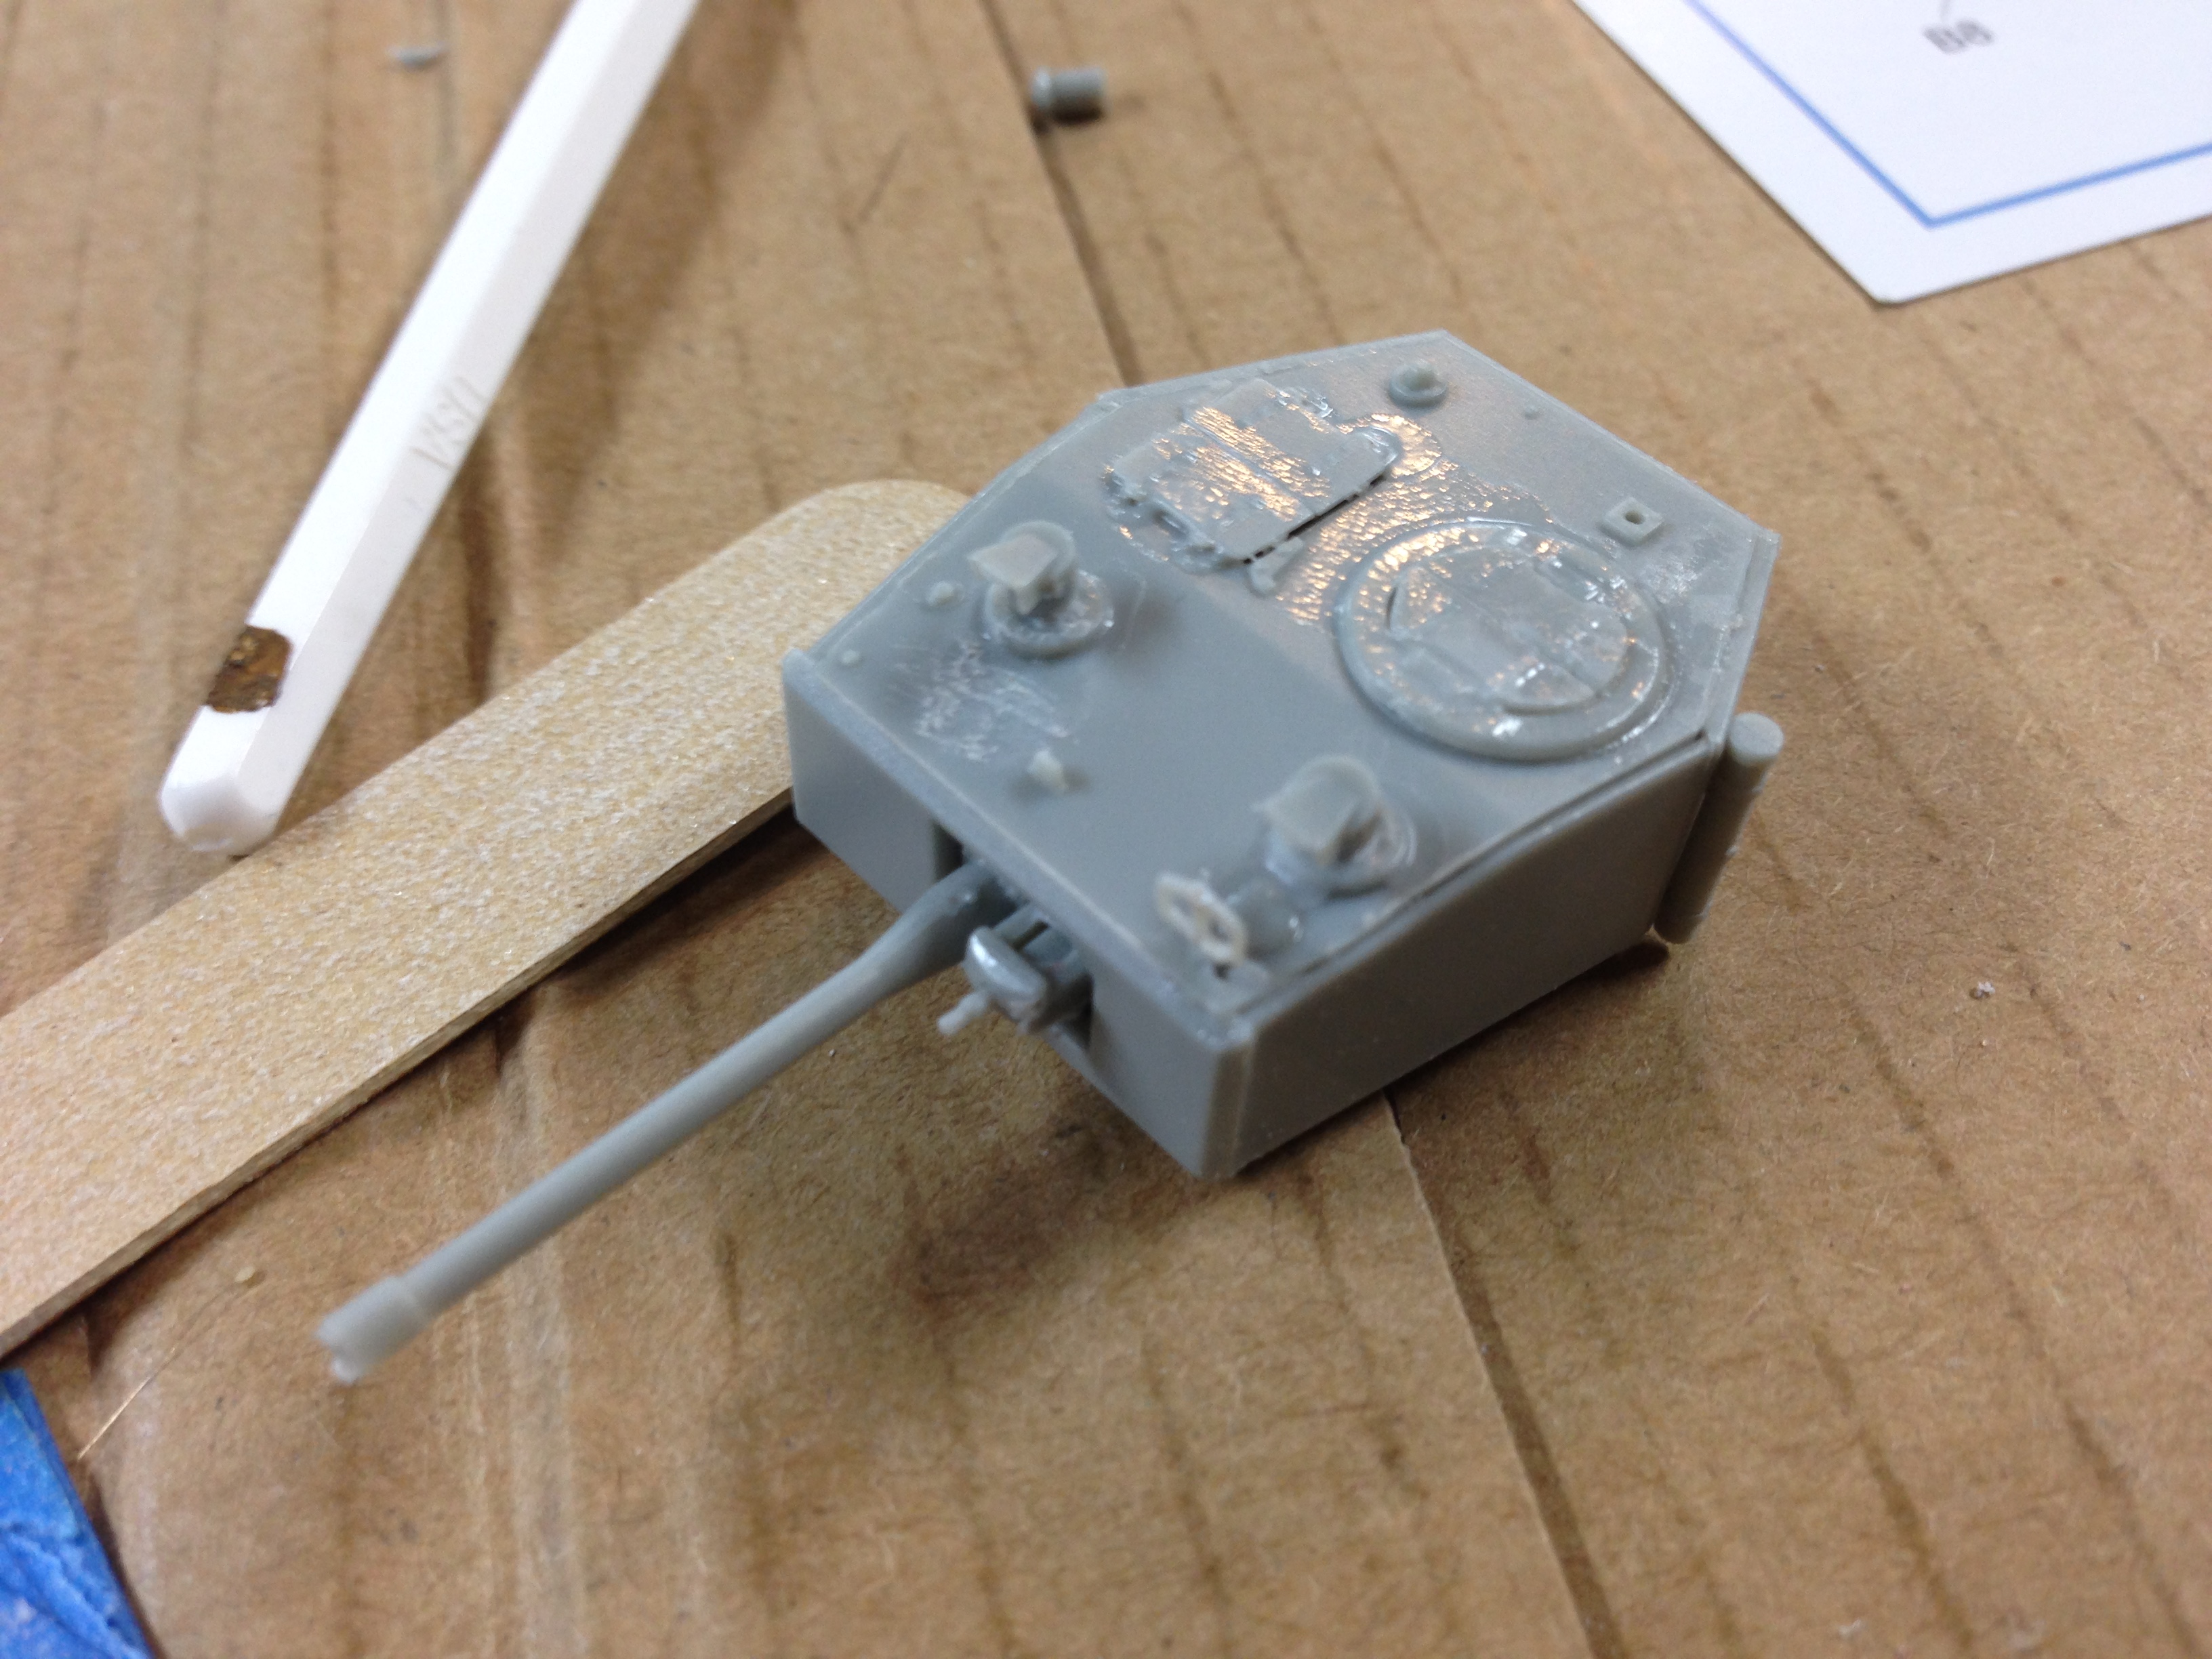
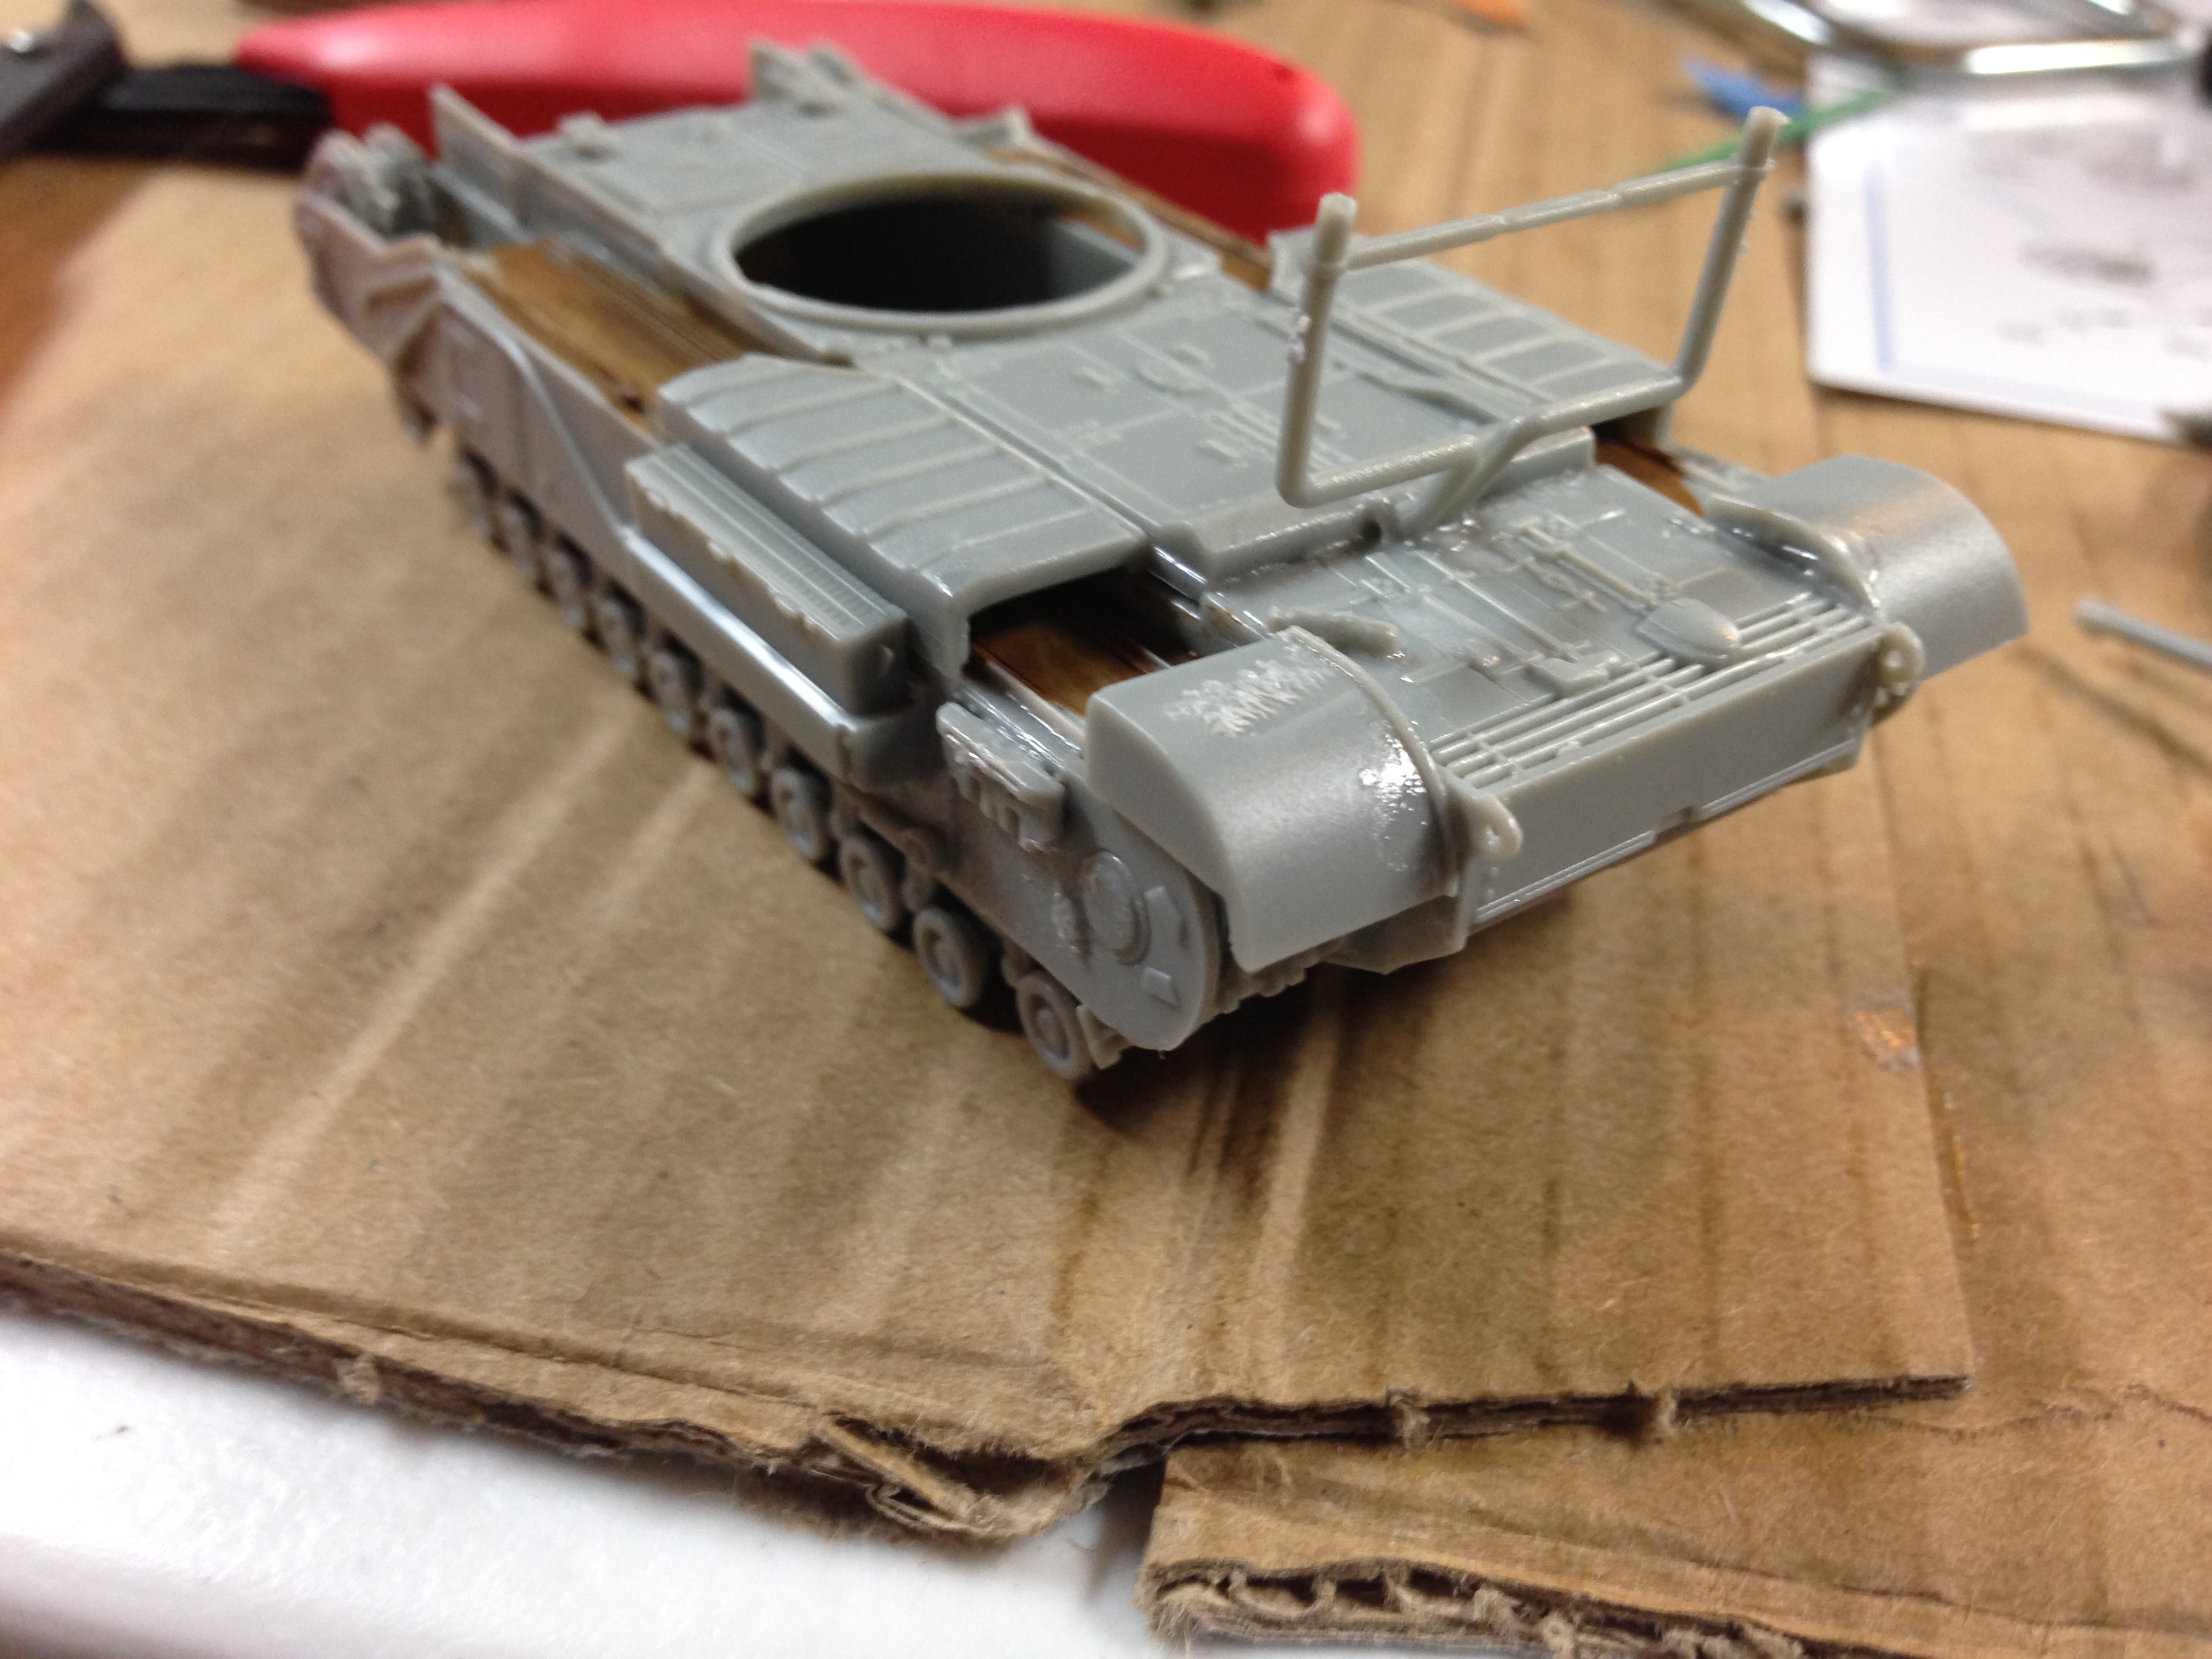
Step Three - Detailing and Weathering:
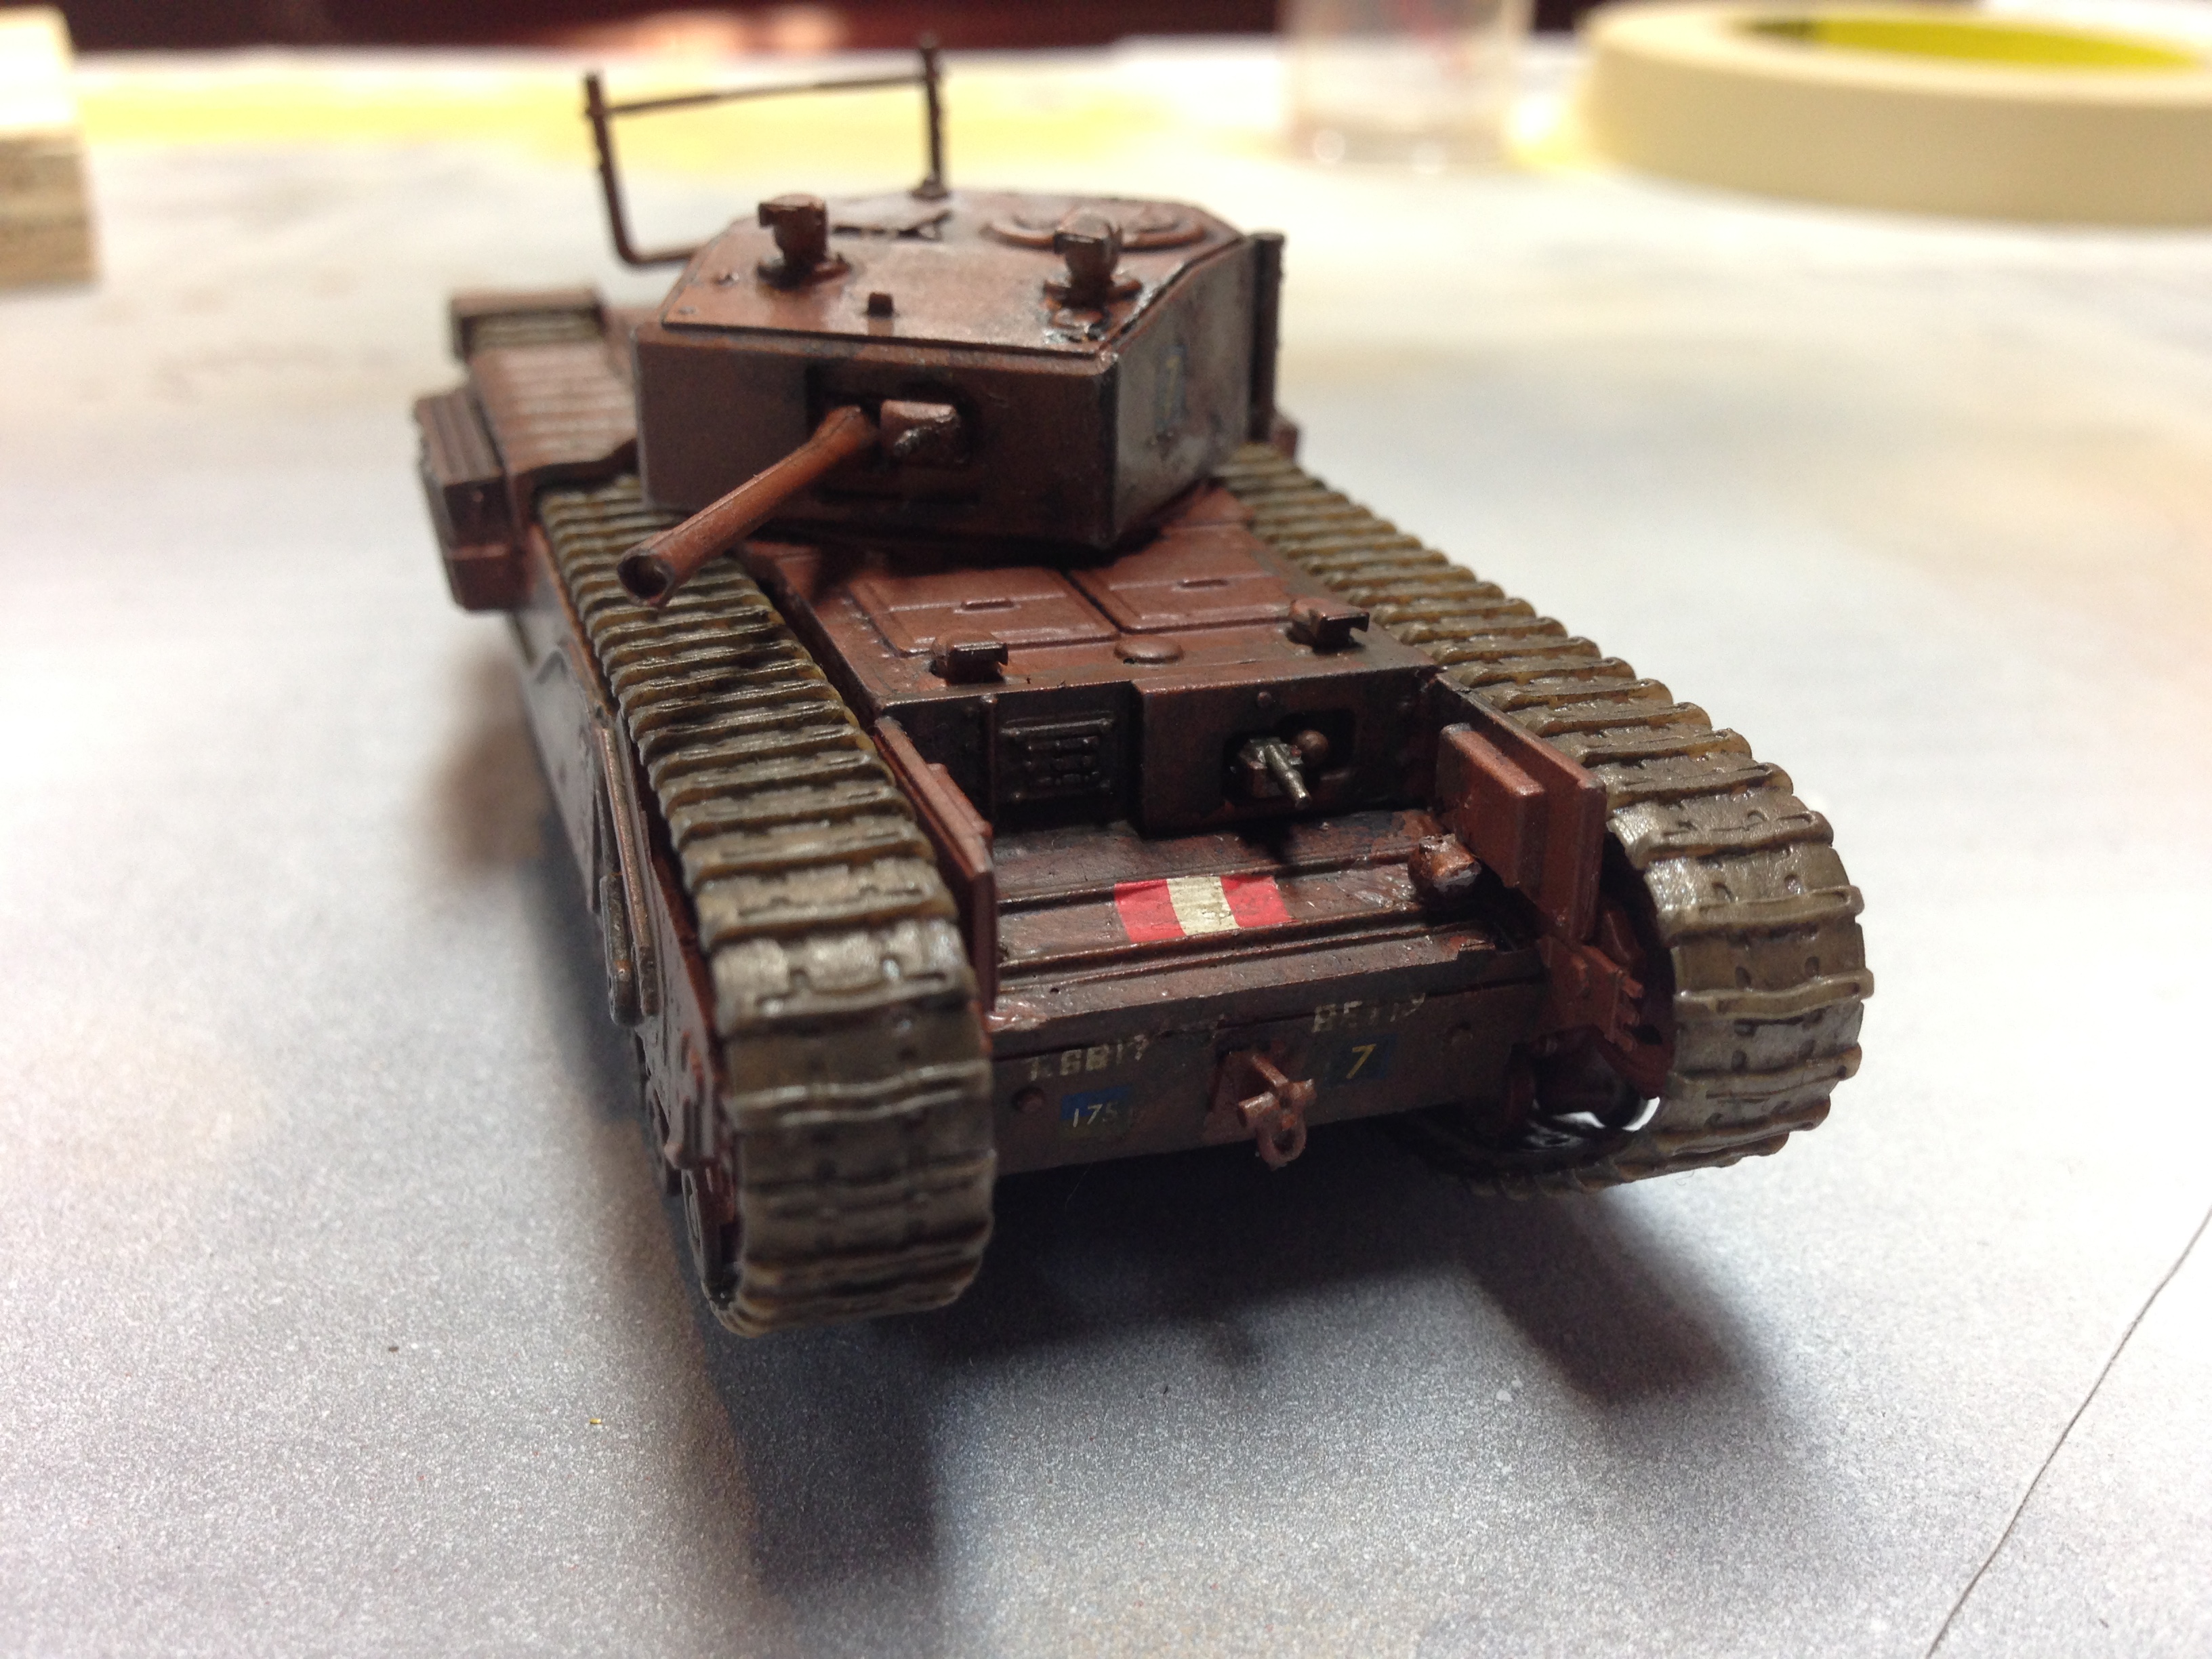
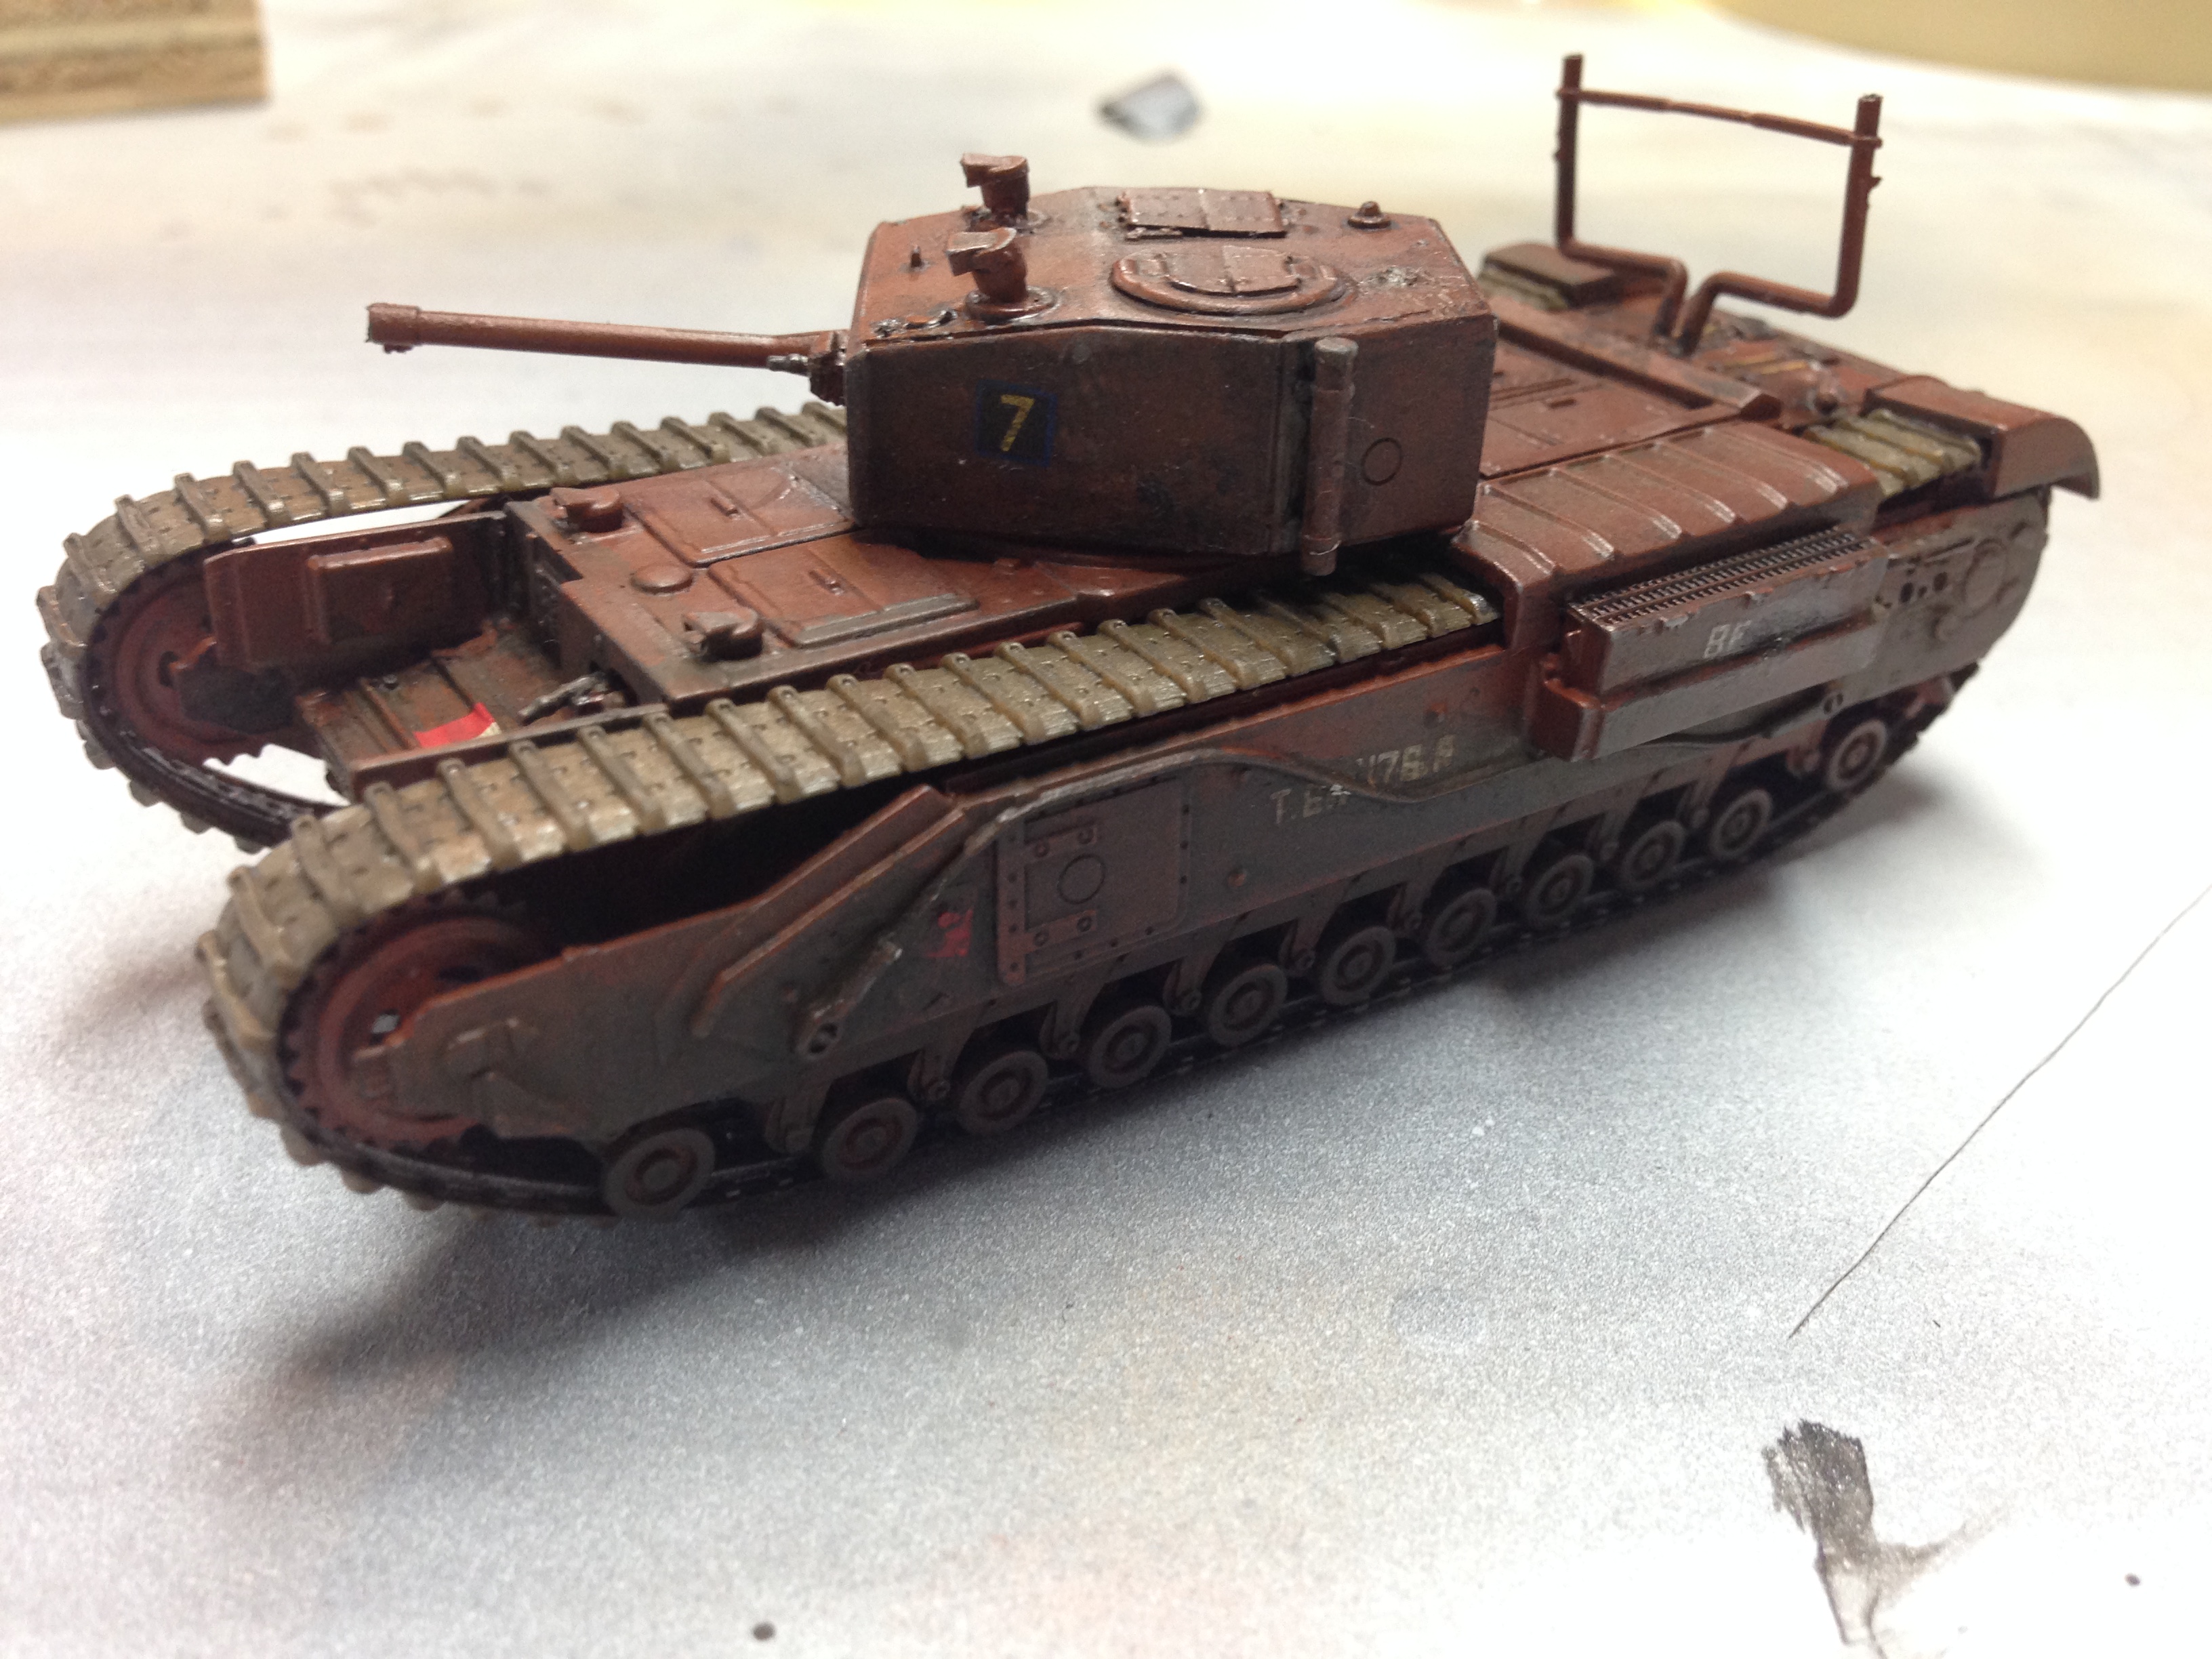
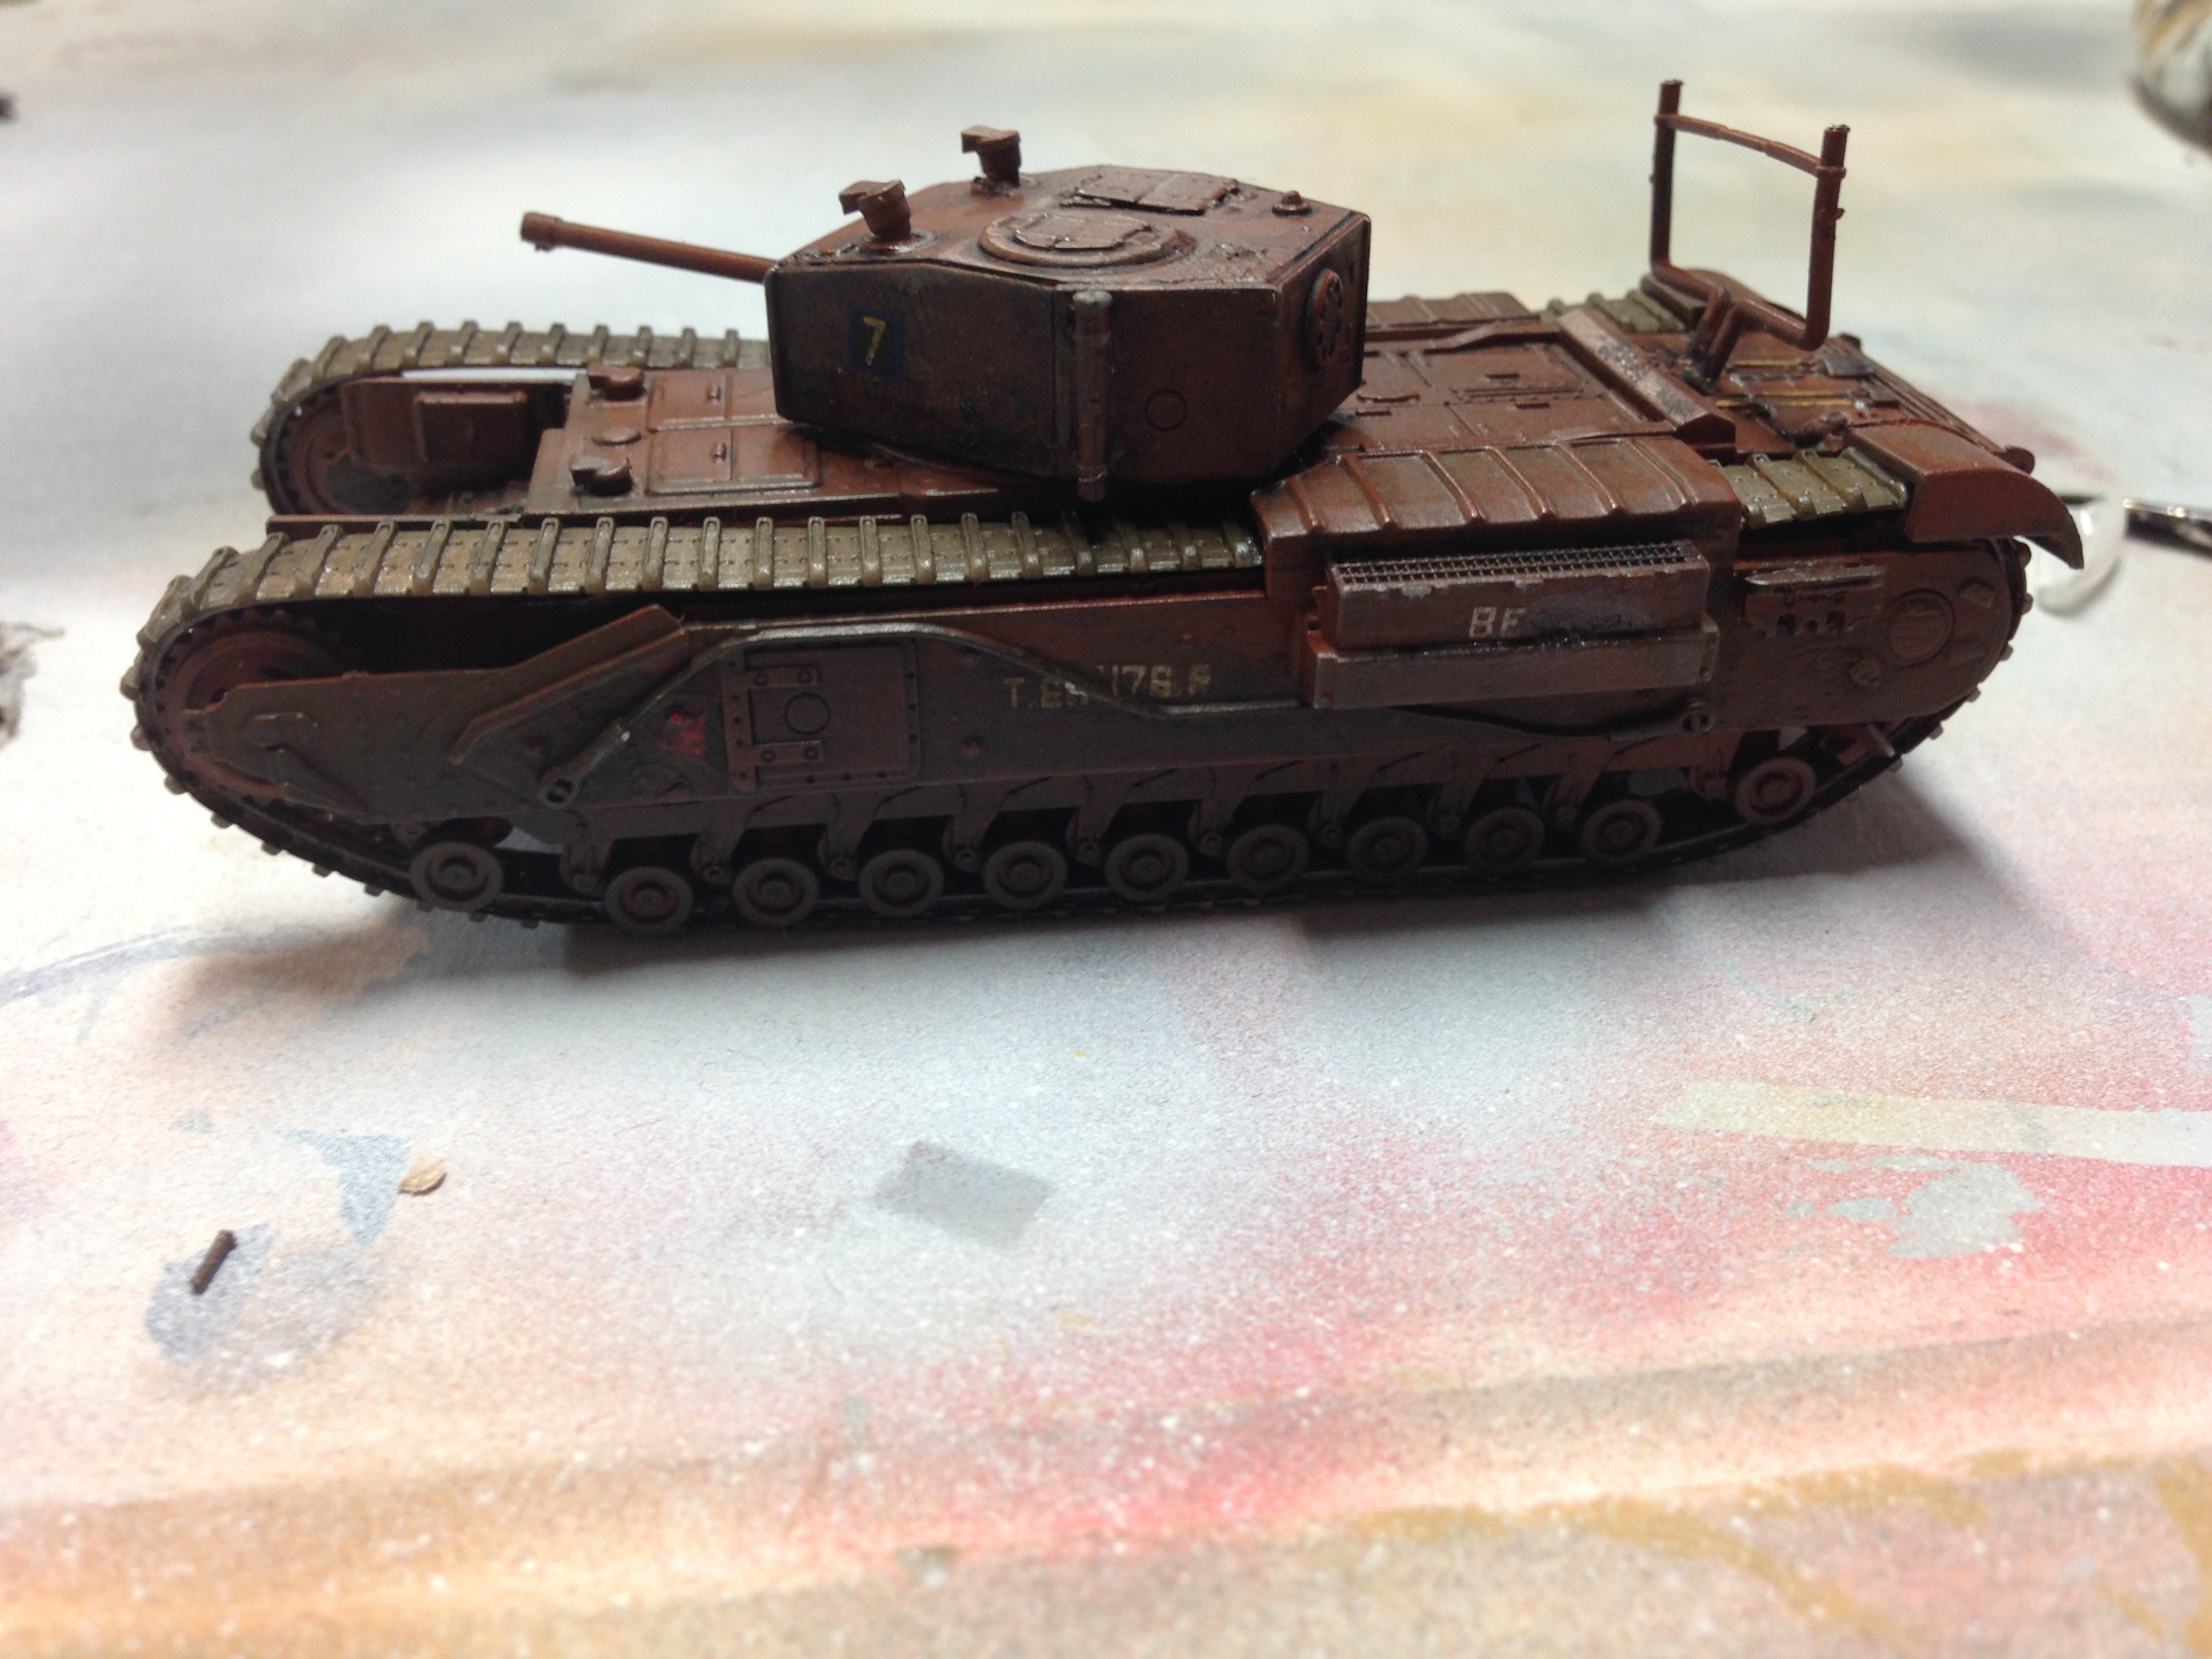
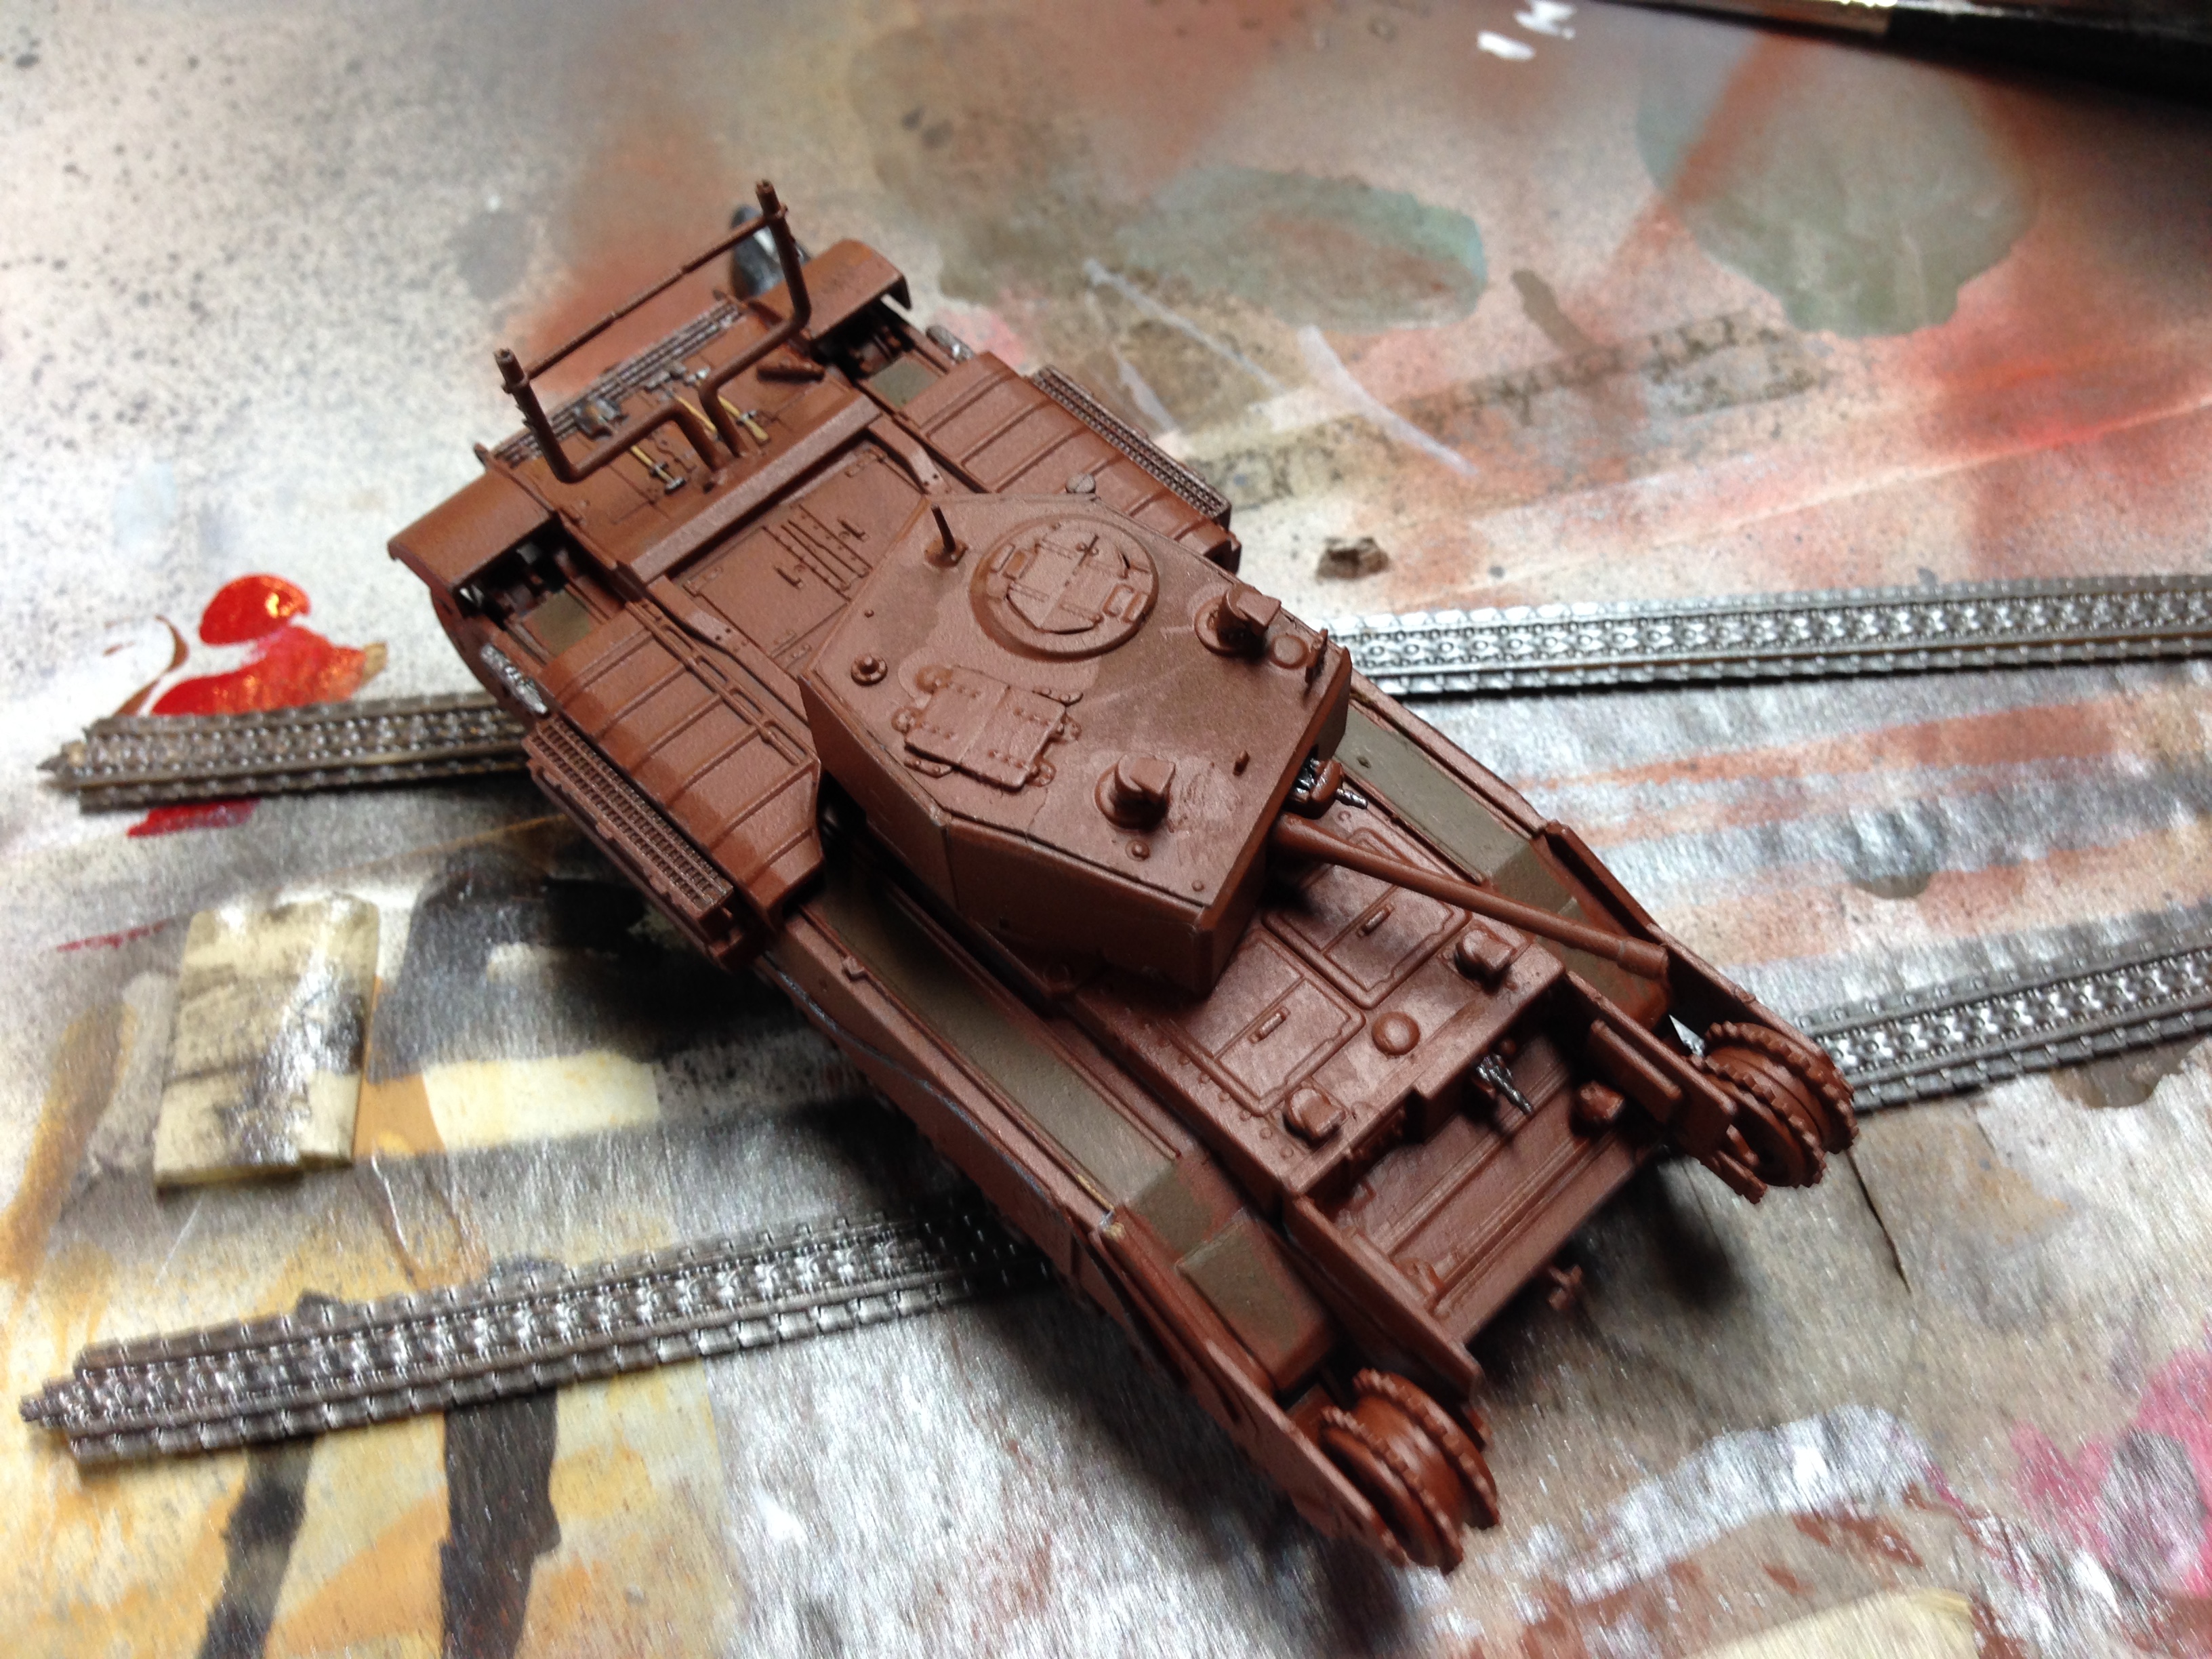
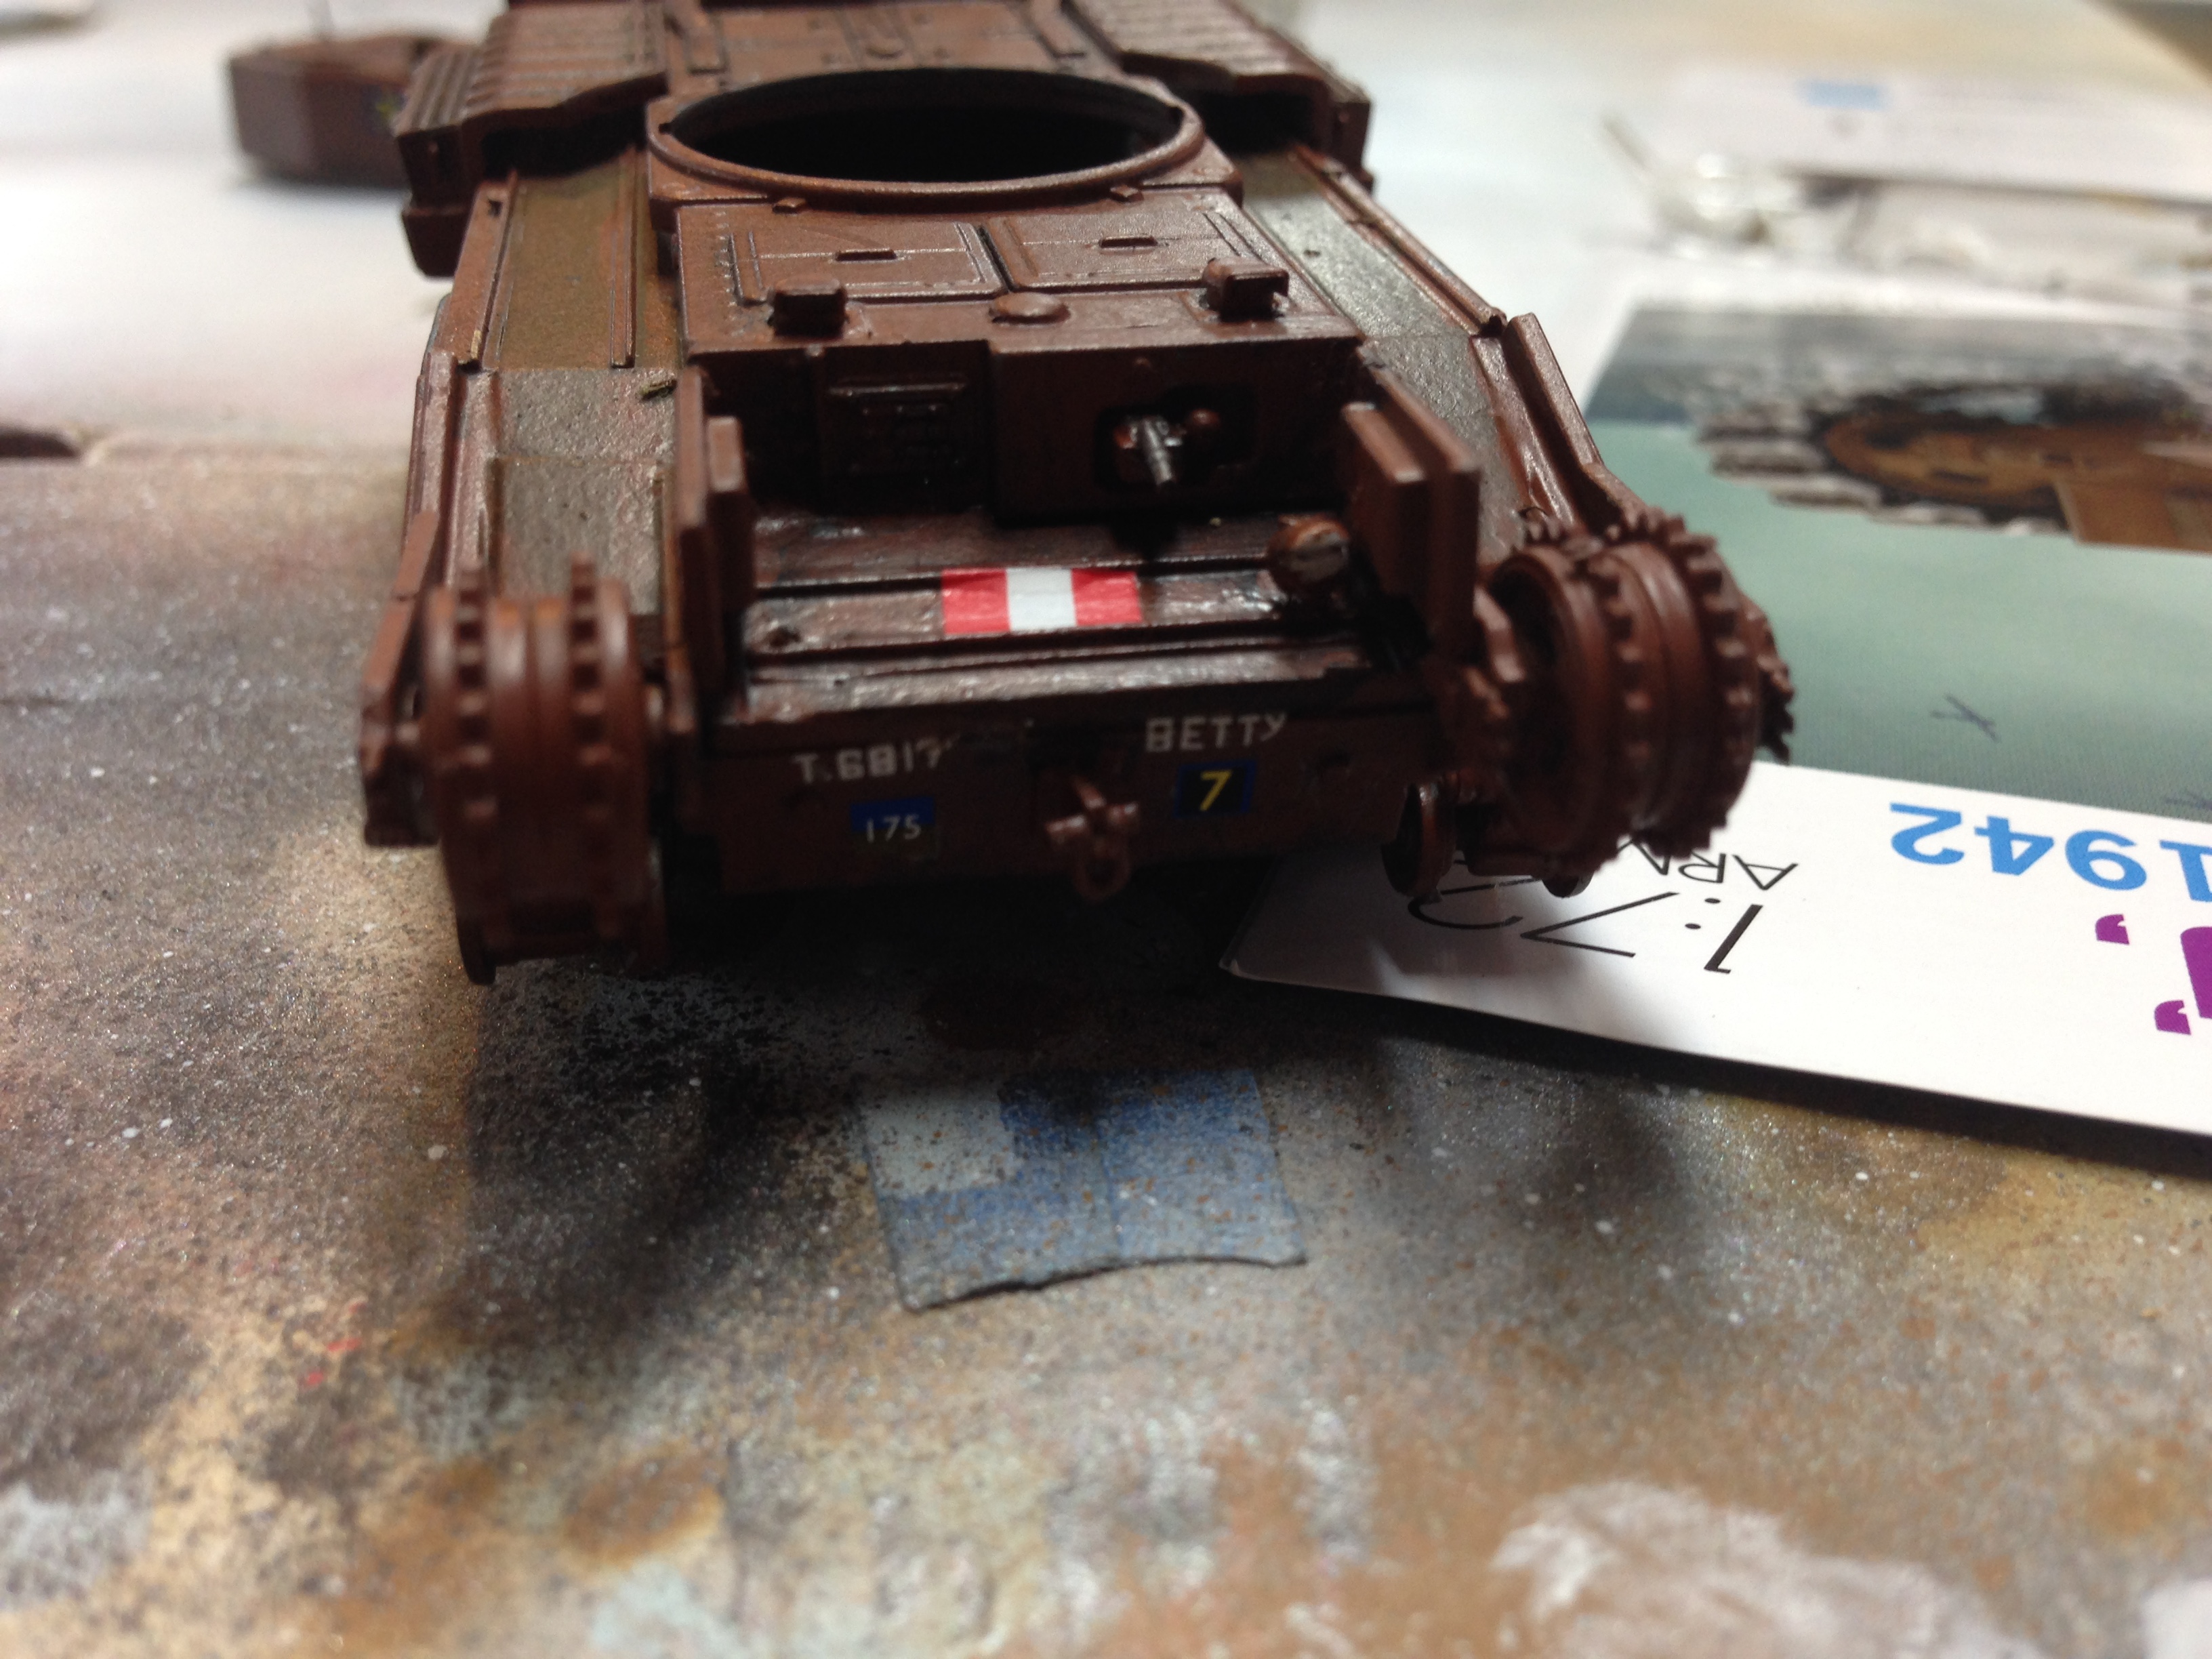
My main Detailing paints were Vallejo “Desert” for wood and Valejo “Natural Steel” for exposed metal & tools. Almost all of my detailing was done with a 00 brush. Although my medications can cause severe tremors, especially doing fine work while writing, I was able to paint the fine objects like tools without any issues and limited overlap. I painted a dab of Vallejo “Flat White” on the headlights. Before I weathered, I sprayed Model Master “Lusterless” rattlecan top coat all over the model. Once this set, it made weathering much easier and I was able to apply washes with almost no issues, unlike my first attempt with the ME-262. I used 2 different washes, a heavily thinned Vallejo “Black” and a moderately thinned version of my Mud mixture. I first applied the black wash to the top, then each side. When I applied the black wash to the turret, I ended up putting it on a bit too heavy. I applied the mud wash to the side panels, bottom, idlers, front, and rear. I let it dry somewhat before wiping it off. I decided to try weathering before I applied the decals mainly because I was trying a lot of new things and I did not want to ruin my decals.
Step Four - Adding Decals
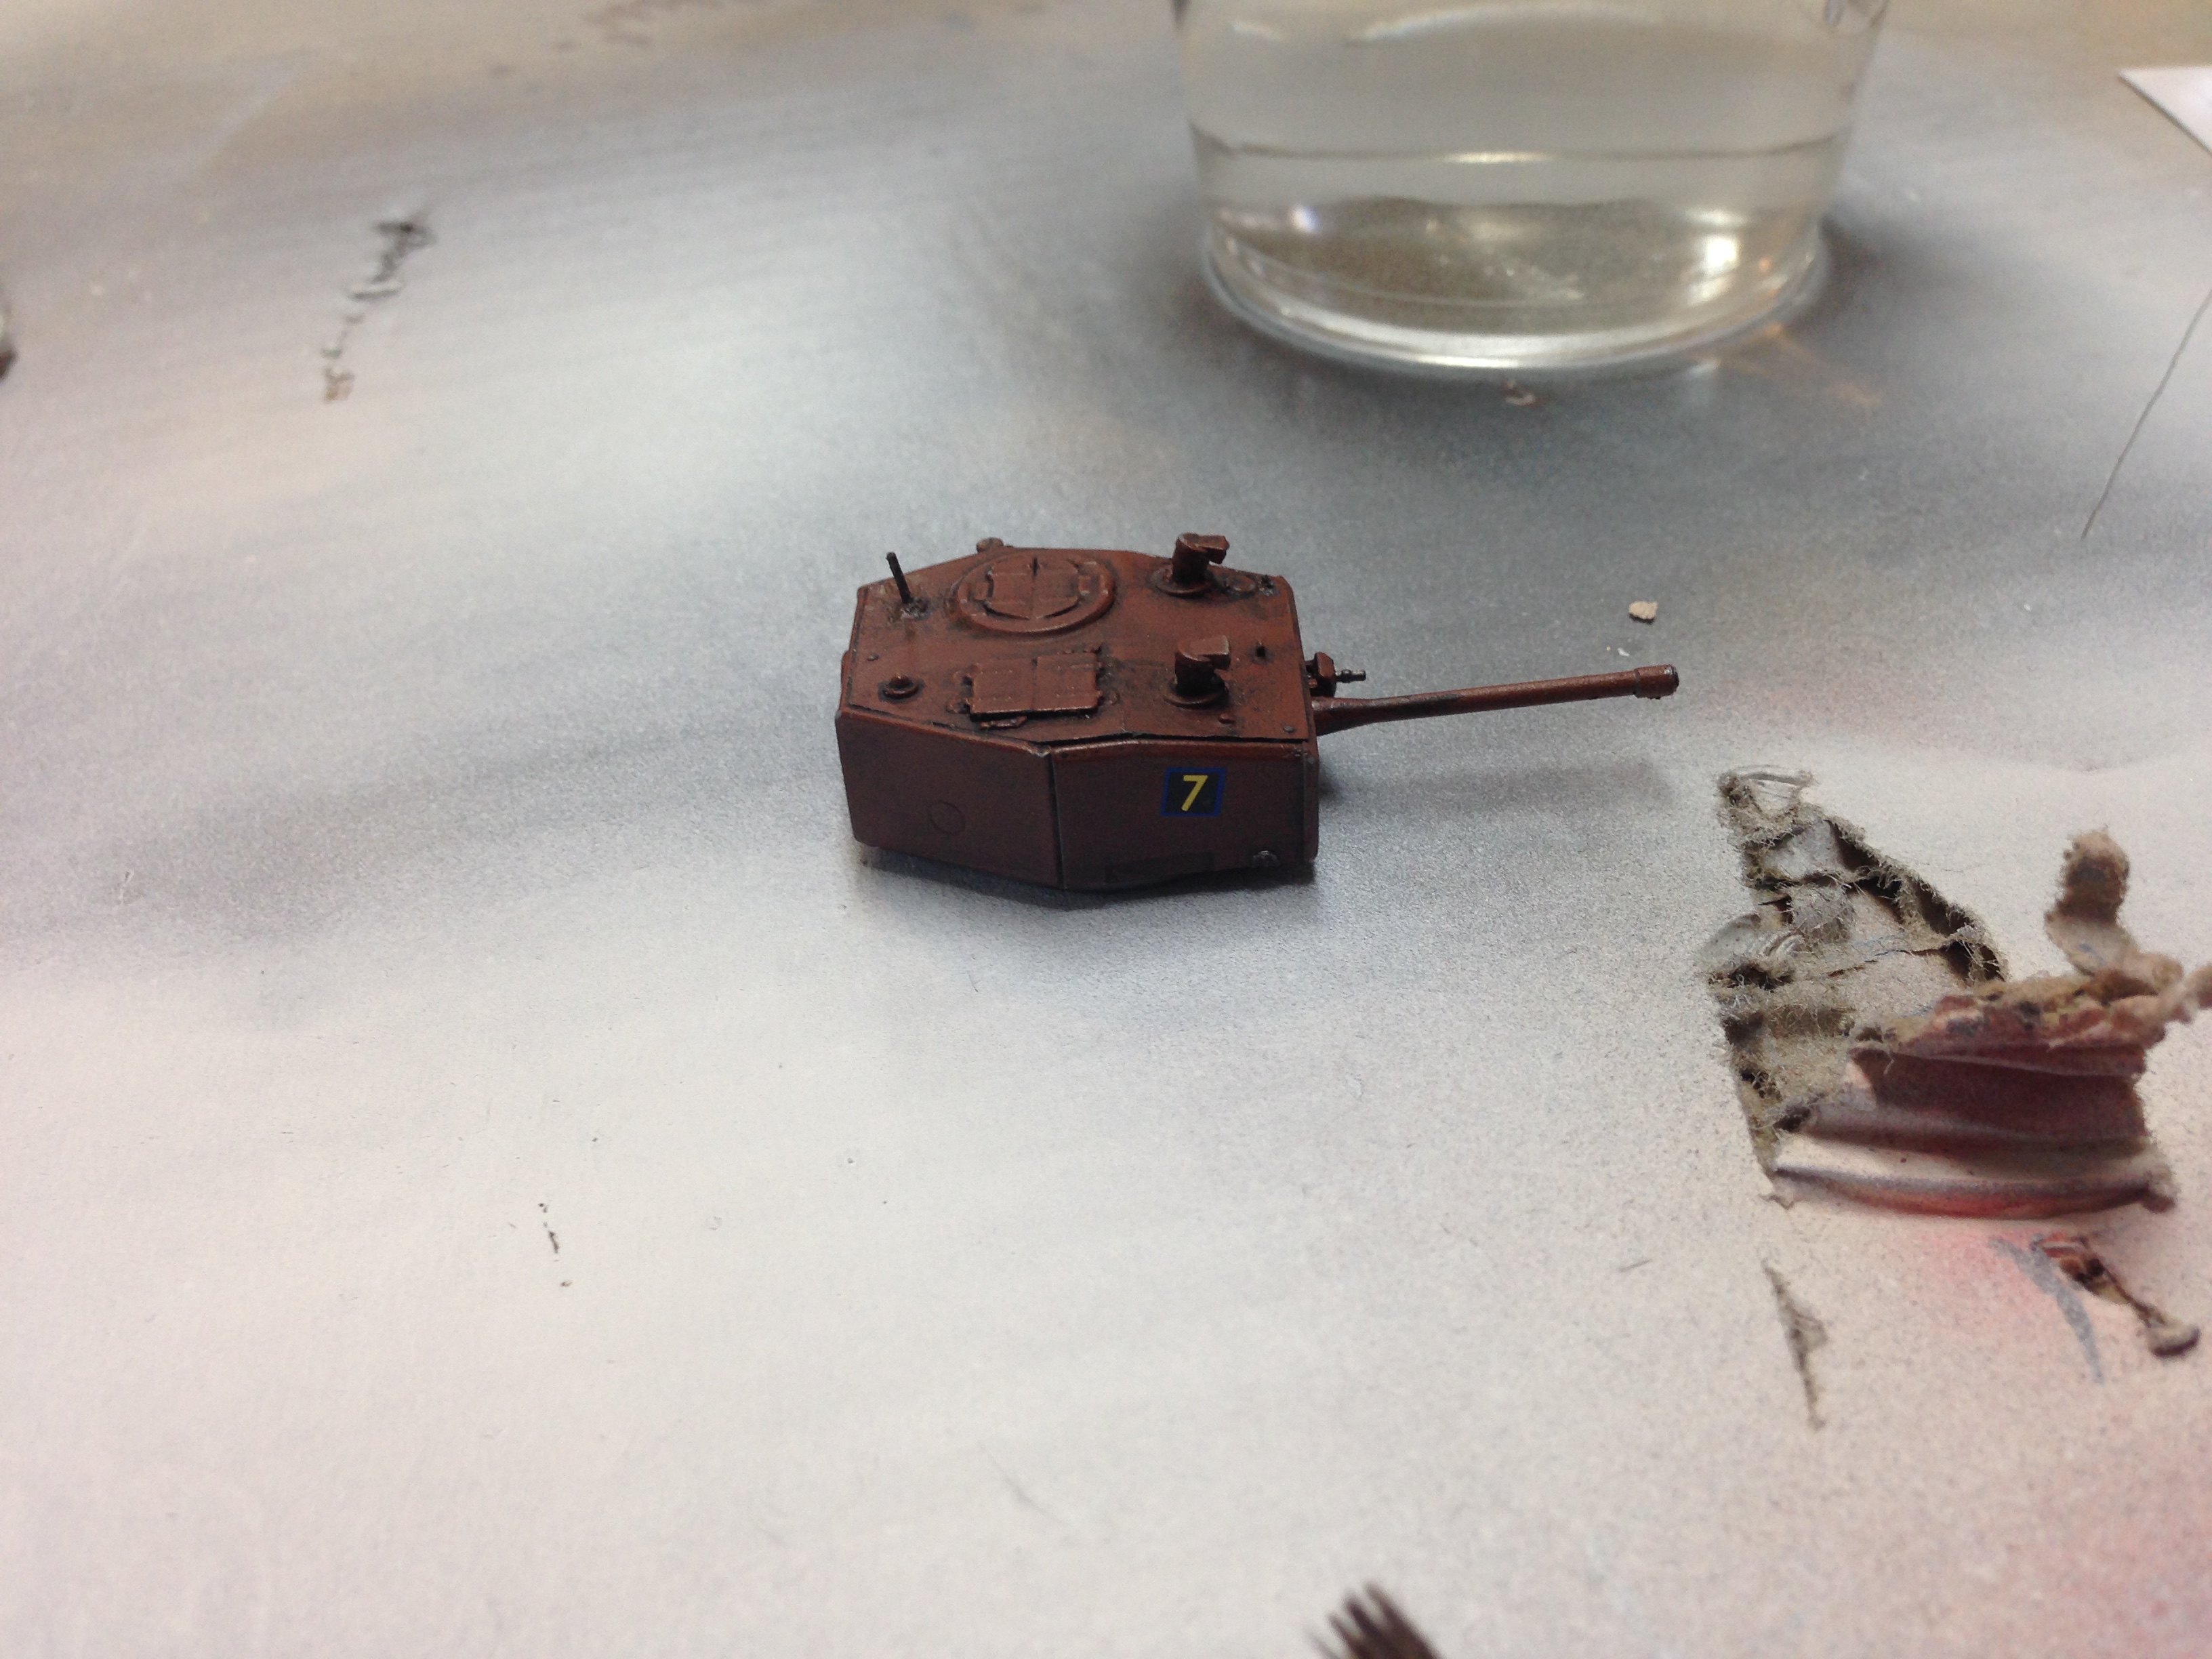
Before applying decals, I applied Model Master “Semi-Gloss” acrylic top coat to the areas where the decals needed to be applied. Applying decals was fairly straight forward, but some of the smaller one ripped or fell apart before applying. I tried to cut the left side flag in half after putting it on, but it fell apart on one side. I had much better luck with cutting them before I applied them. One of the “Betty” decals and one of the number decals fell apart or ripped, one on the left side and the other up front. Before I finalized weathering, I did another coat of the Lusterless rattlecan top coat.

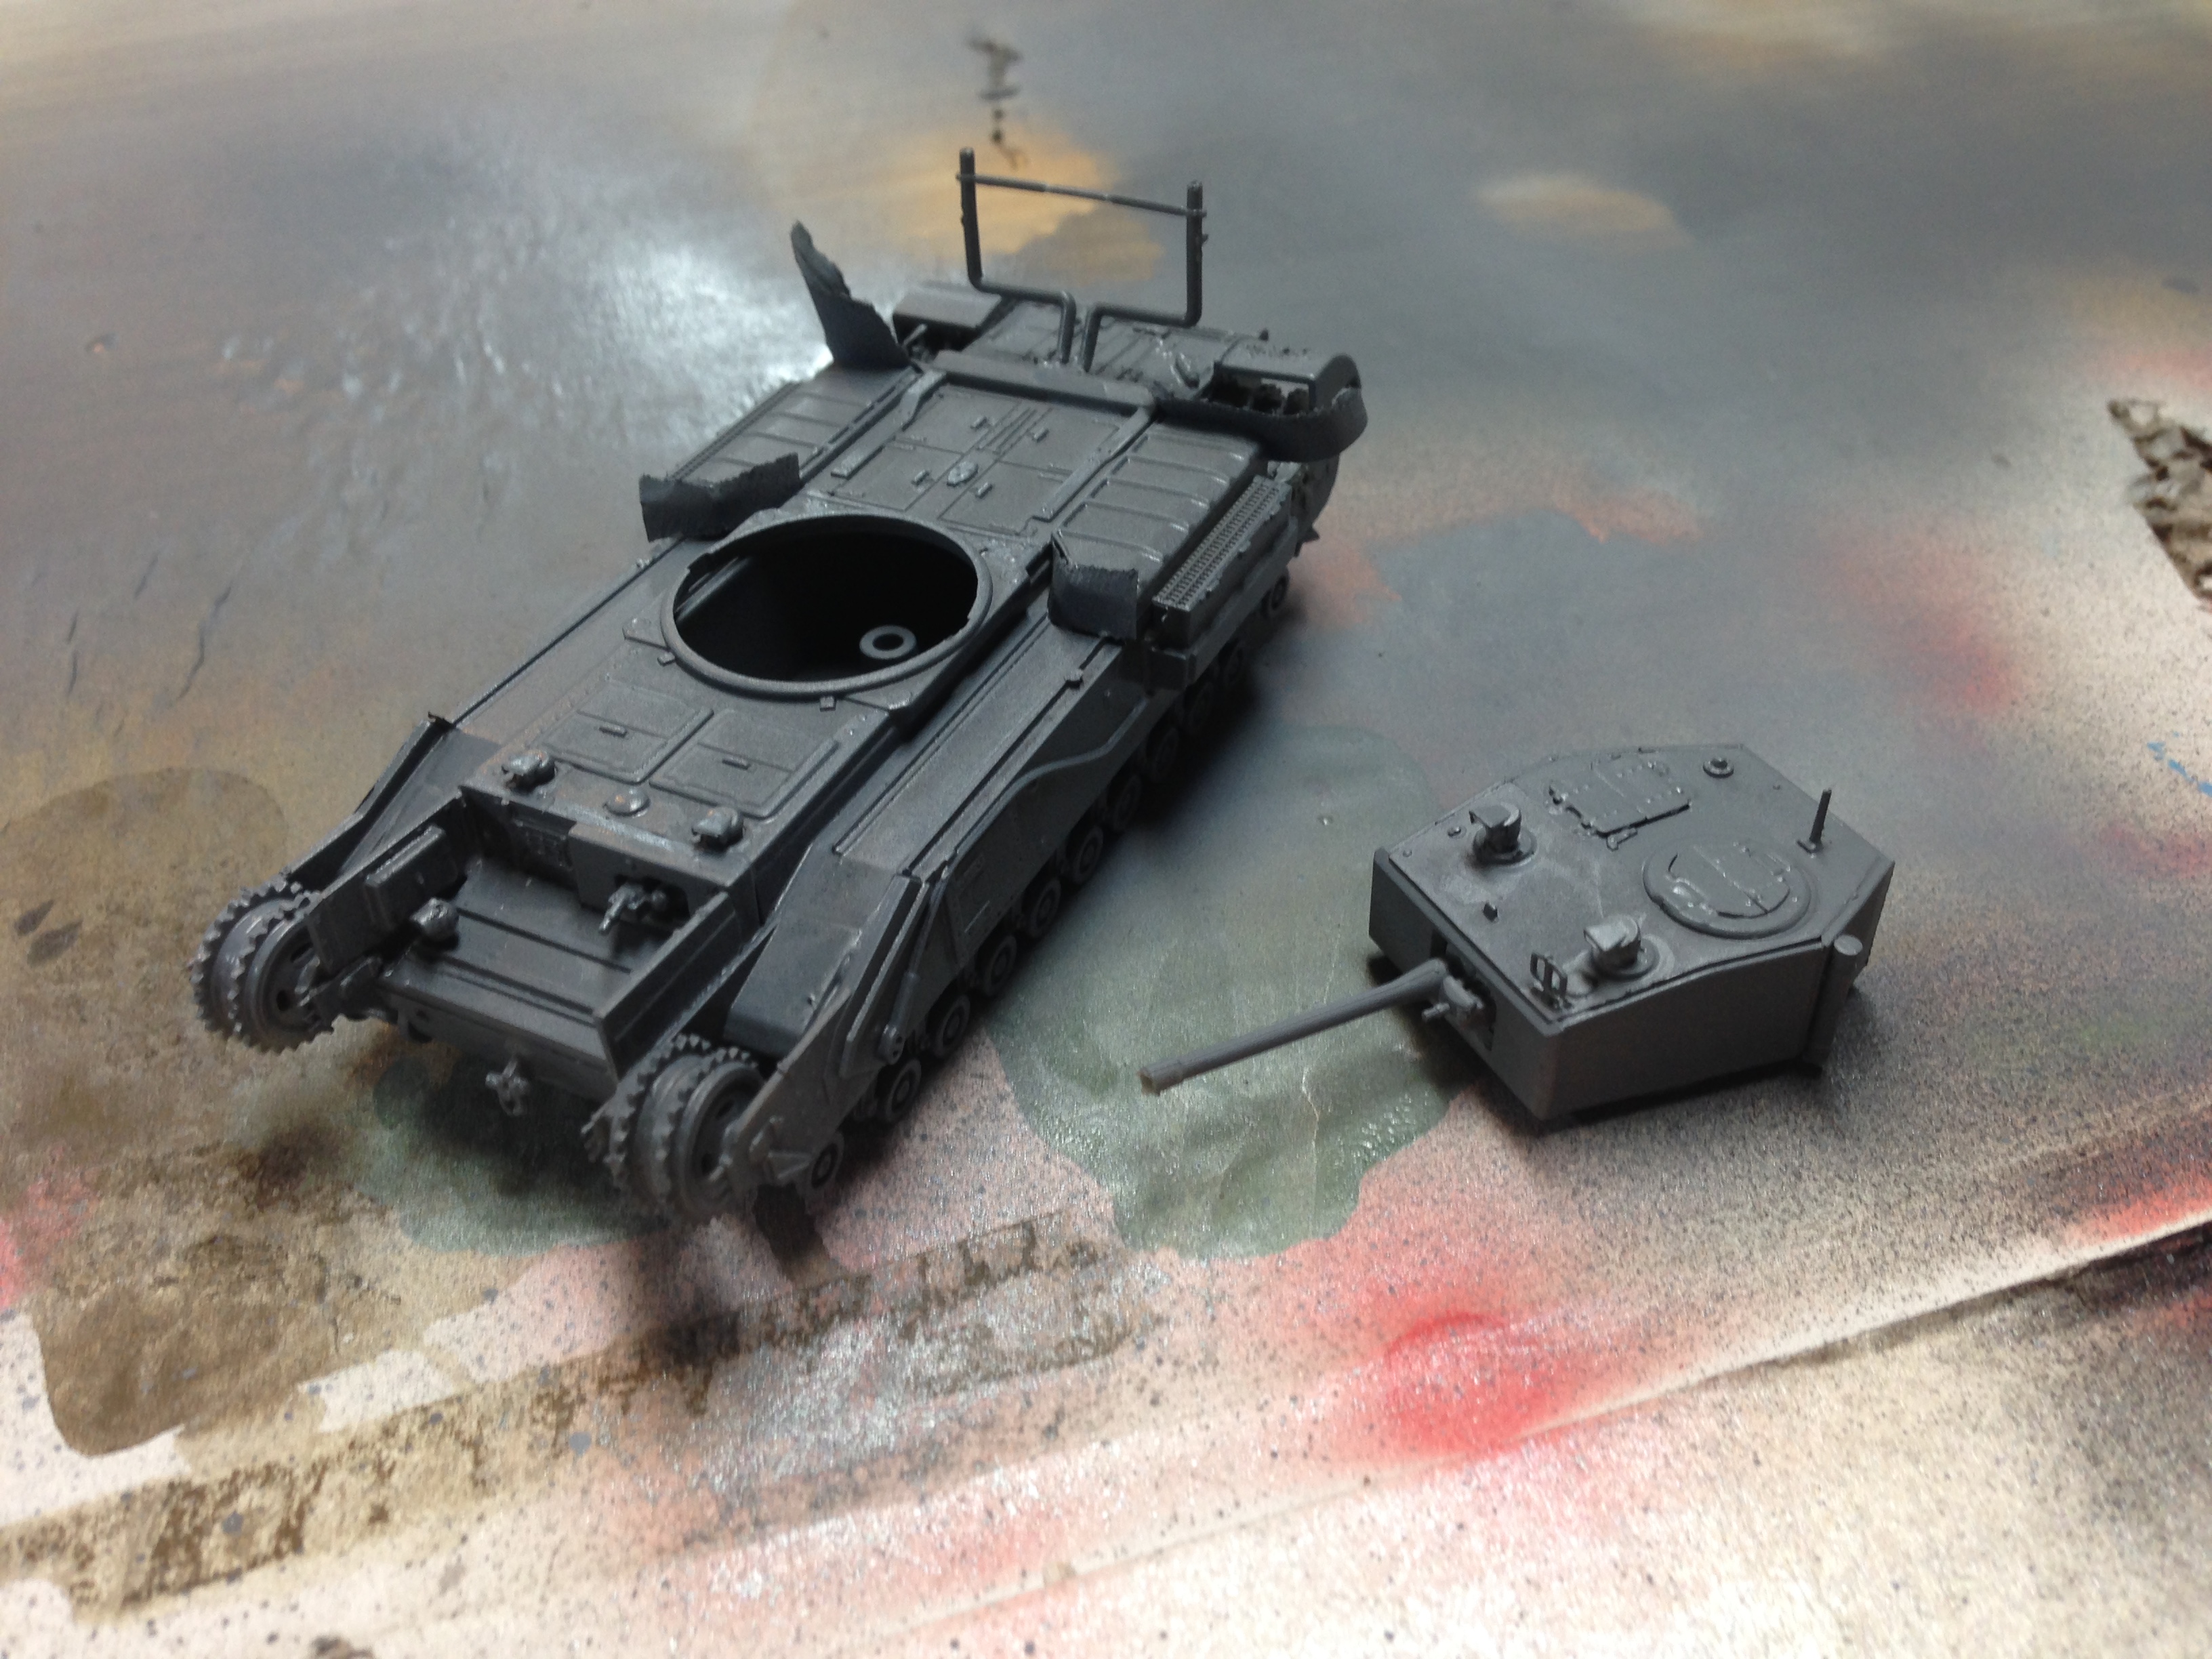
Step Five - Finalizing Weathering and Final Thoughts:
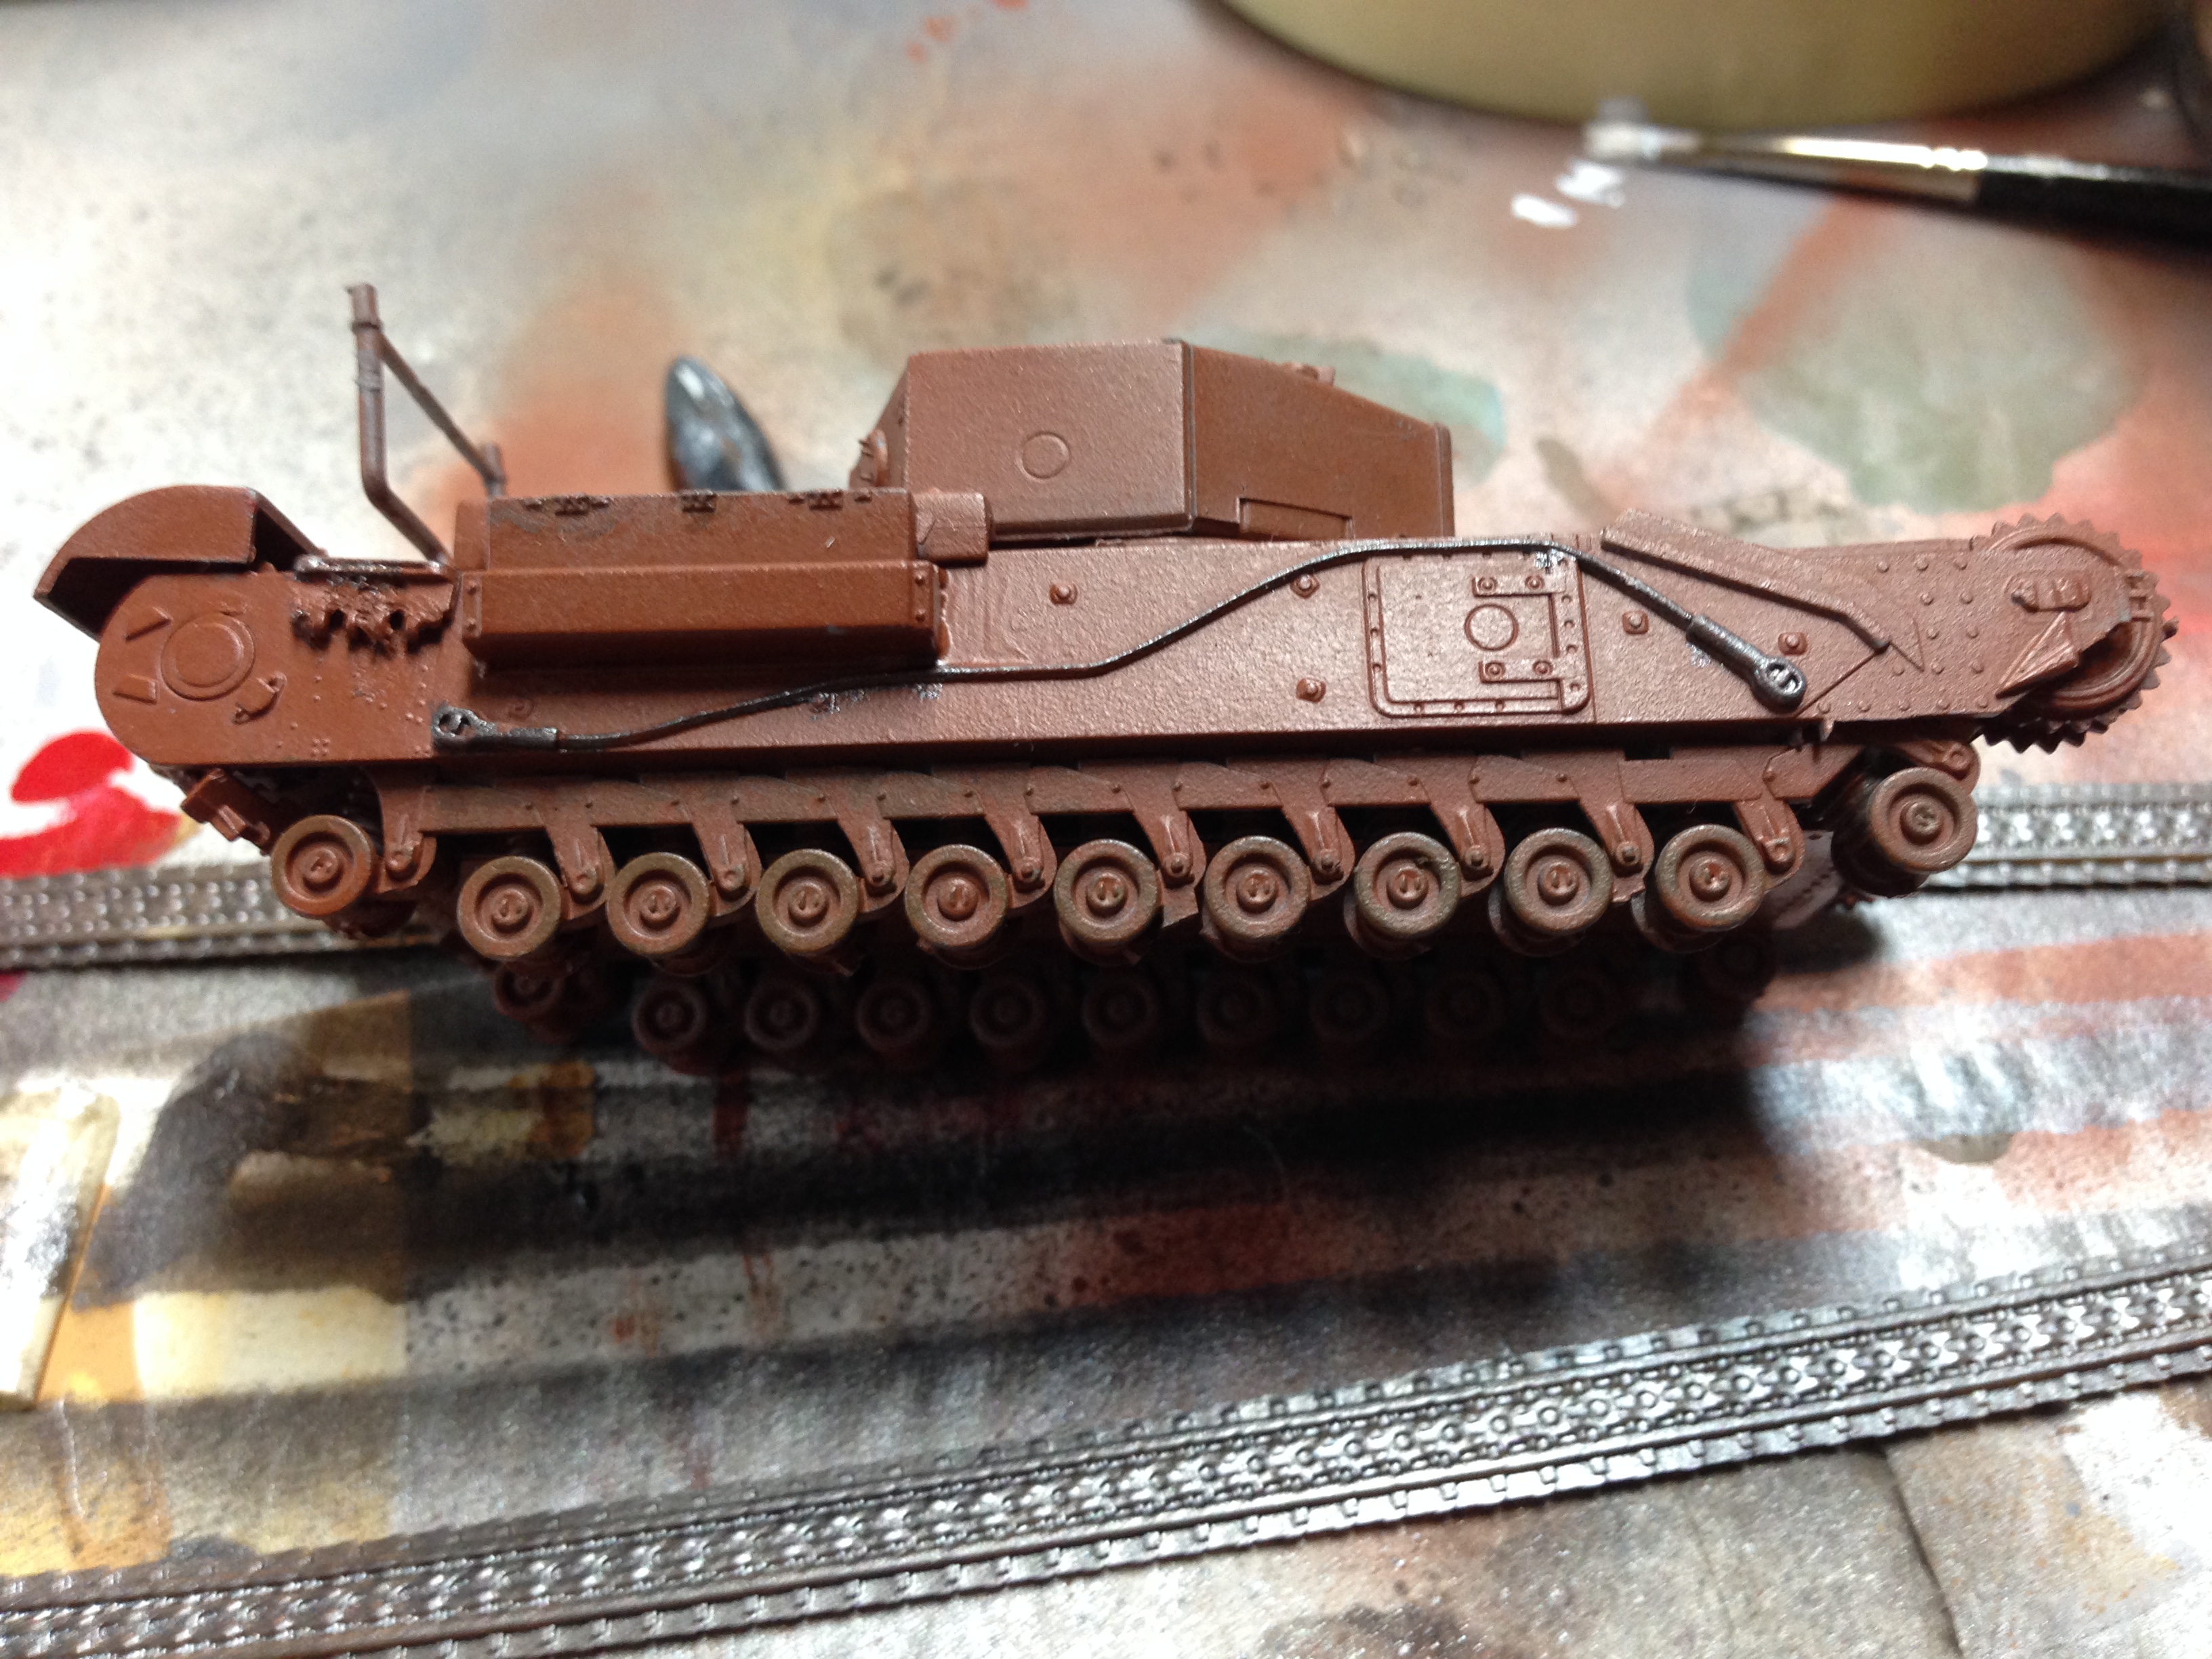
Using the same mud and black washes, I weathered the decals to make them match the rest of the vehicle and I applied a bit more mud weathering before attaching the tracks. I encountered no issues weathering on the decals, however there were a few parts related mishaps. All of the antennae finally fell off the top and I decided it was too much of an issue. The exhaust pipes were a pain and kept falling off. The tank tracks were actually very easy to glue together because the tank tracks could be glued using the solvent glue. This model was very easy to assemble, however there were several problematic parts, such as the antennae and the exhaust pipes. I was able to cover up some of my decals mishaps with weathering, particularly using a natural steel wash where one of my “Betty” decals ripped and fell apart. The overall quality of the model and instructions is very high, however I had several issues with the tiny parts, but that was probably due to the shaking in my hands and general clumsiness.