This is actually the first model kit I bought, but I put it off until I had done several models and I had more practice under my belt. This kit, unfortunately, has several issues.
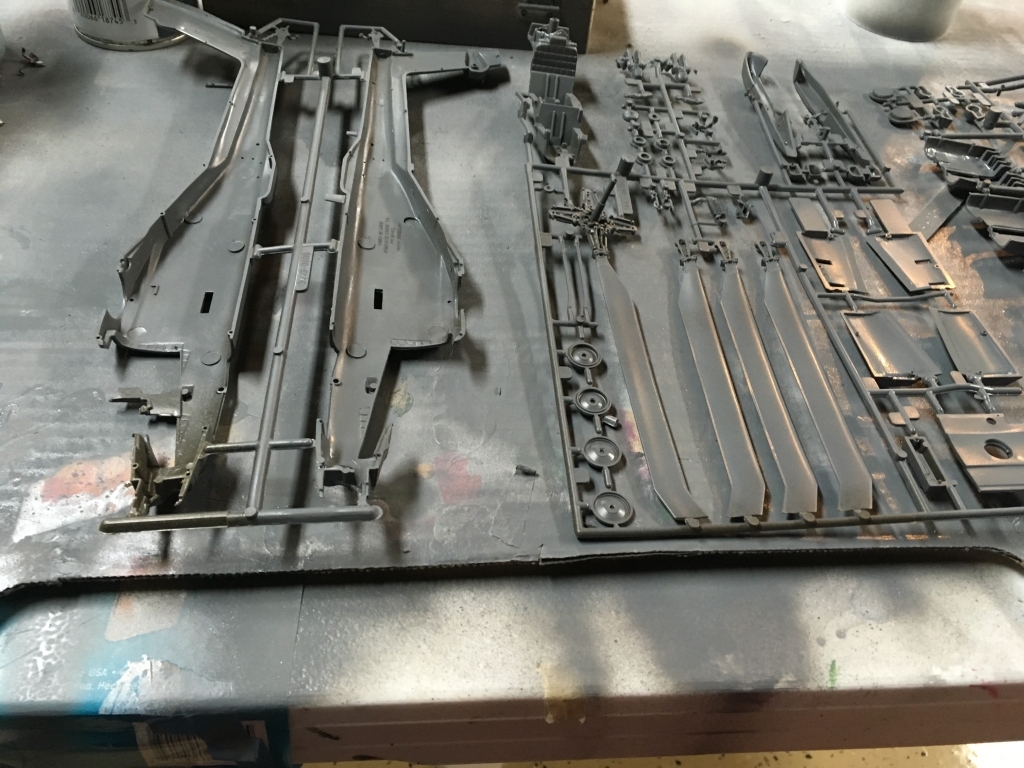
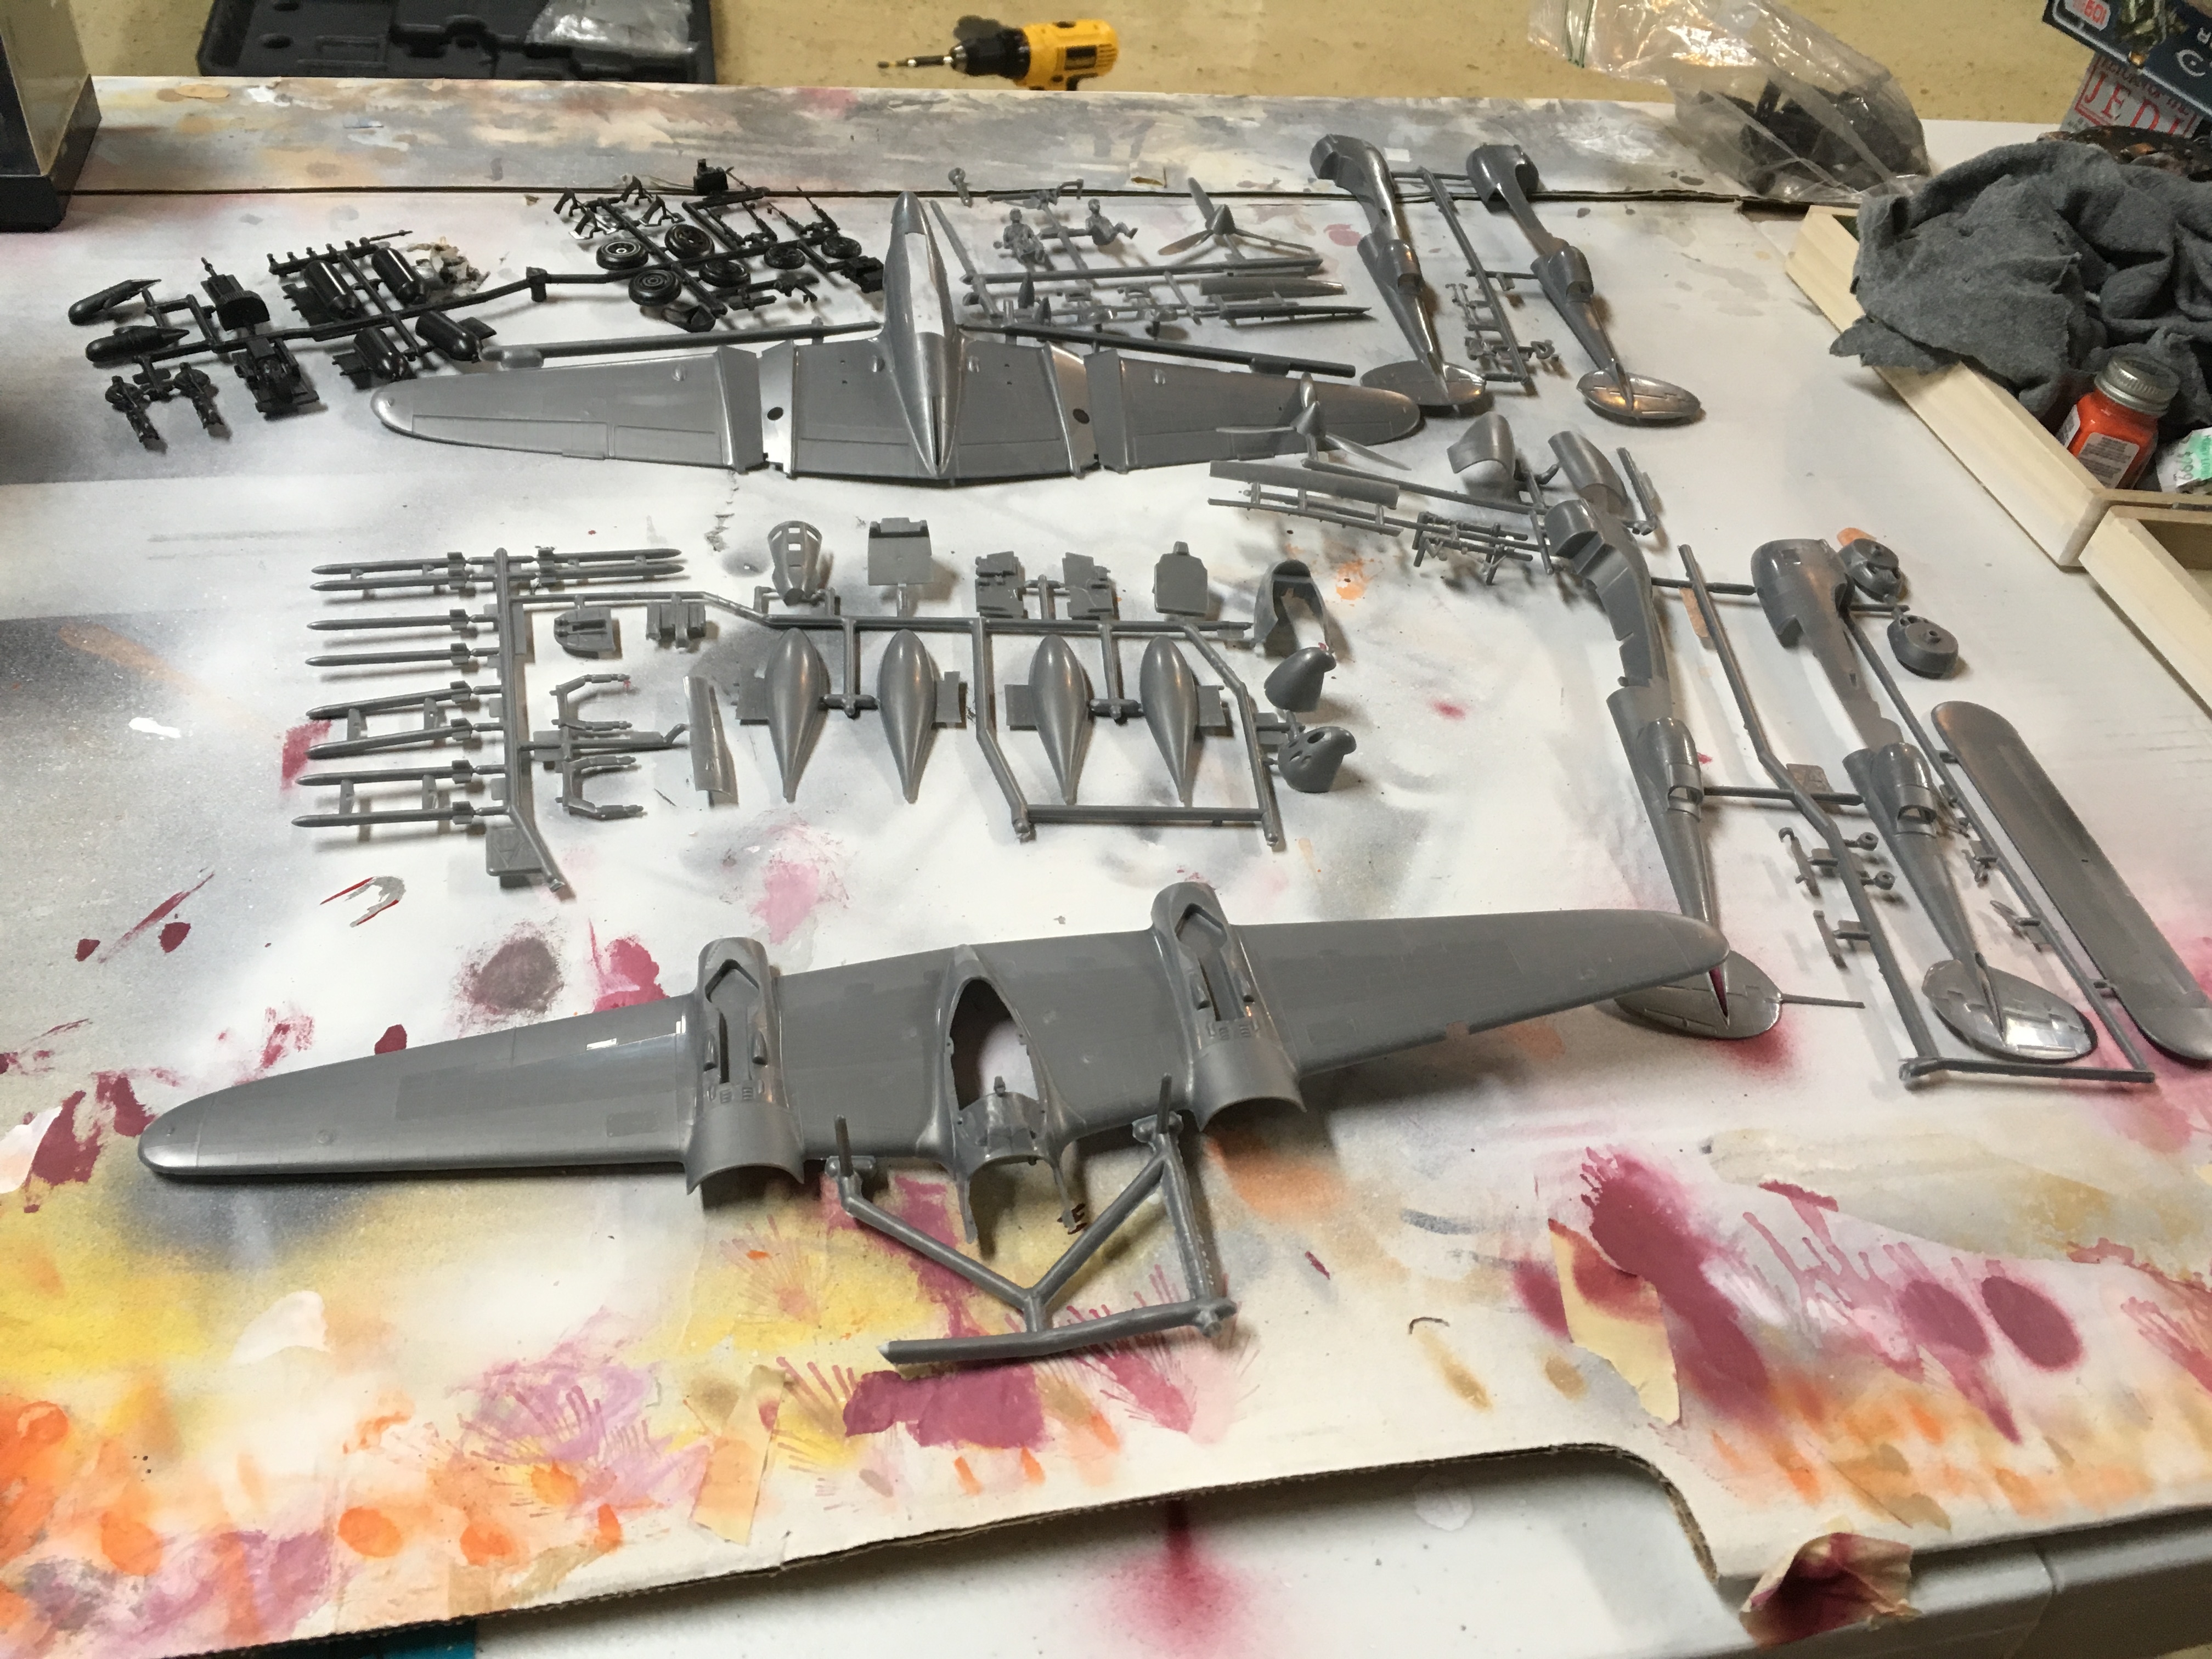
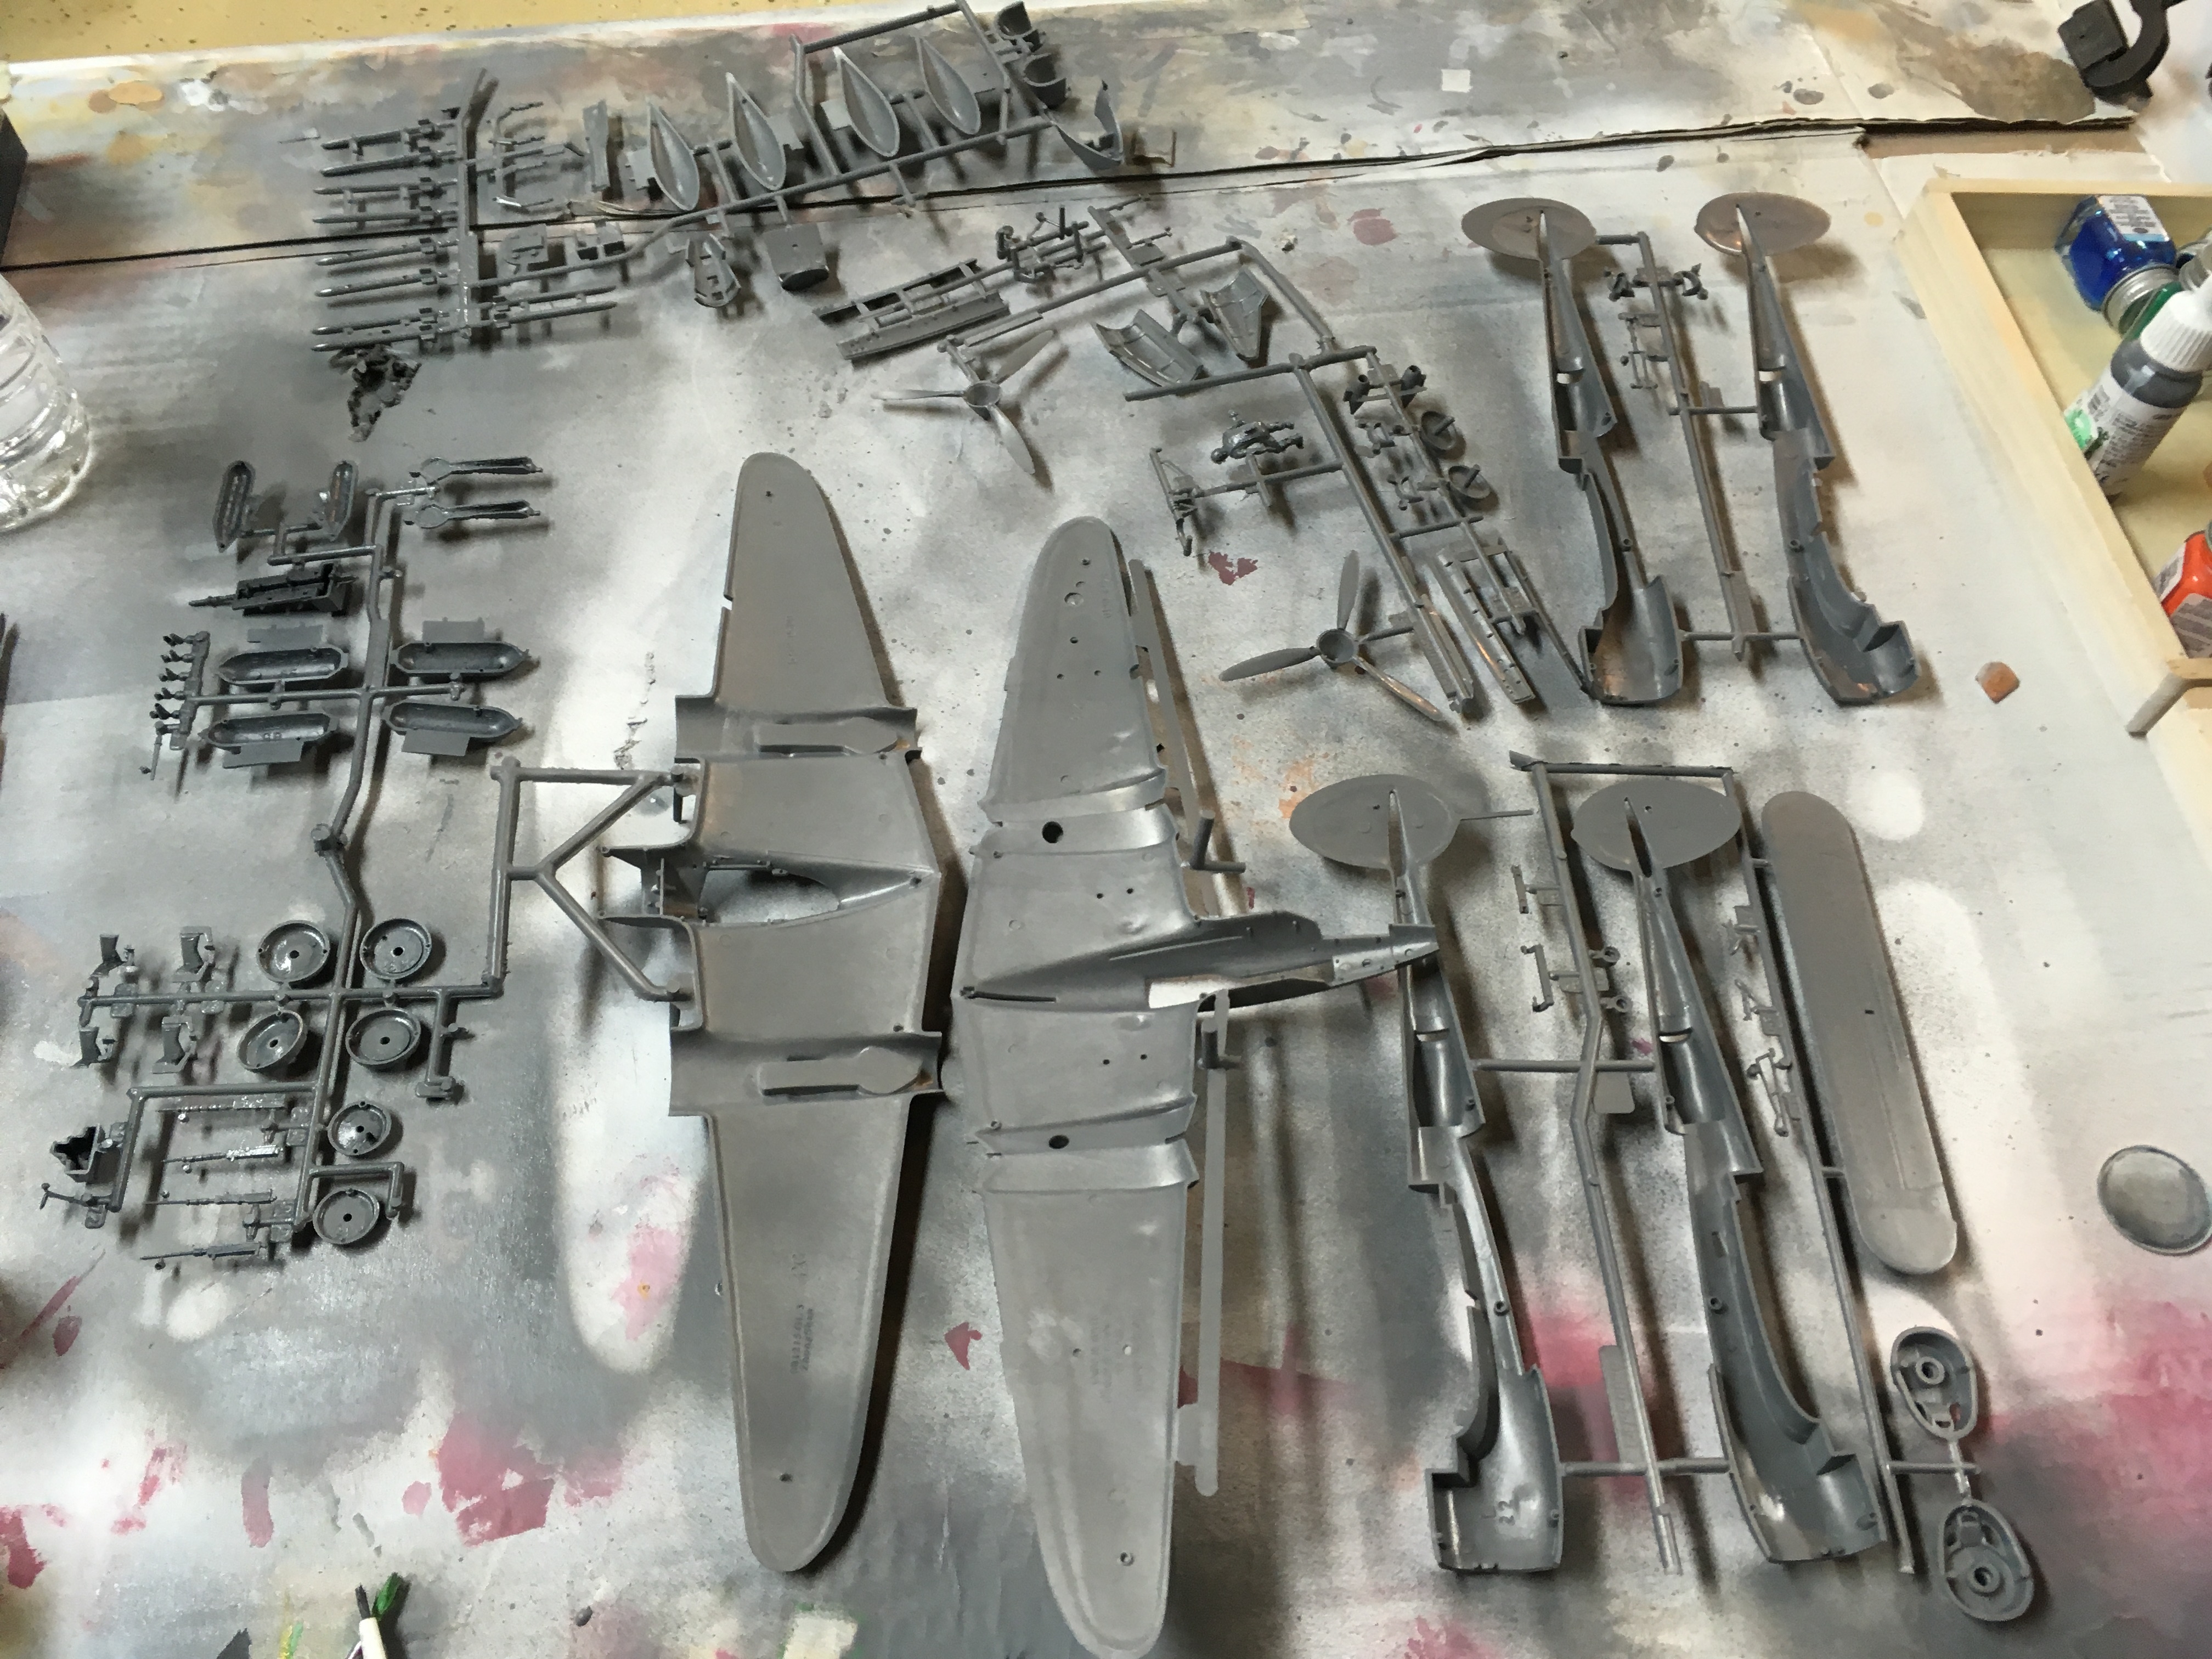
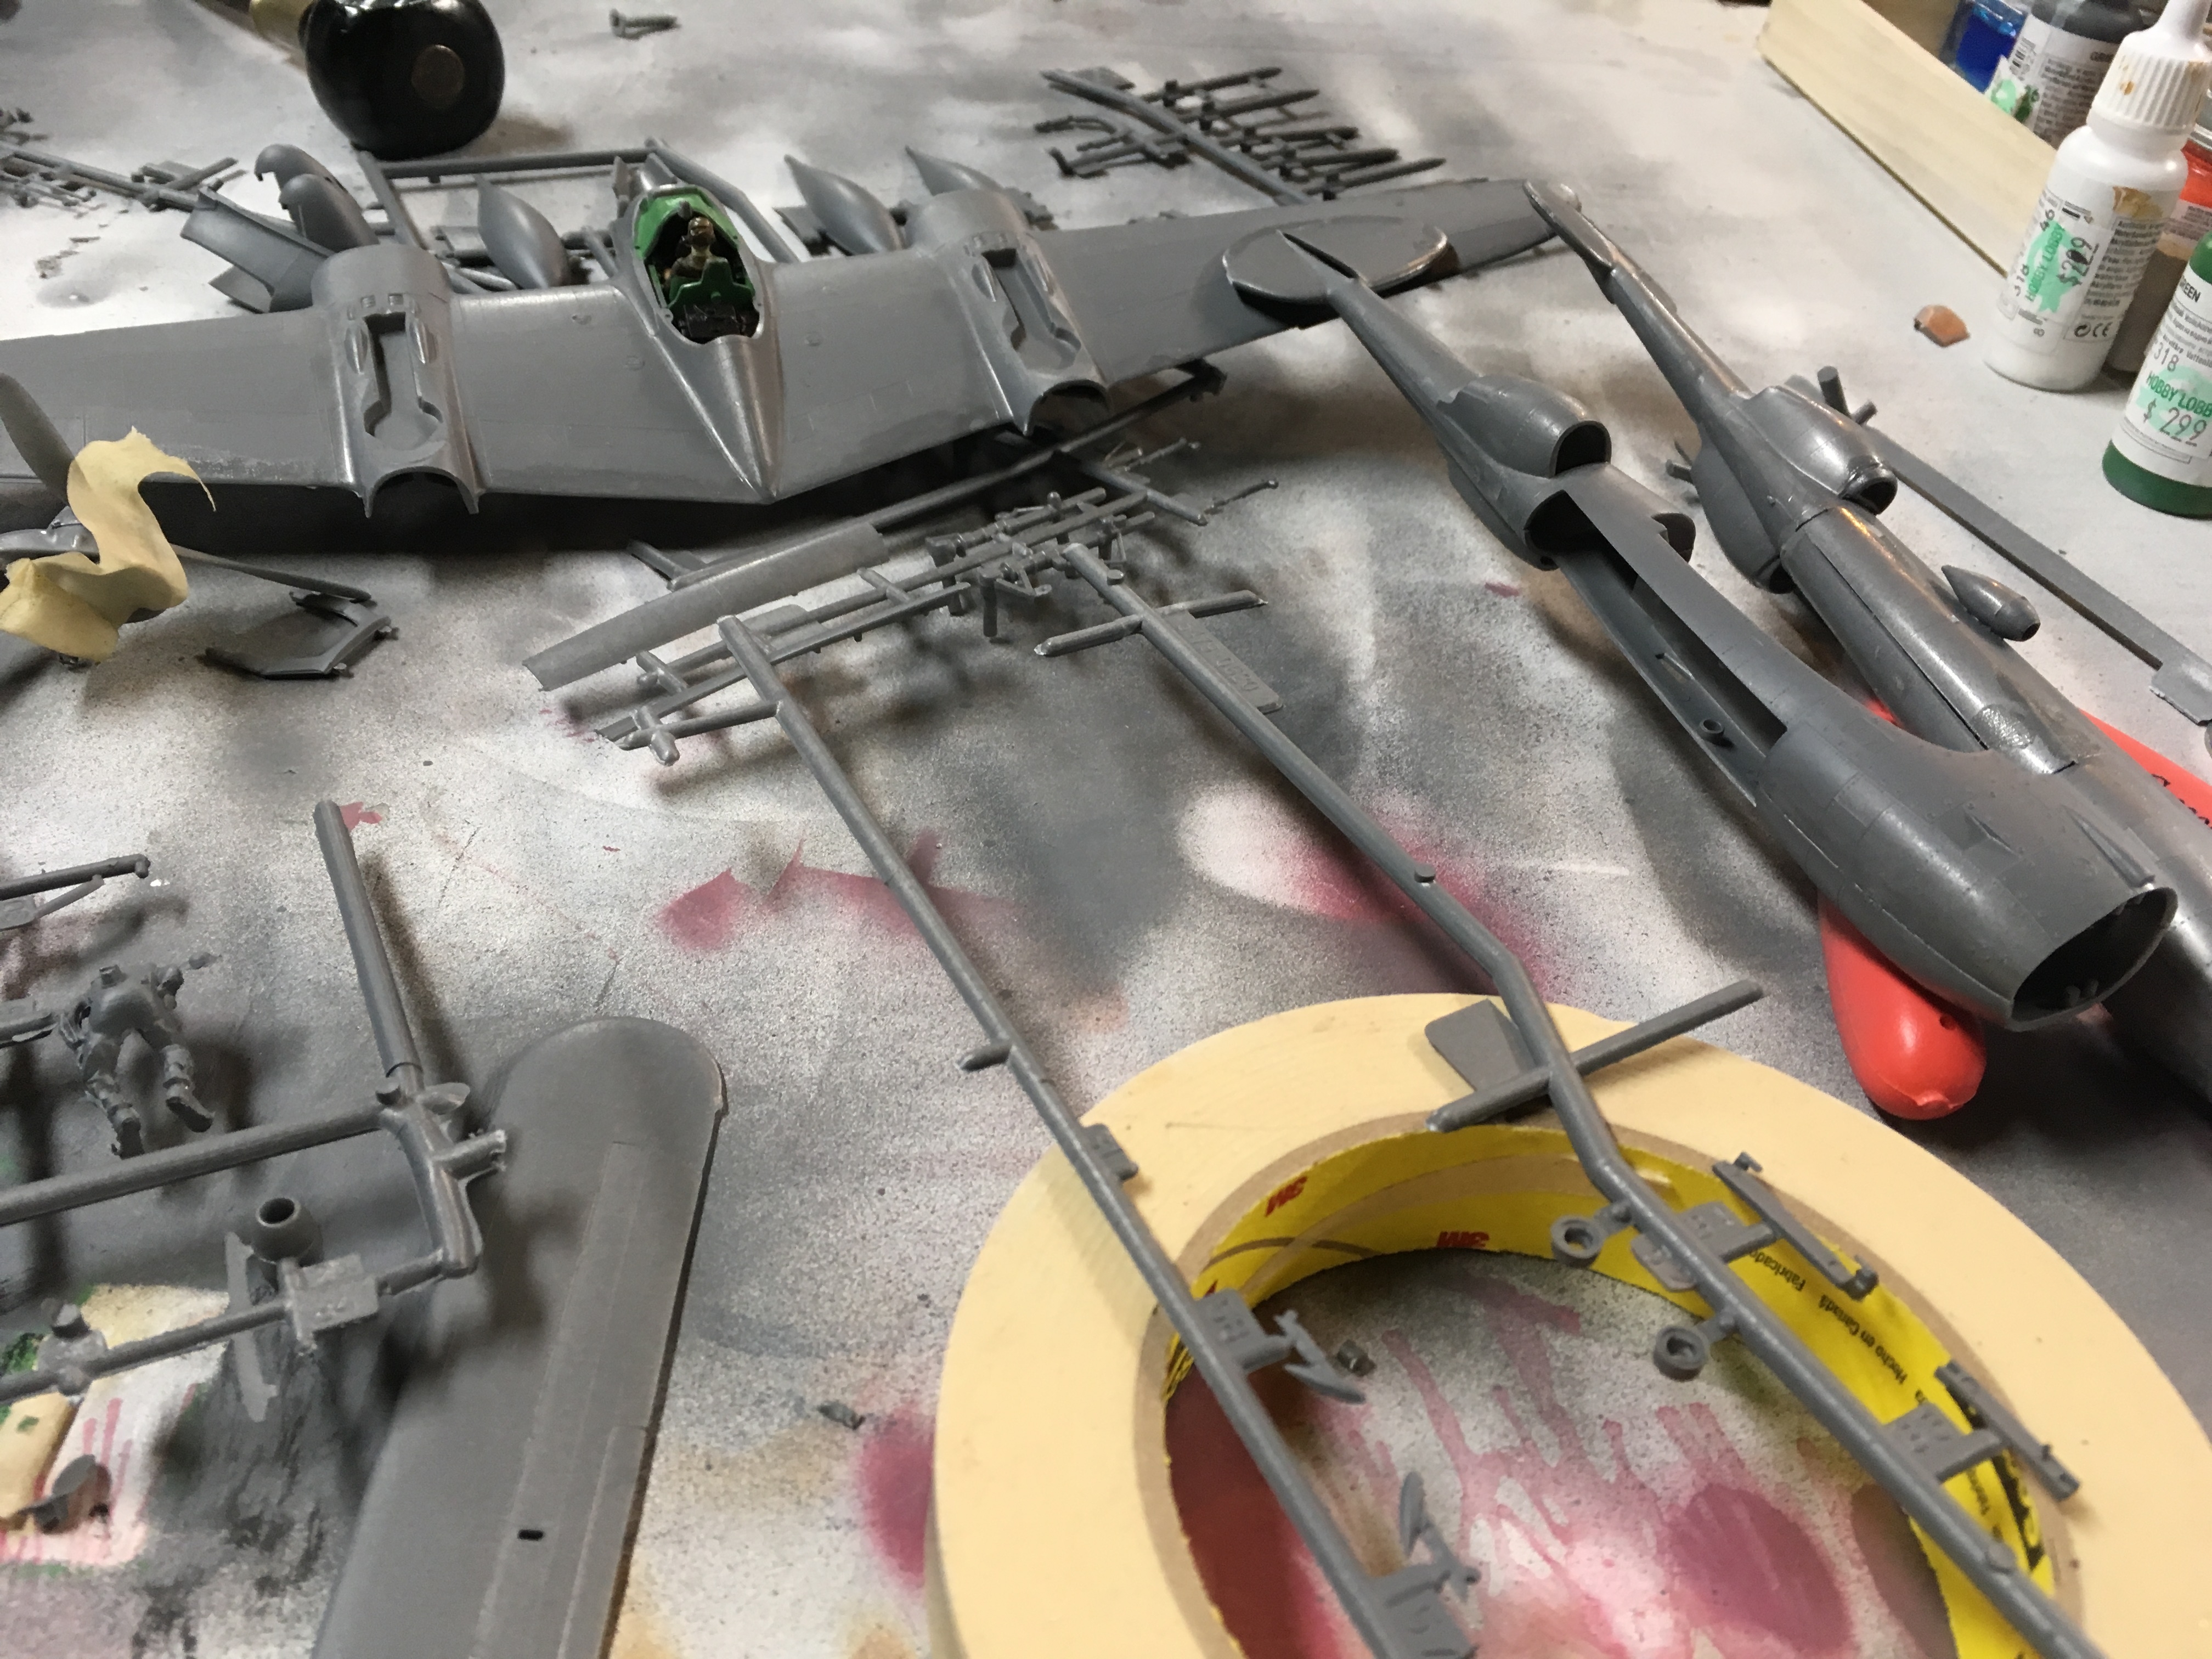
Step Zero - Taking note of the instructions and the sprue:
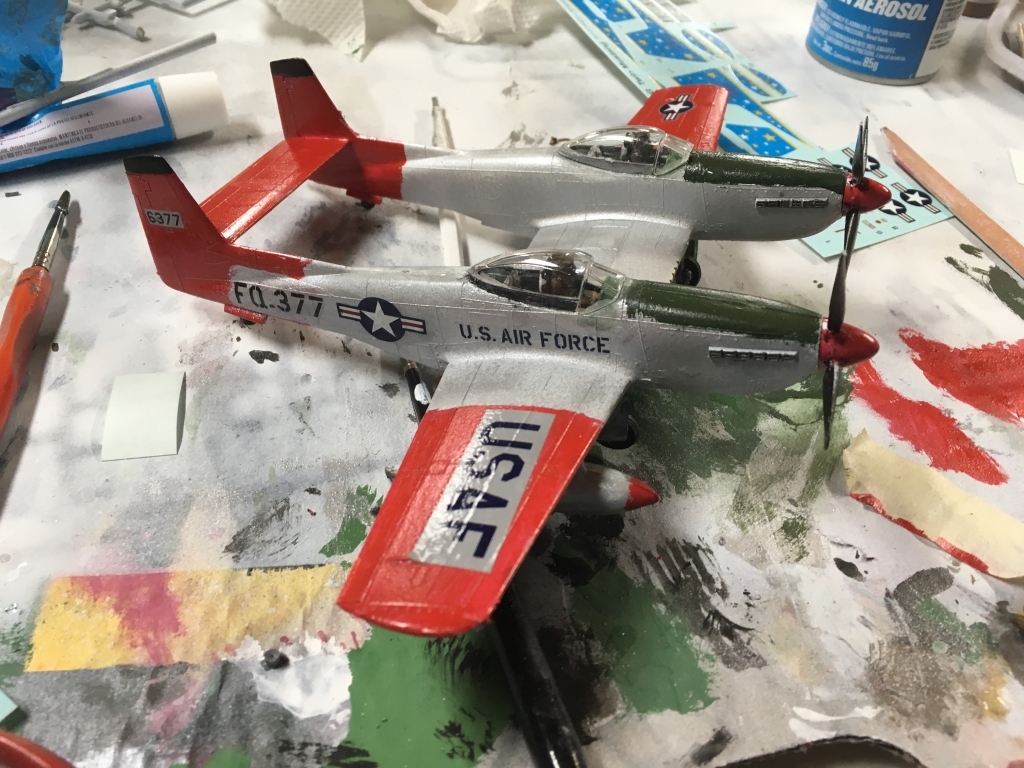
The the instructions were very fairly clear and they had 3 different variants to chose from, the Night Fighter, The Fighter Bomber, and the “Standard” P-38 flown by Richard Bong. This is the largest build I have done, but it only has about a half dozen more pieces than the Churchill Tank. I sprayed everything with a grey primer.
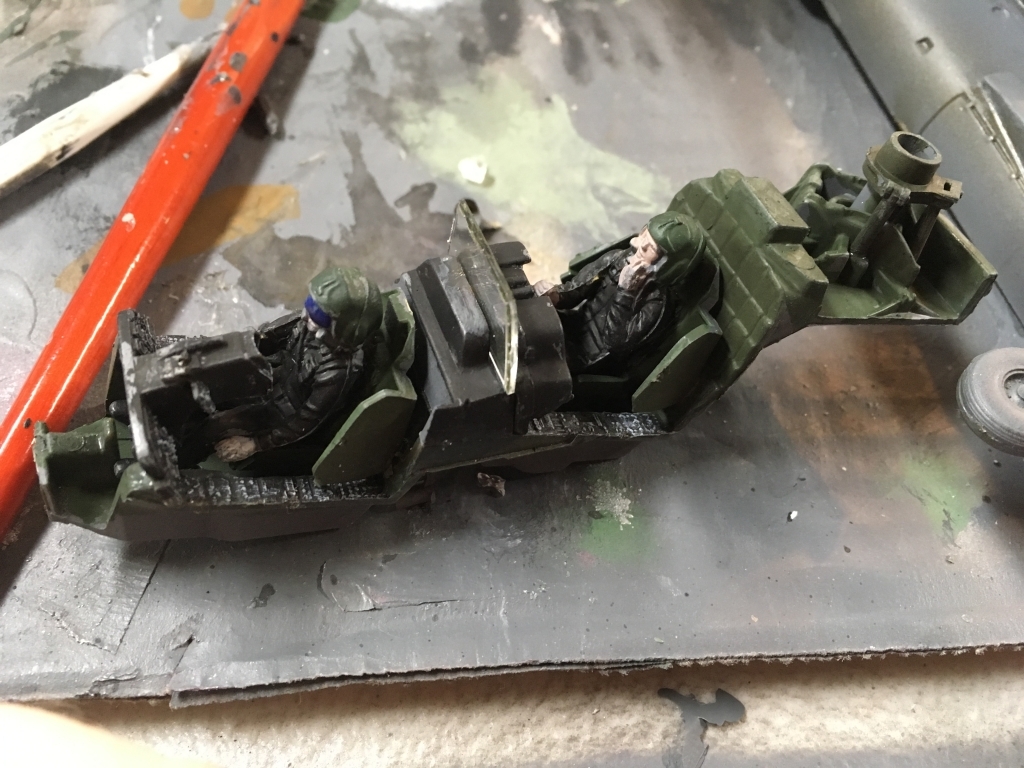
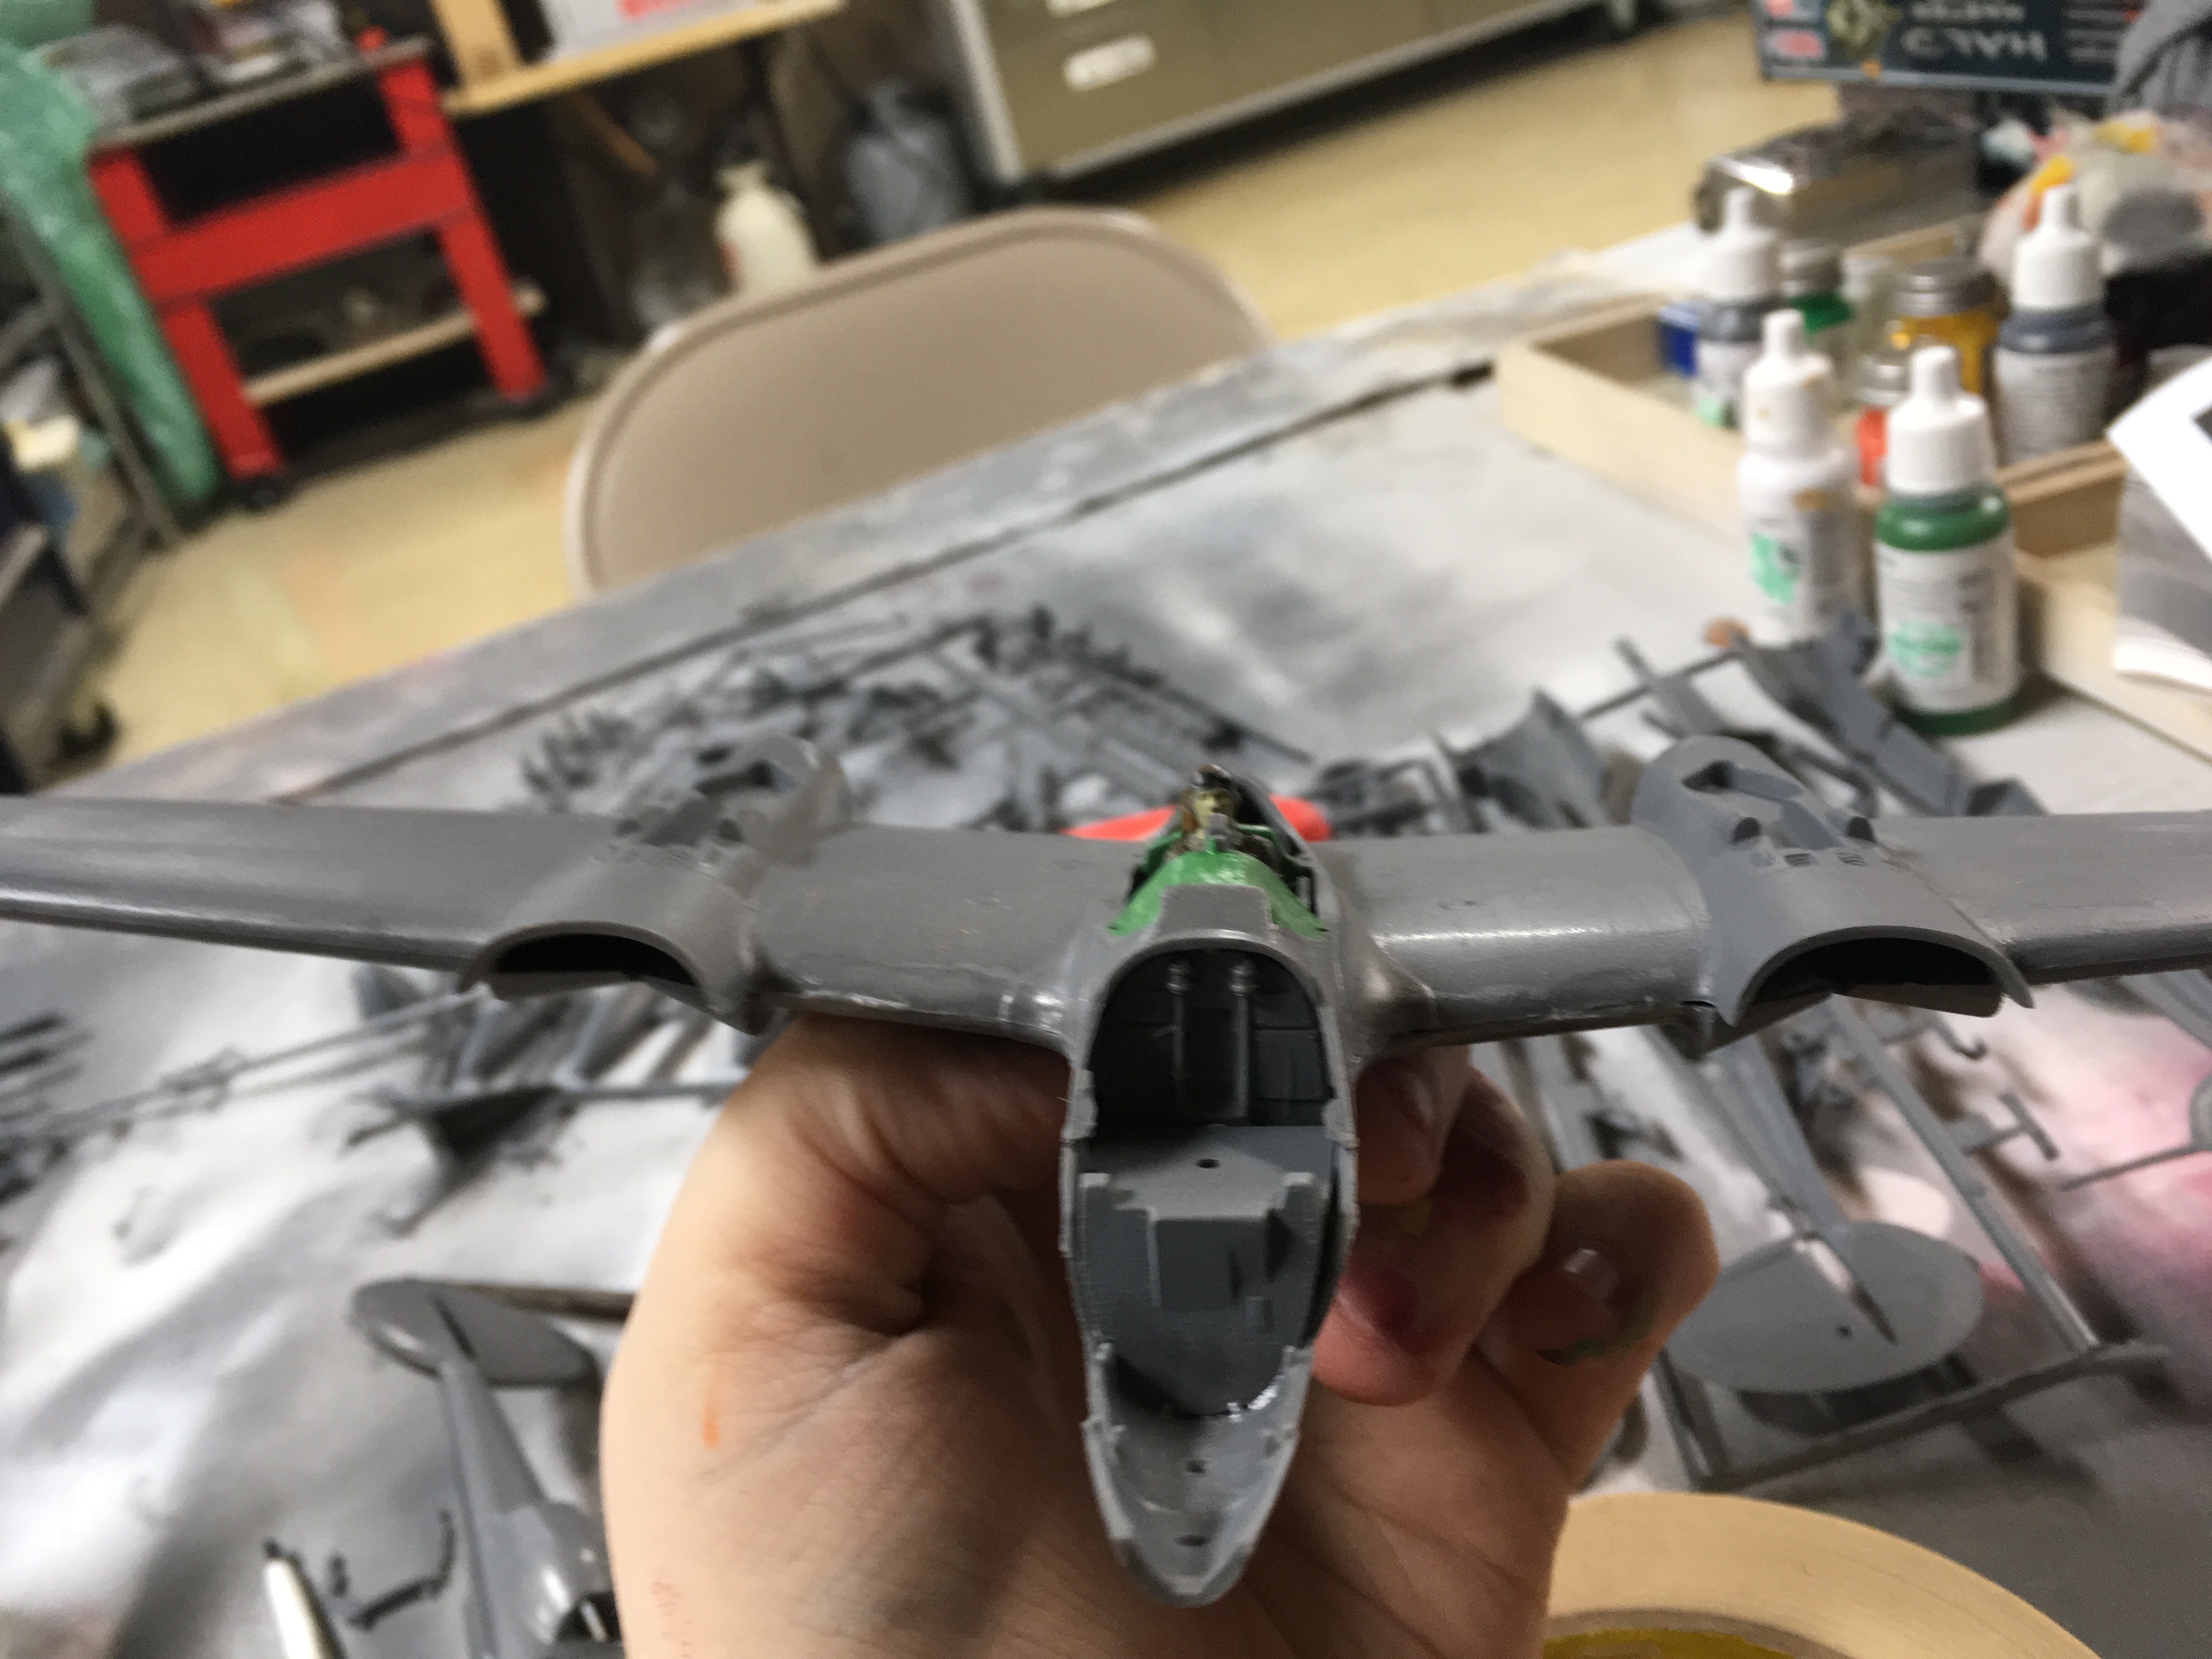
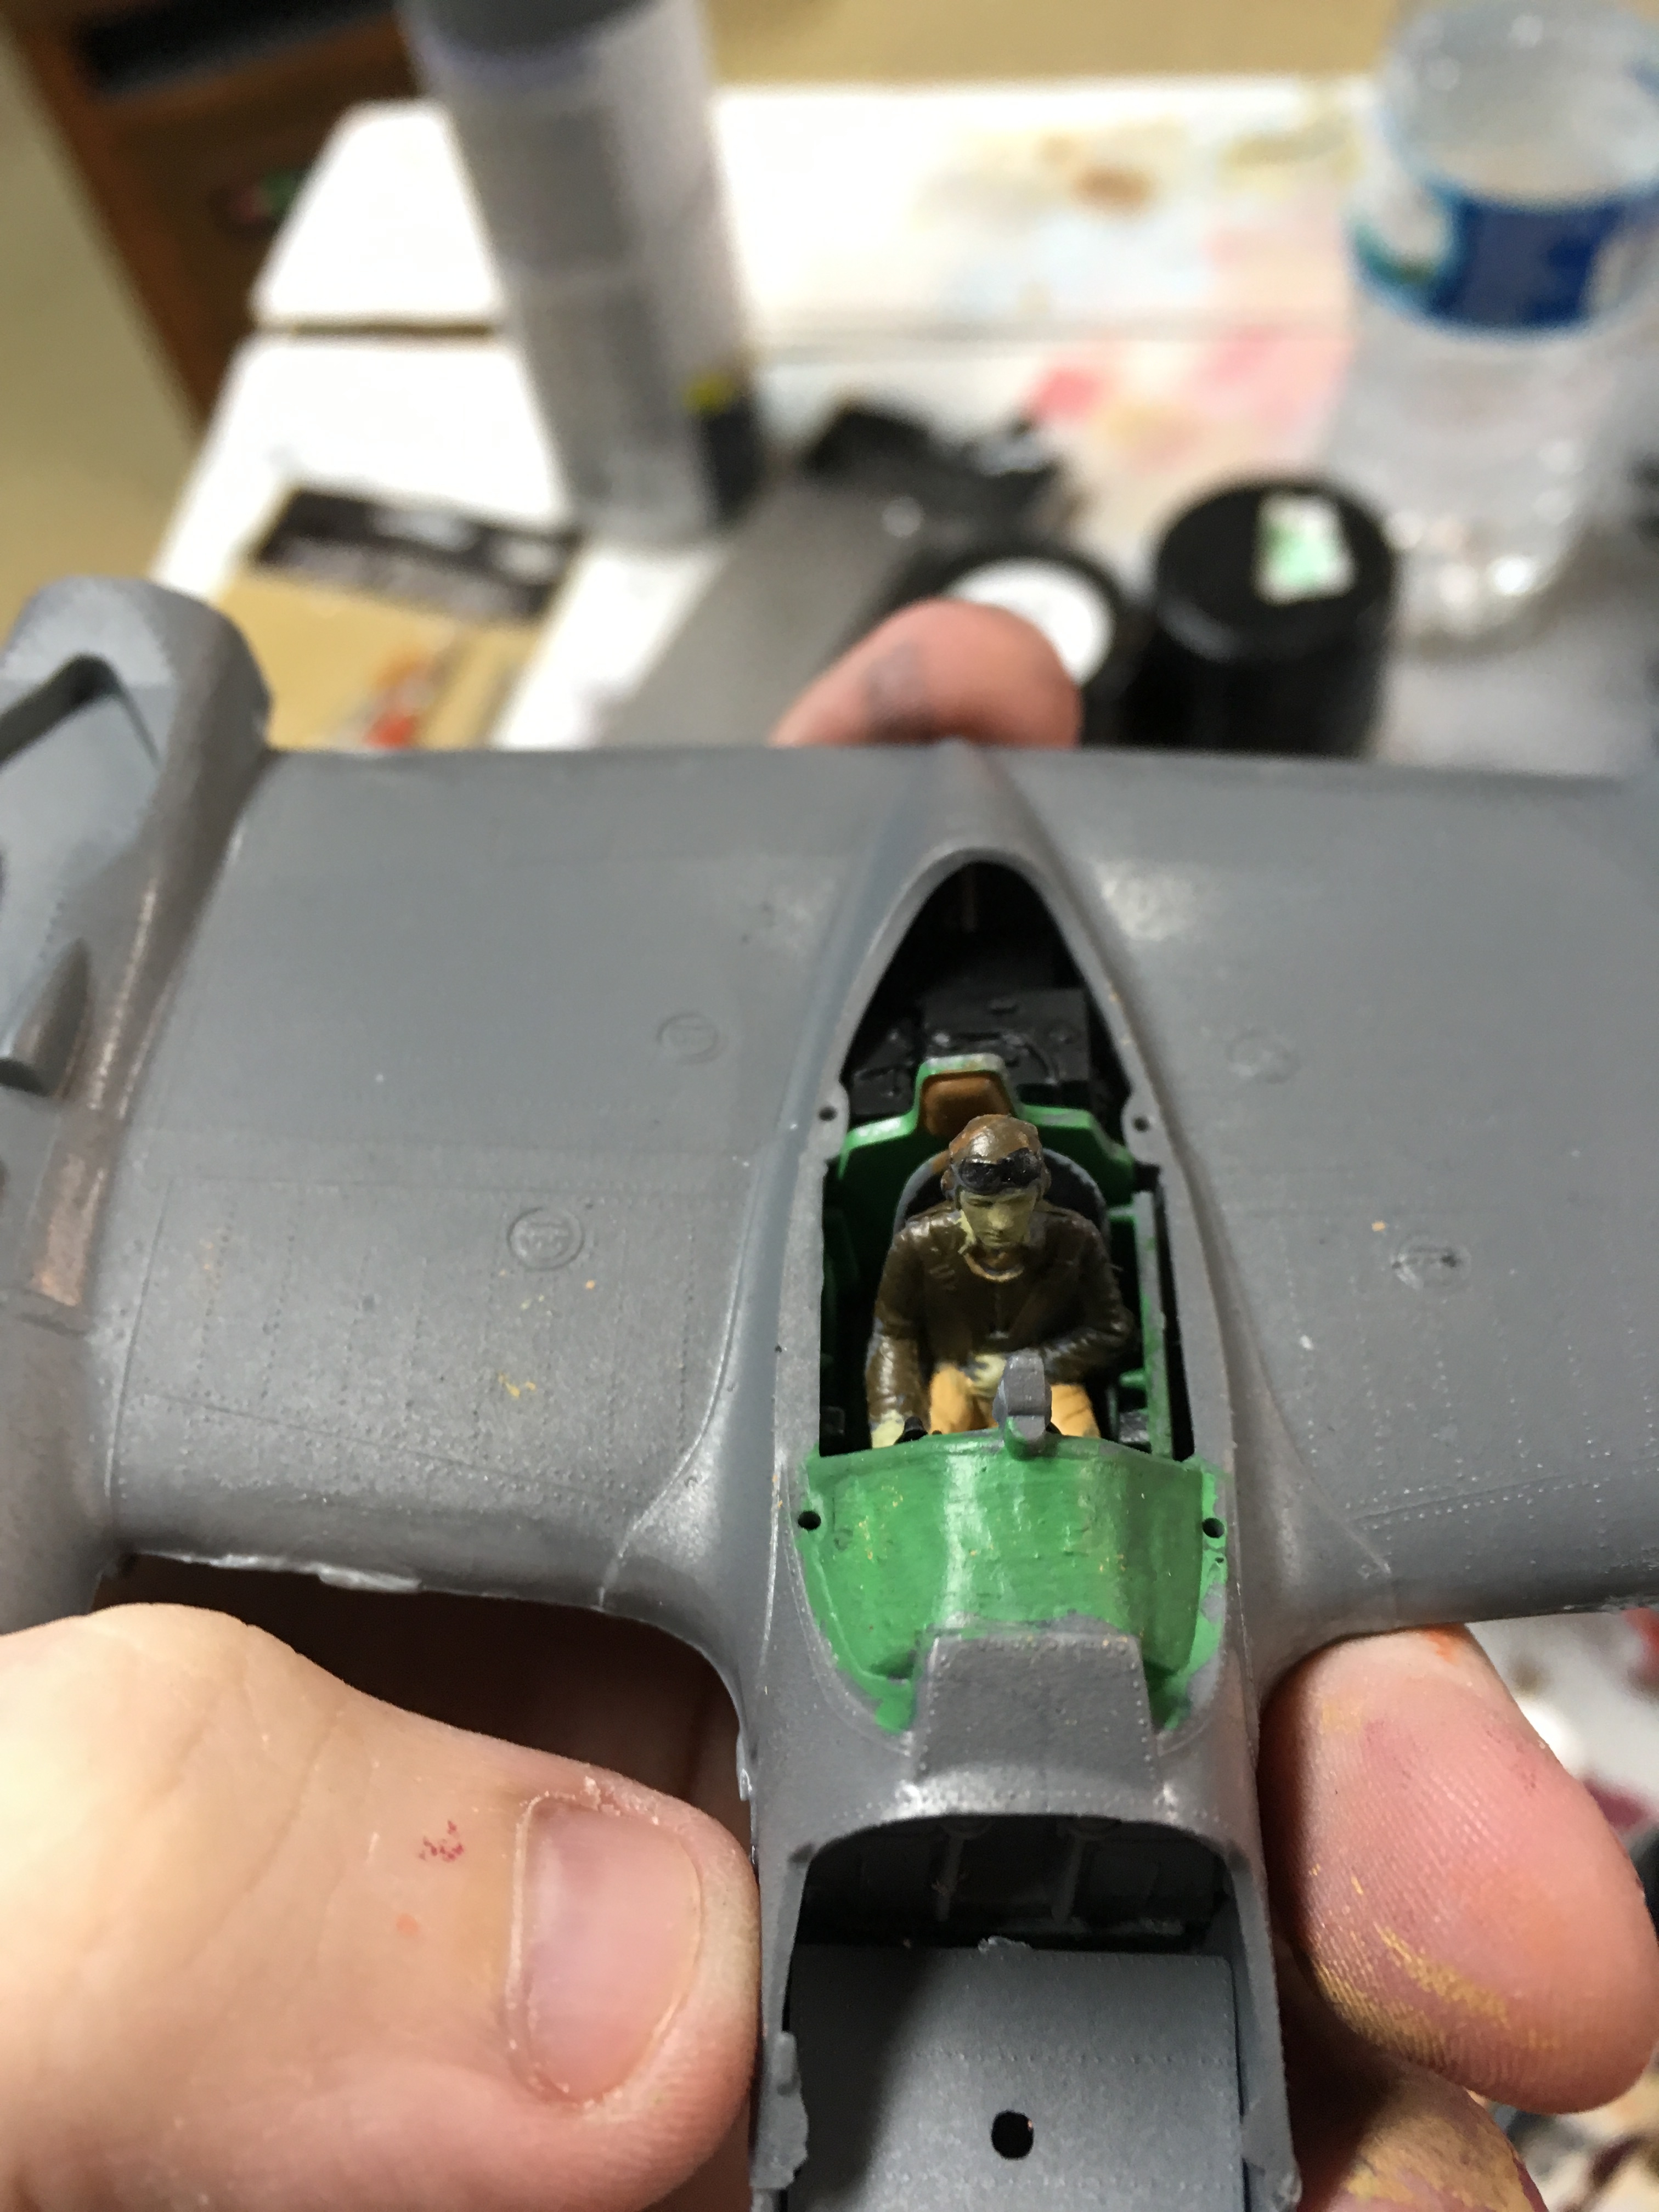
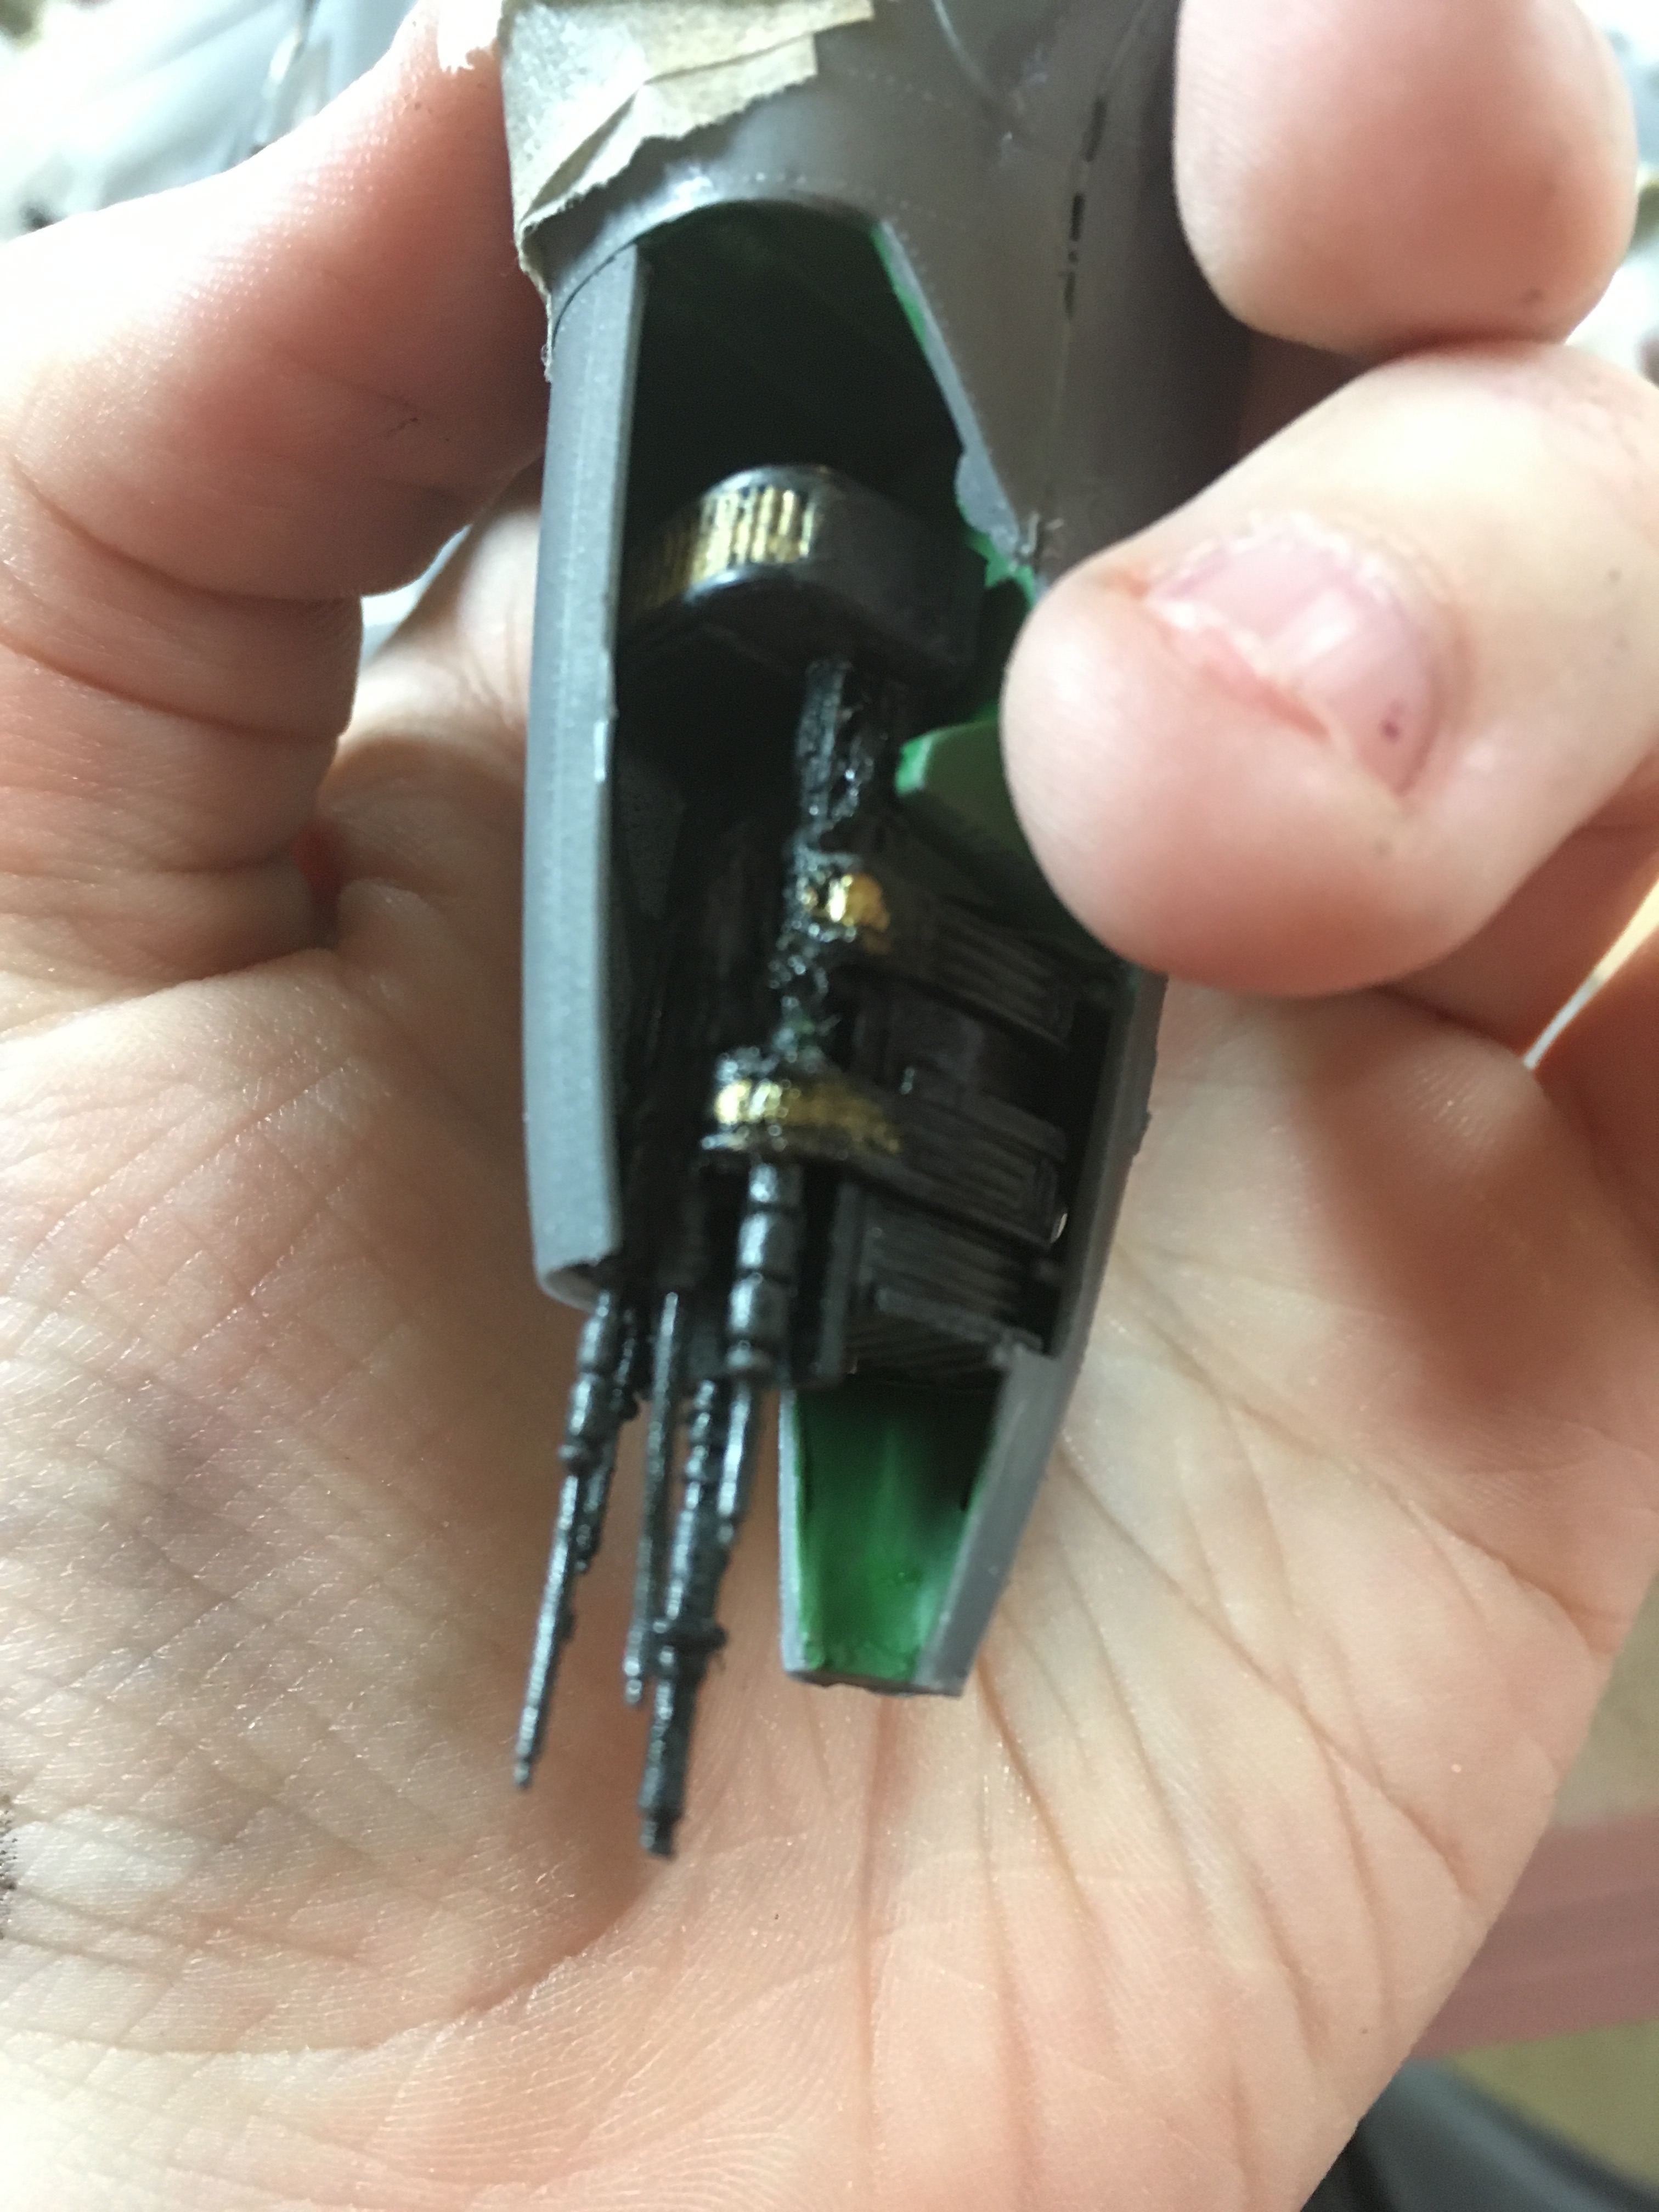
Step One - Assembling the cockpit:
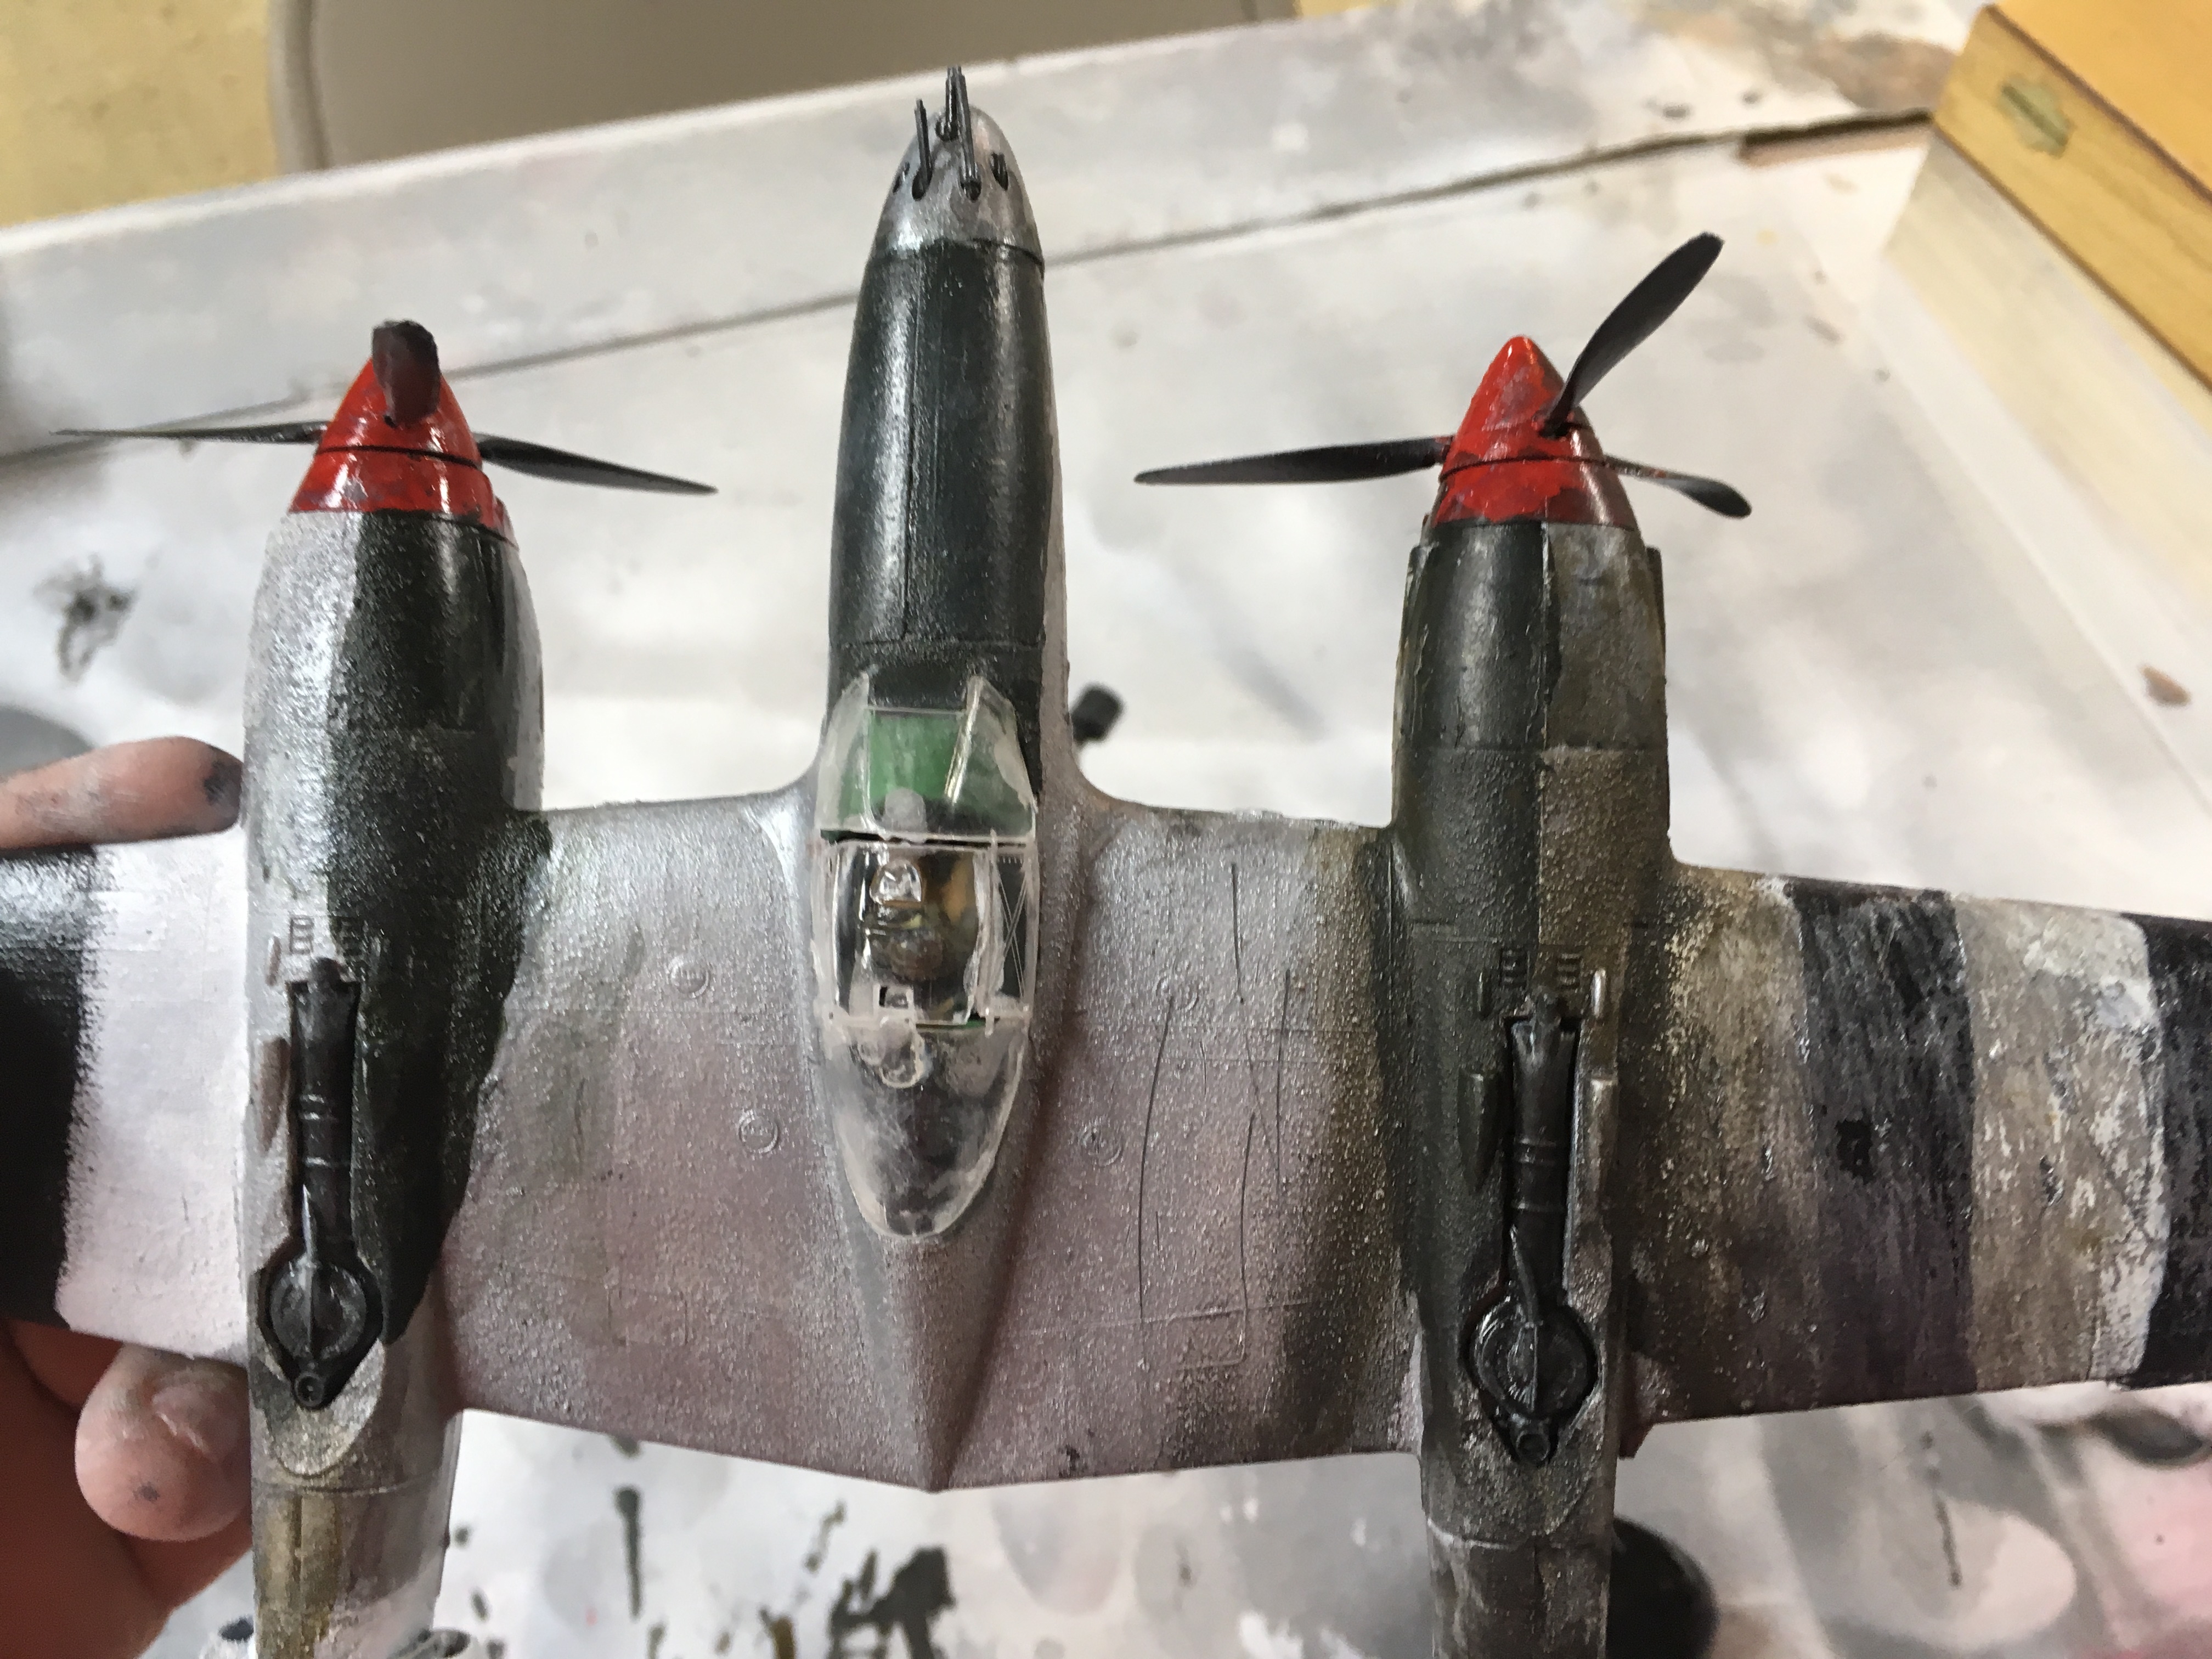
This was pretty easy to do. The instructions were clear on what needed to be done for everything to come together, however there were a couple alignment issues which became a problem later on while building. I painted the interior corrosion coating, then the electronics, then finally the pilot. The pilot took a fair bit of time for something you don’t really see at the end.
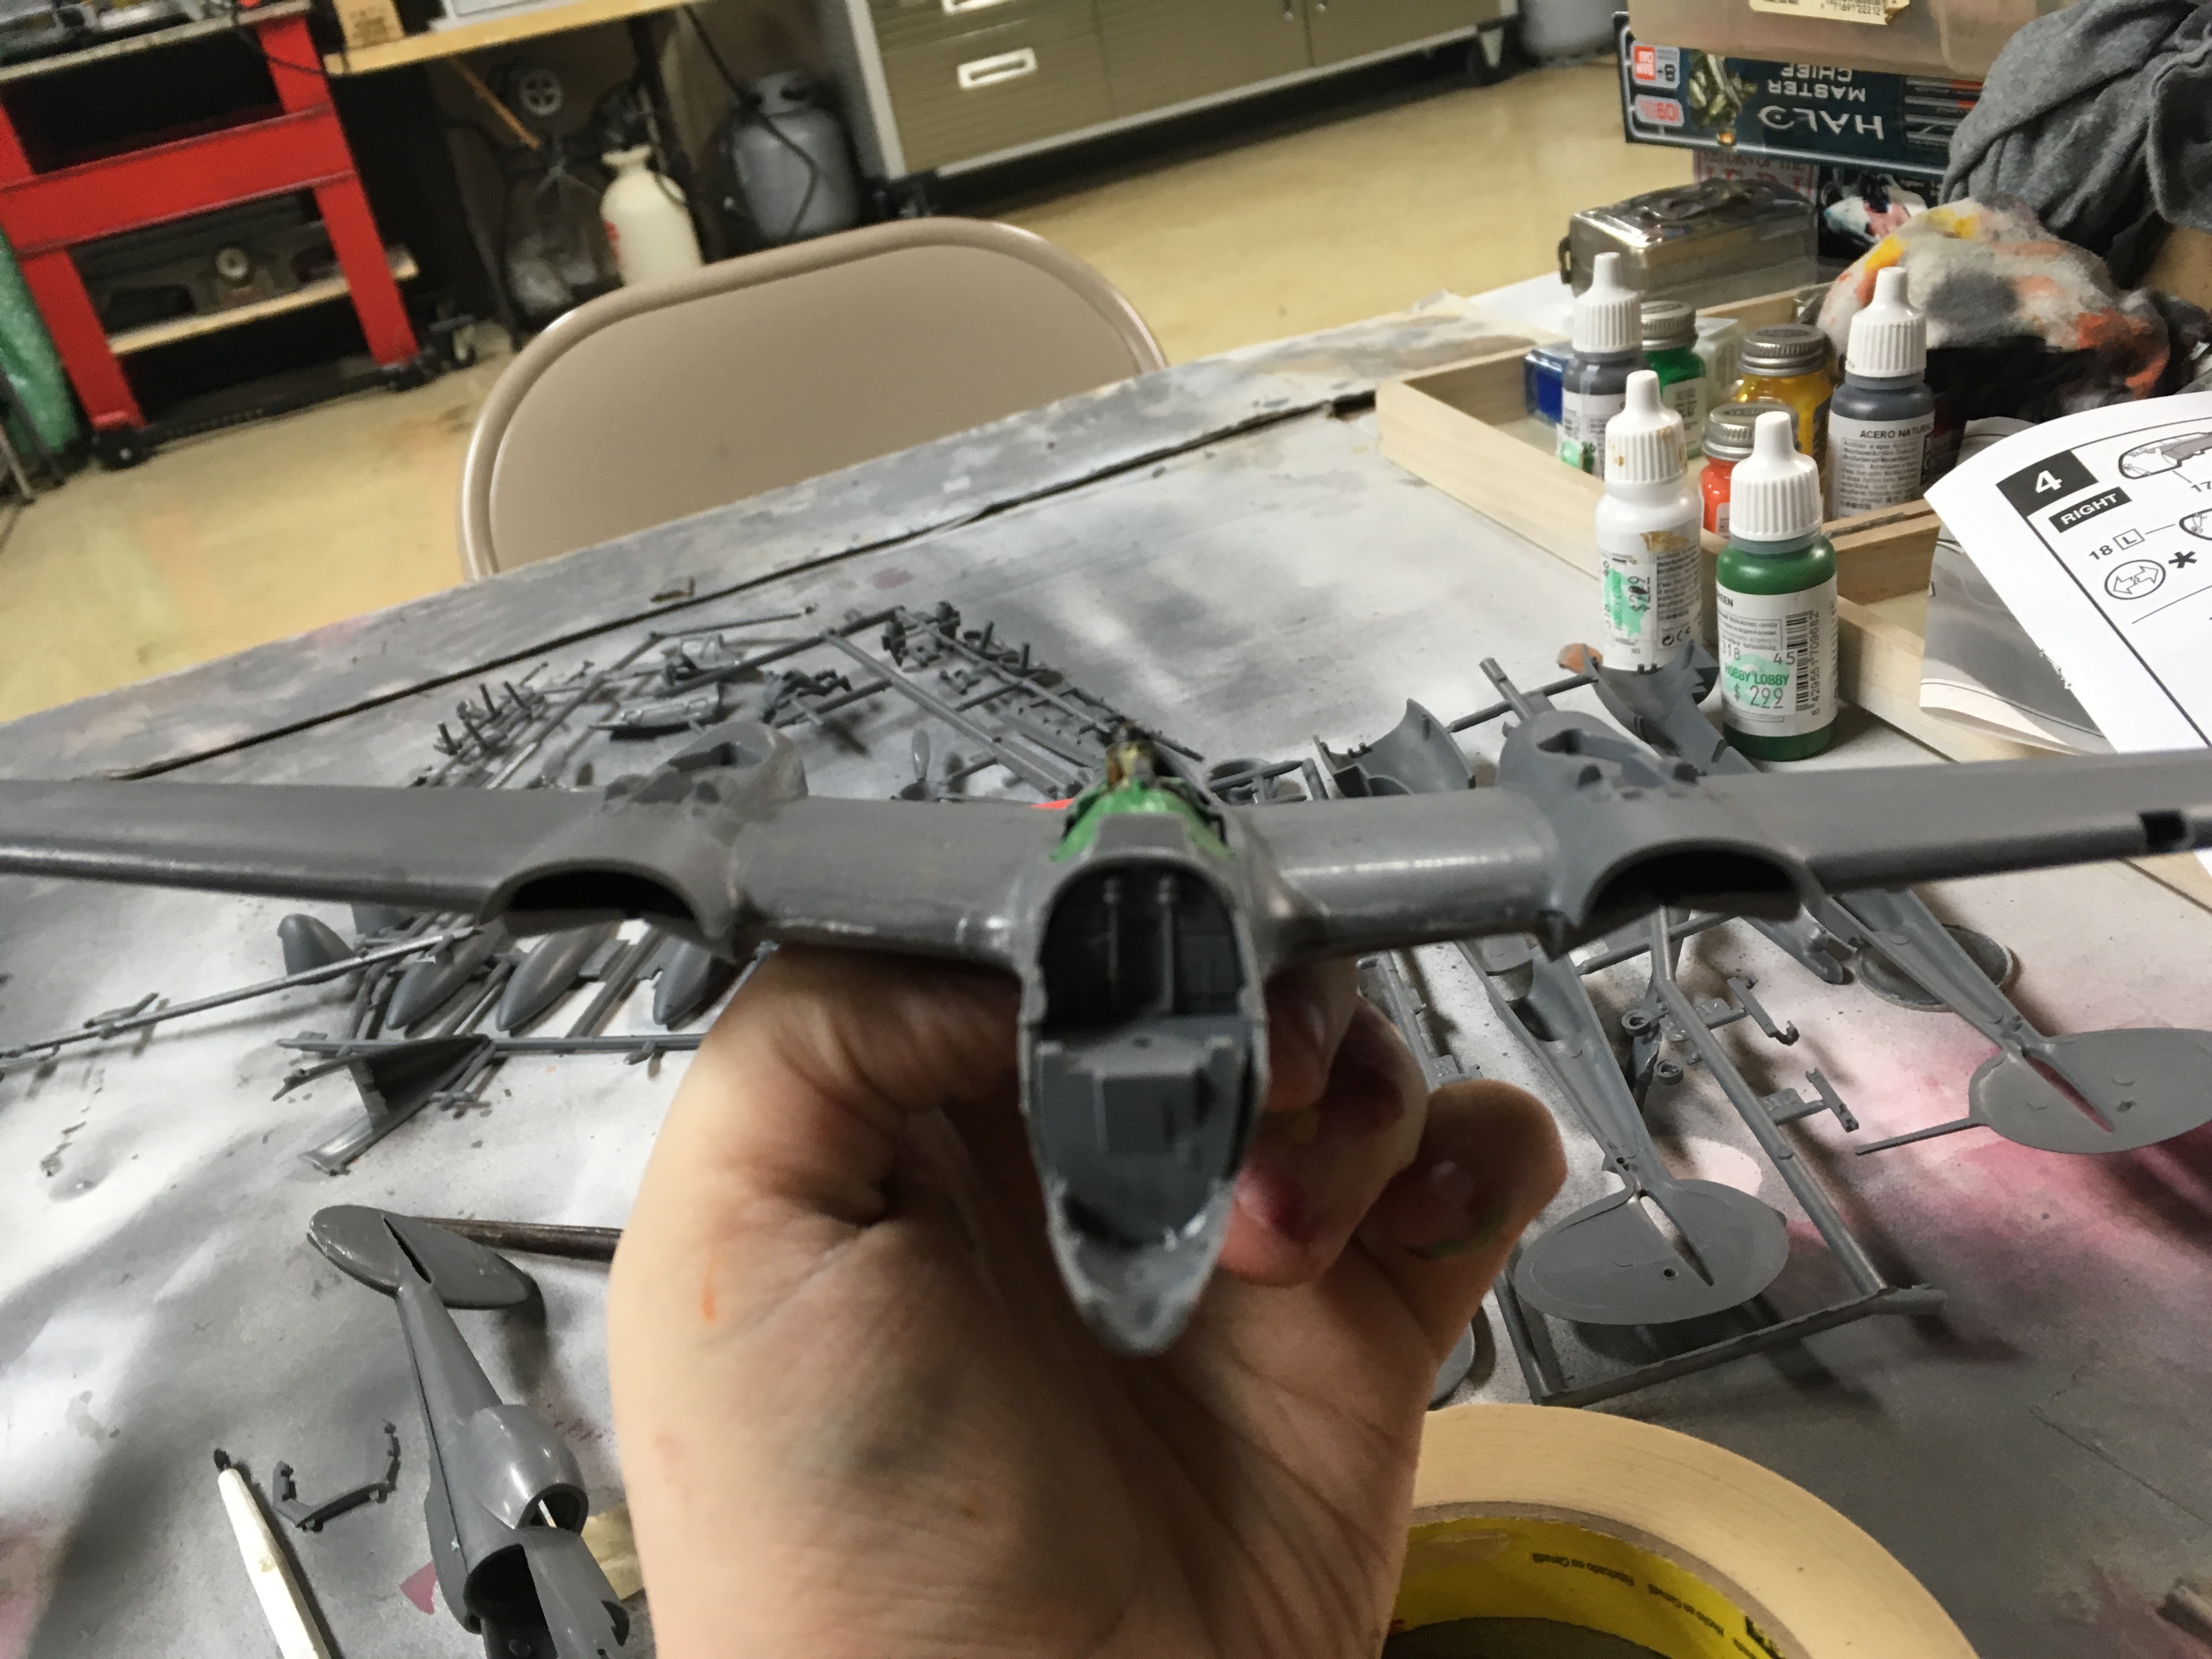
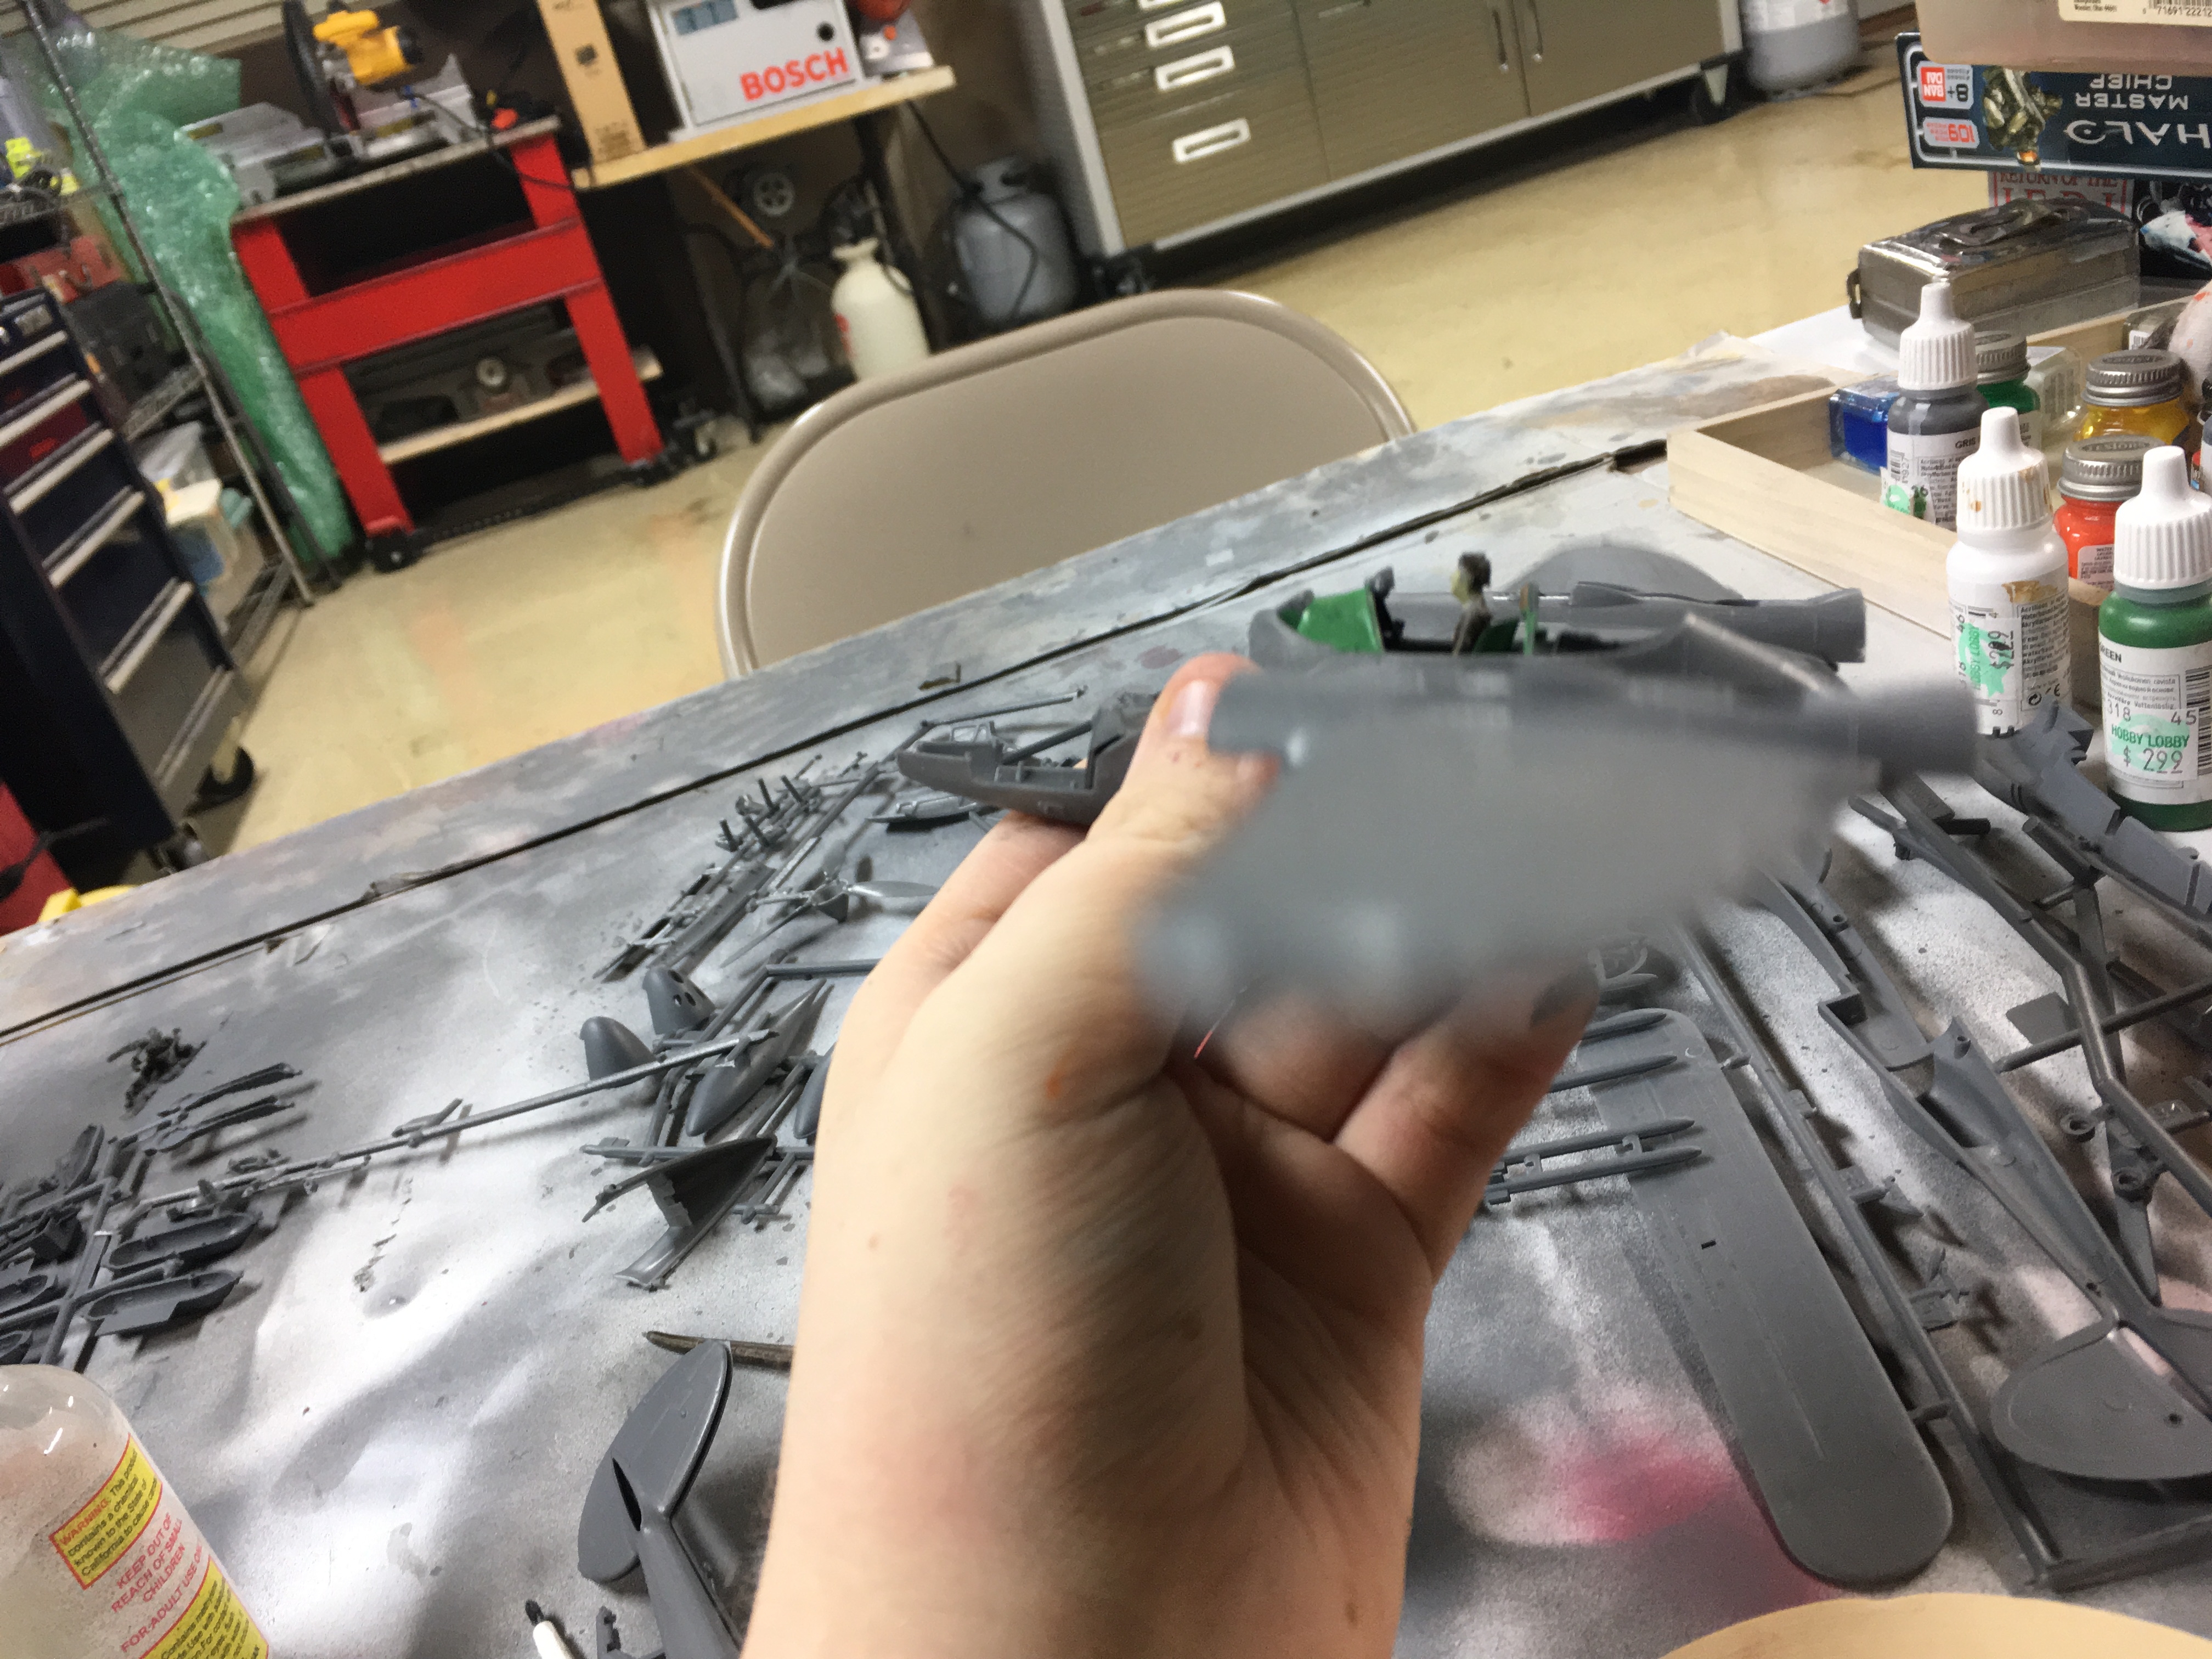
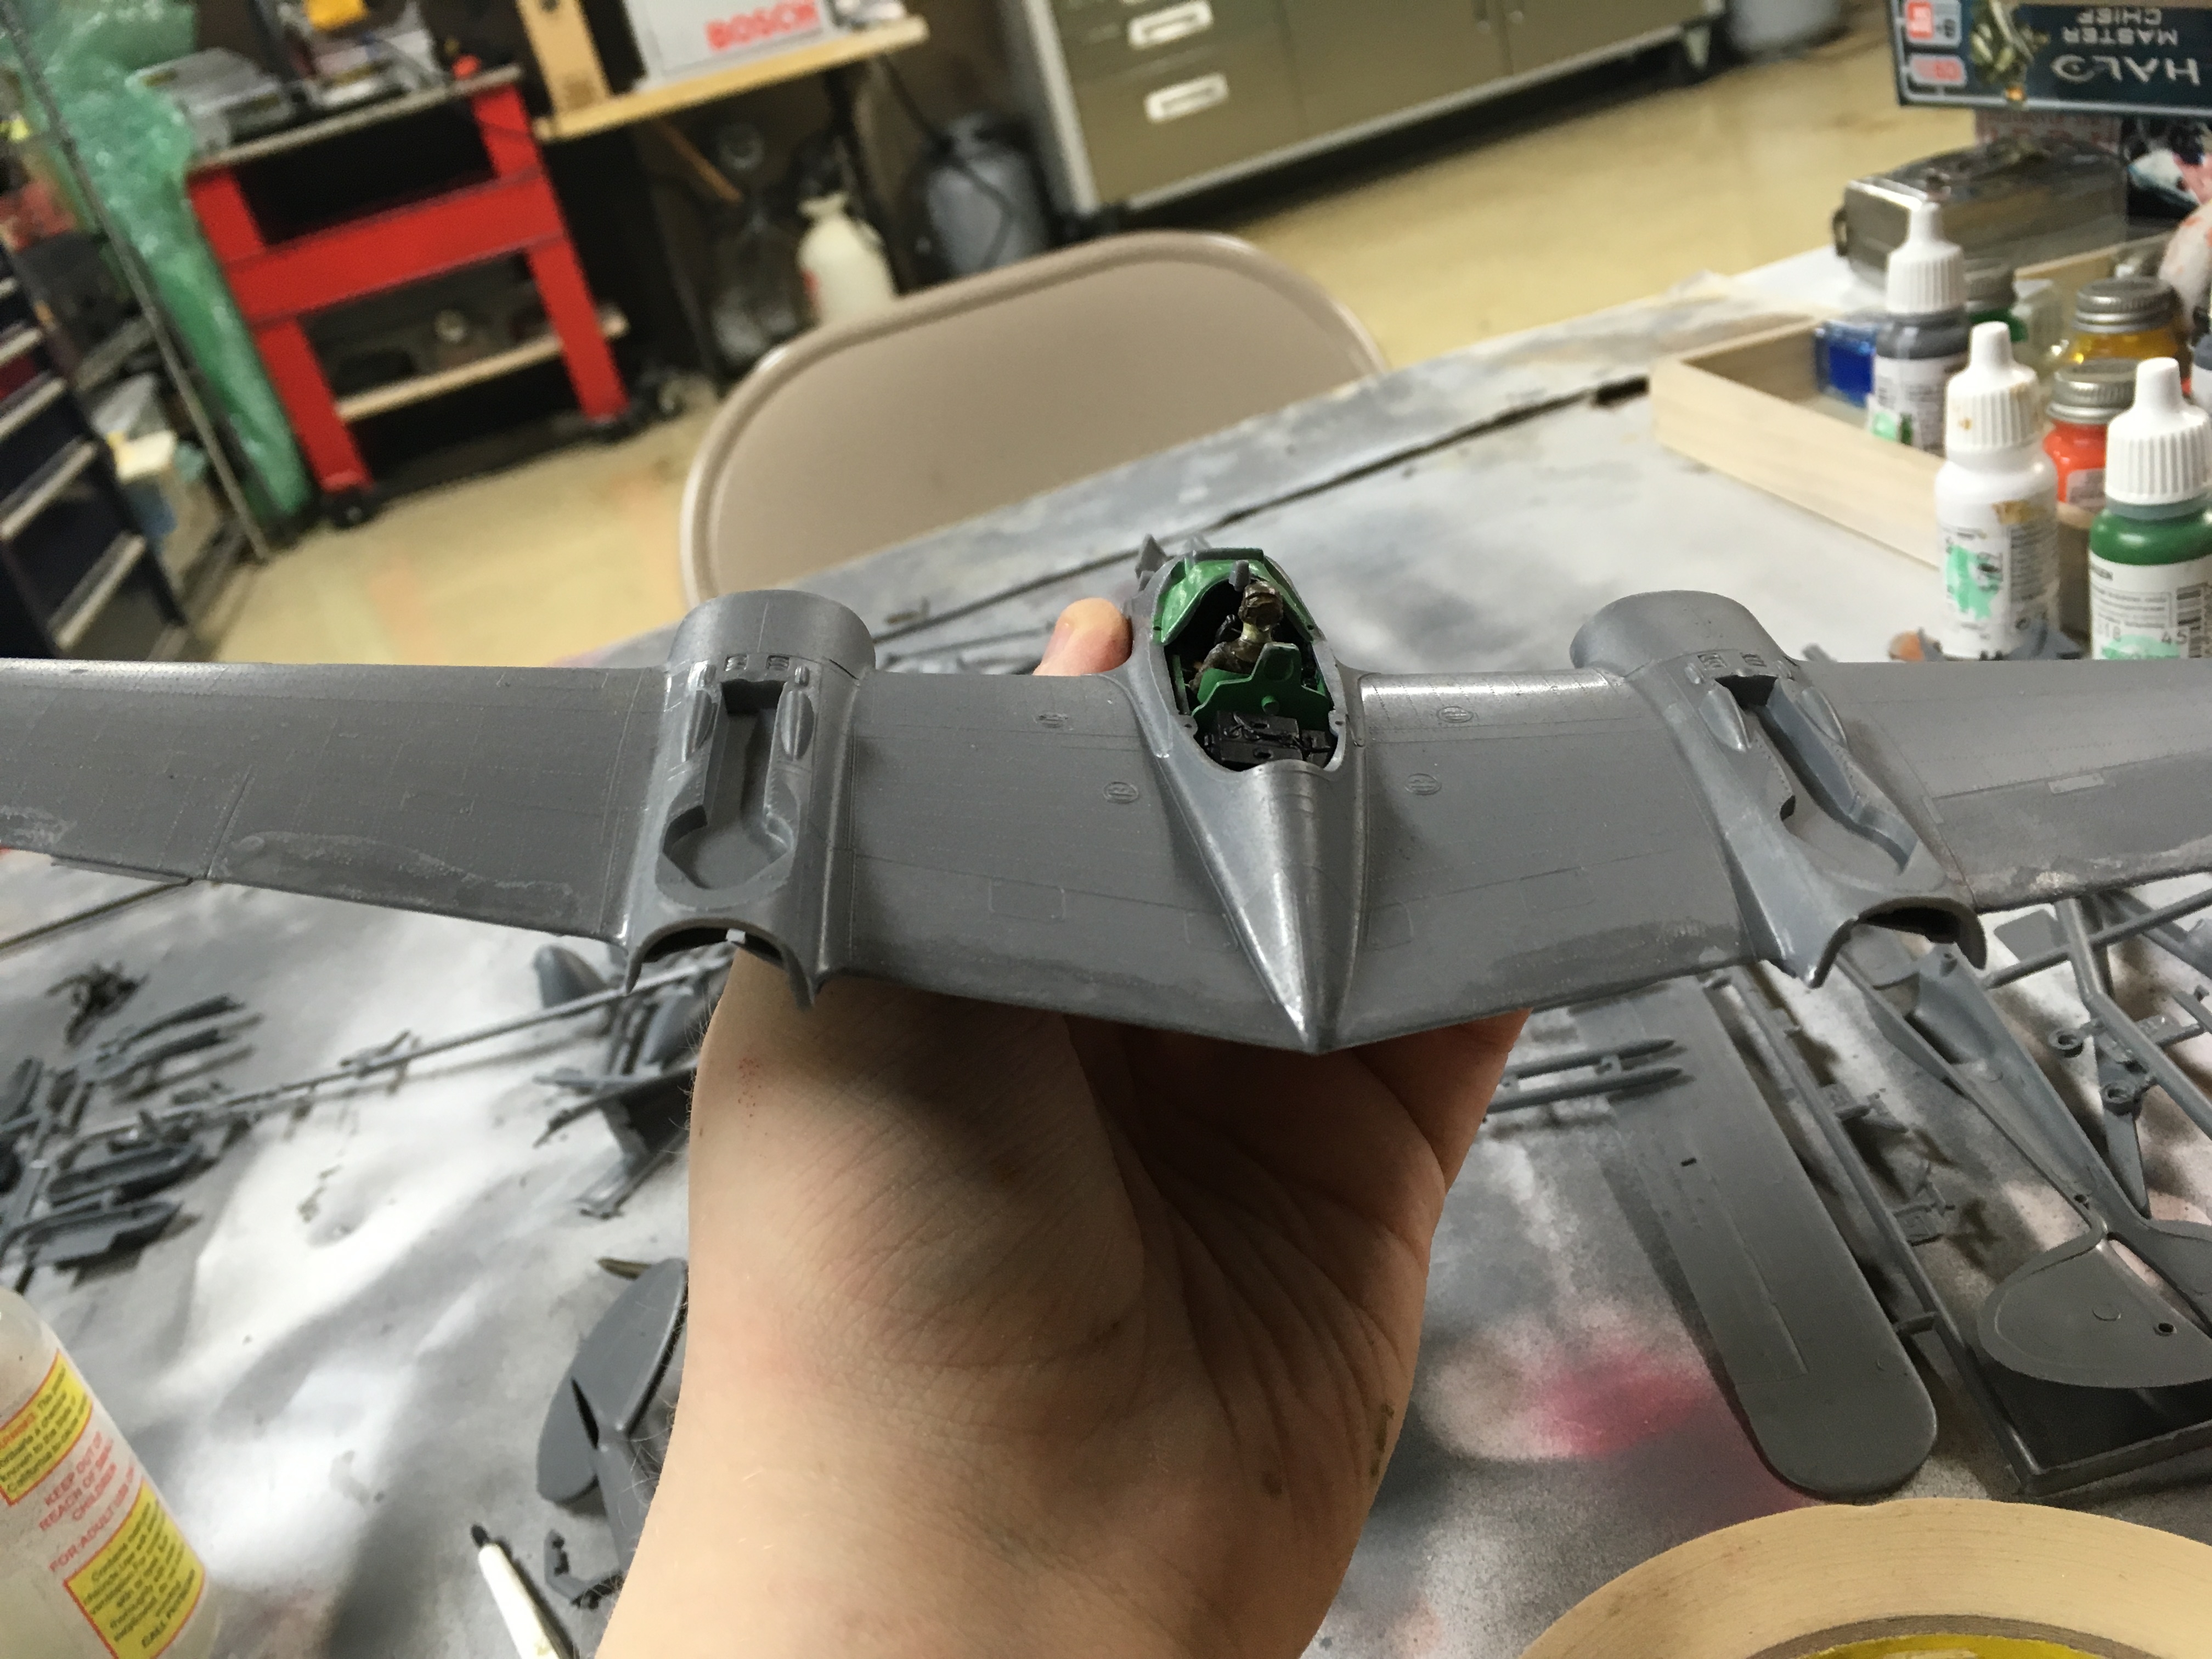
Step Two - Assembling the core wing and fuselage:
First I glued in the cockpit and the landing gear bay. Next I glued together the wing, but the plastic was somewhat warped, so I had to anchor several points with tape while I glued everything.
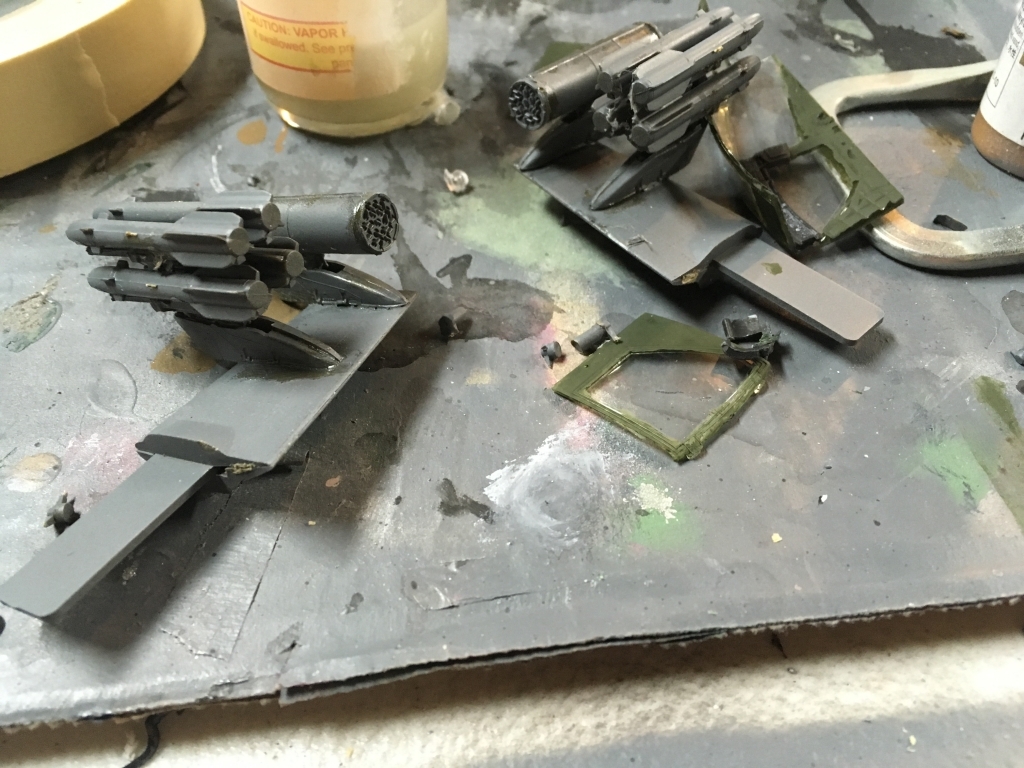
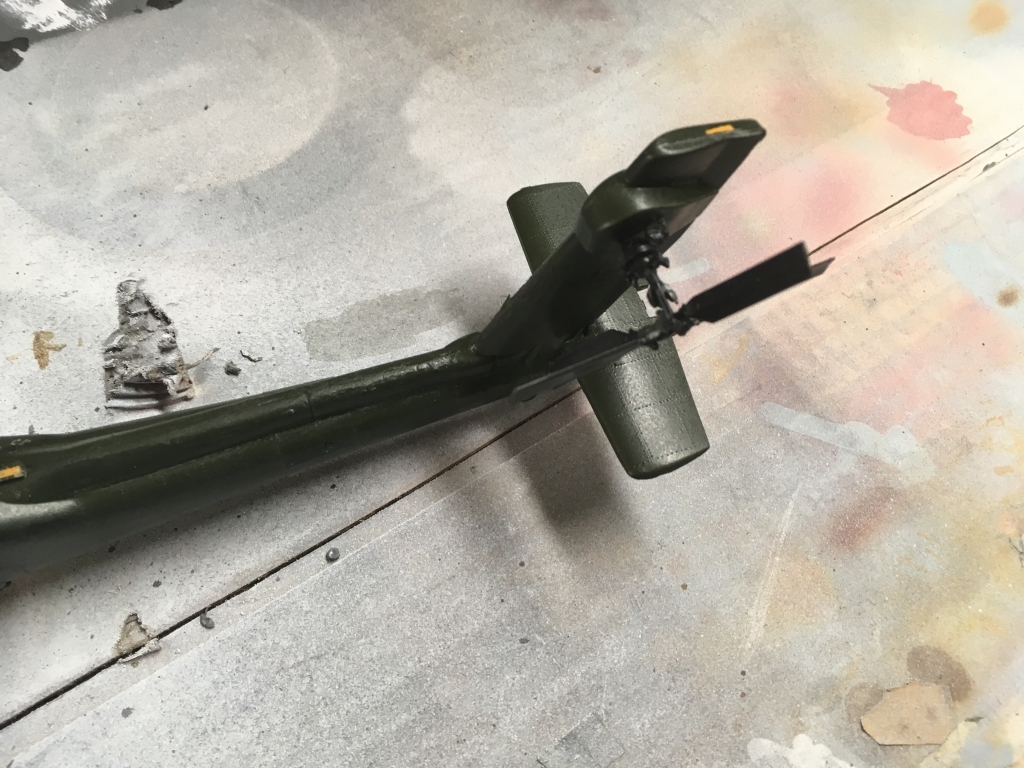
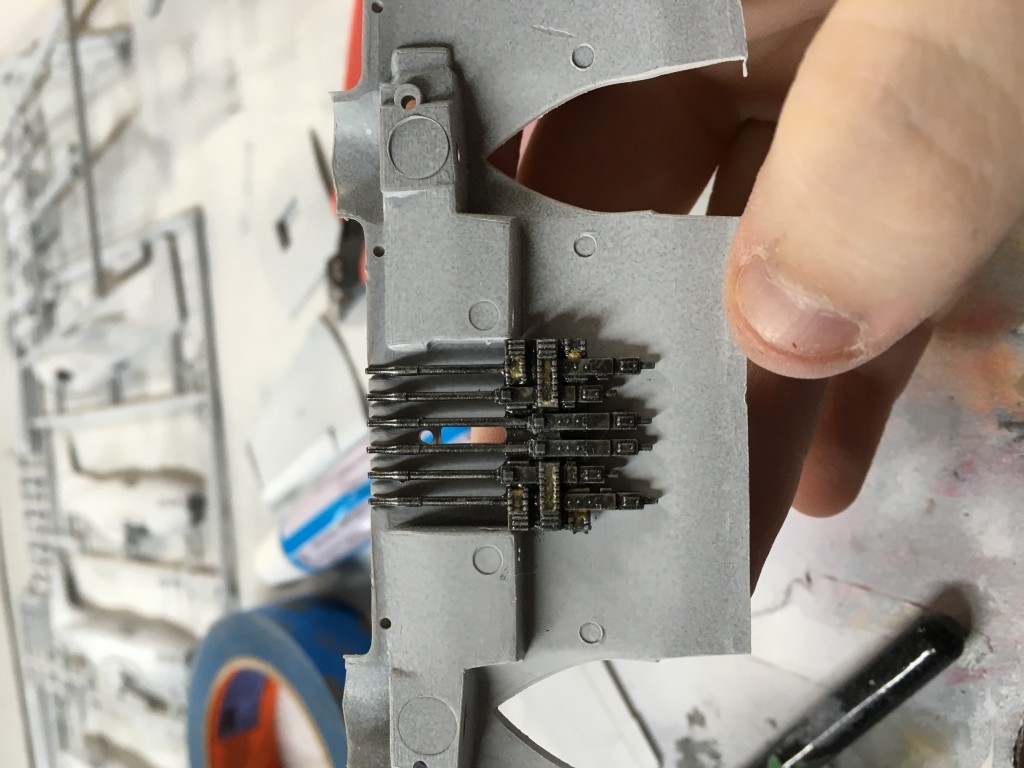
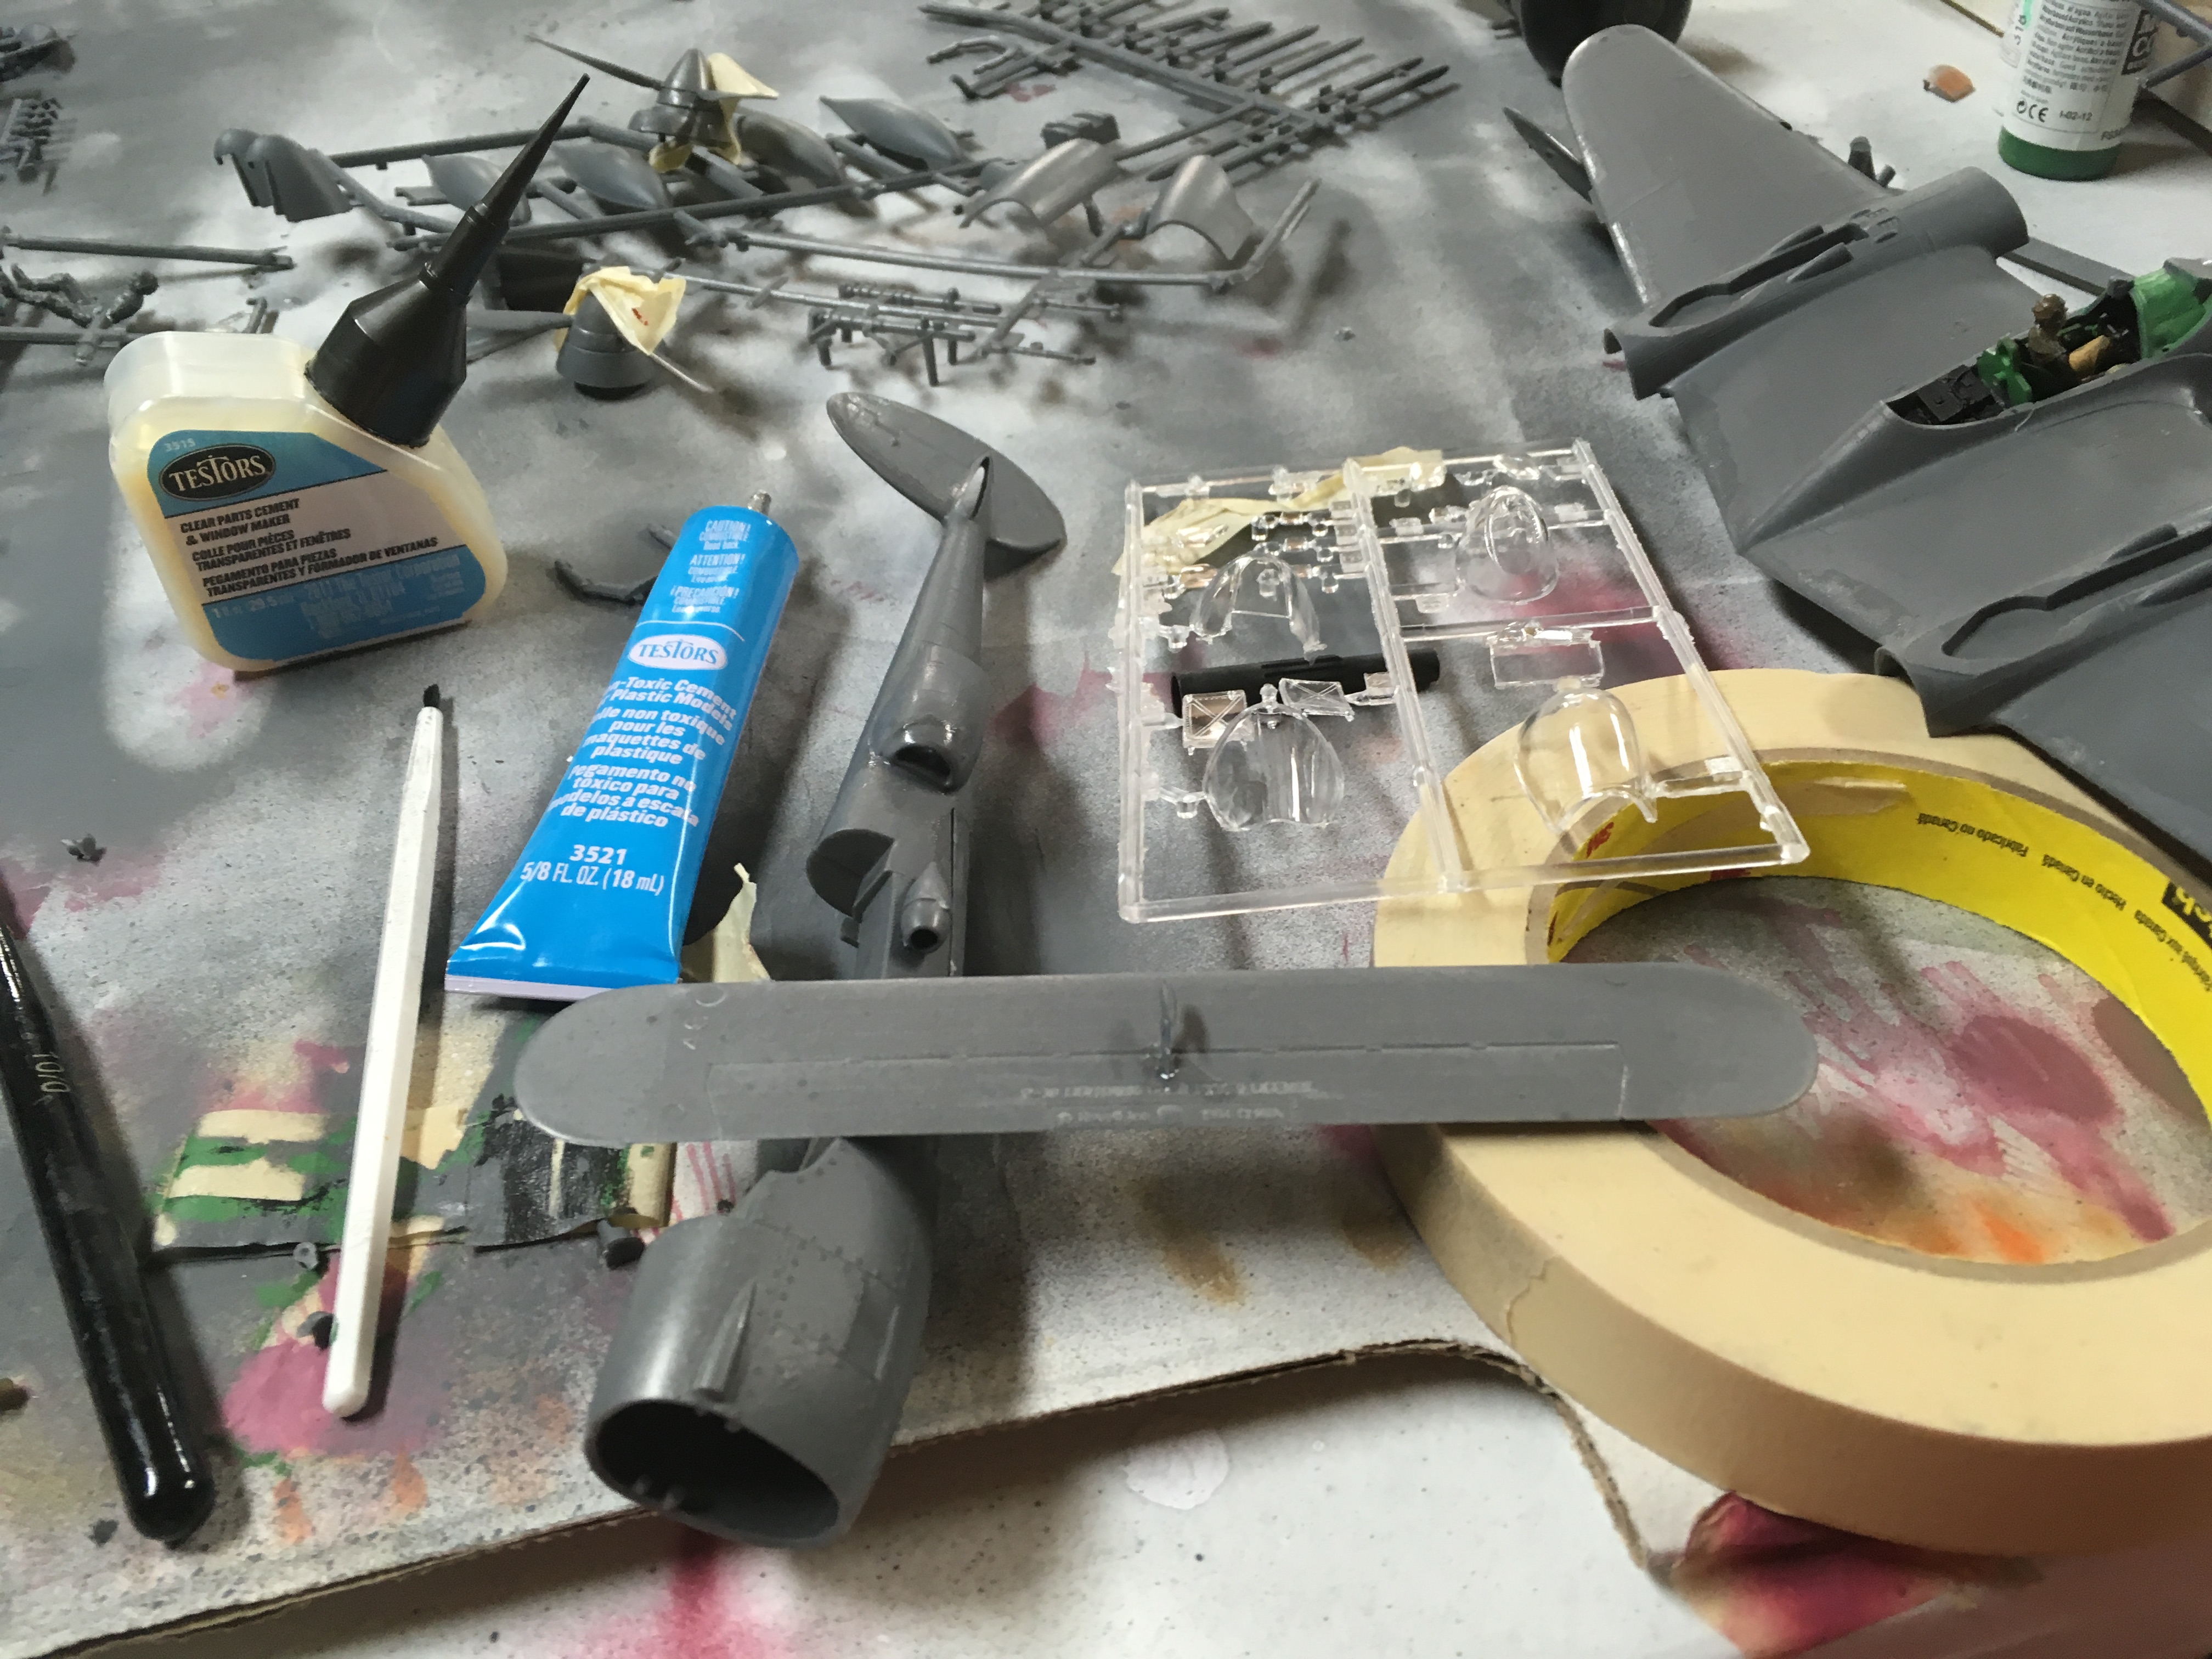
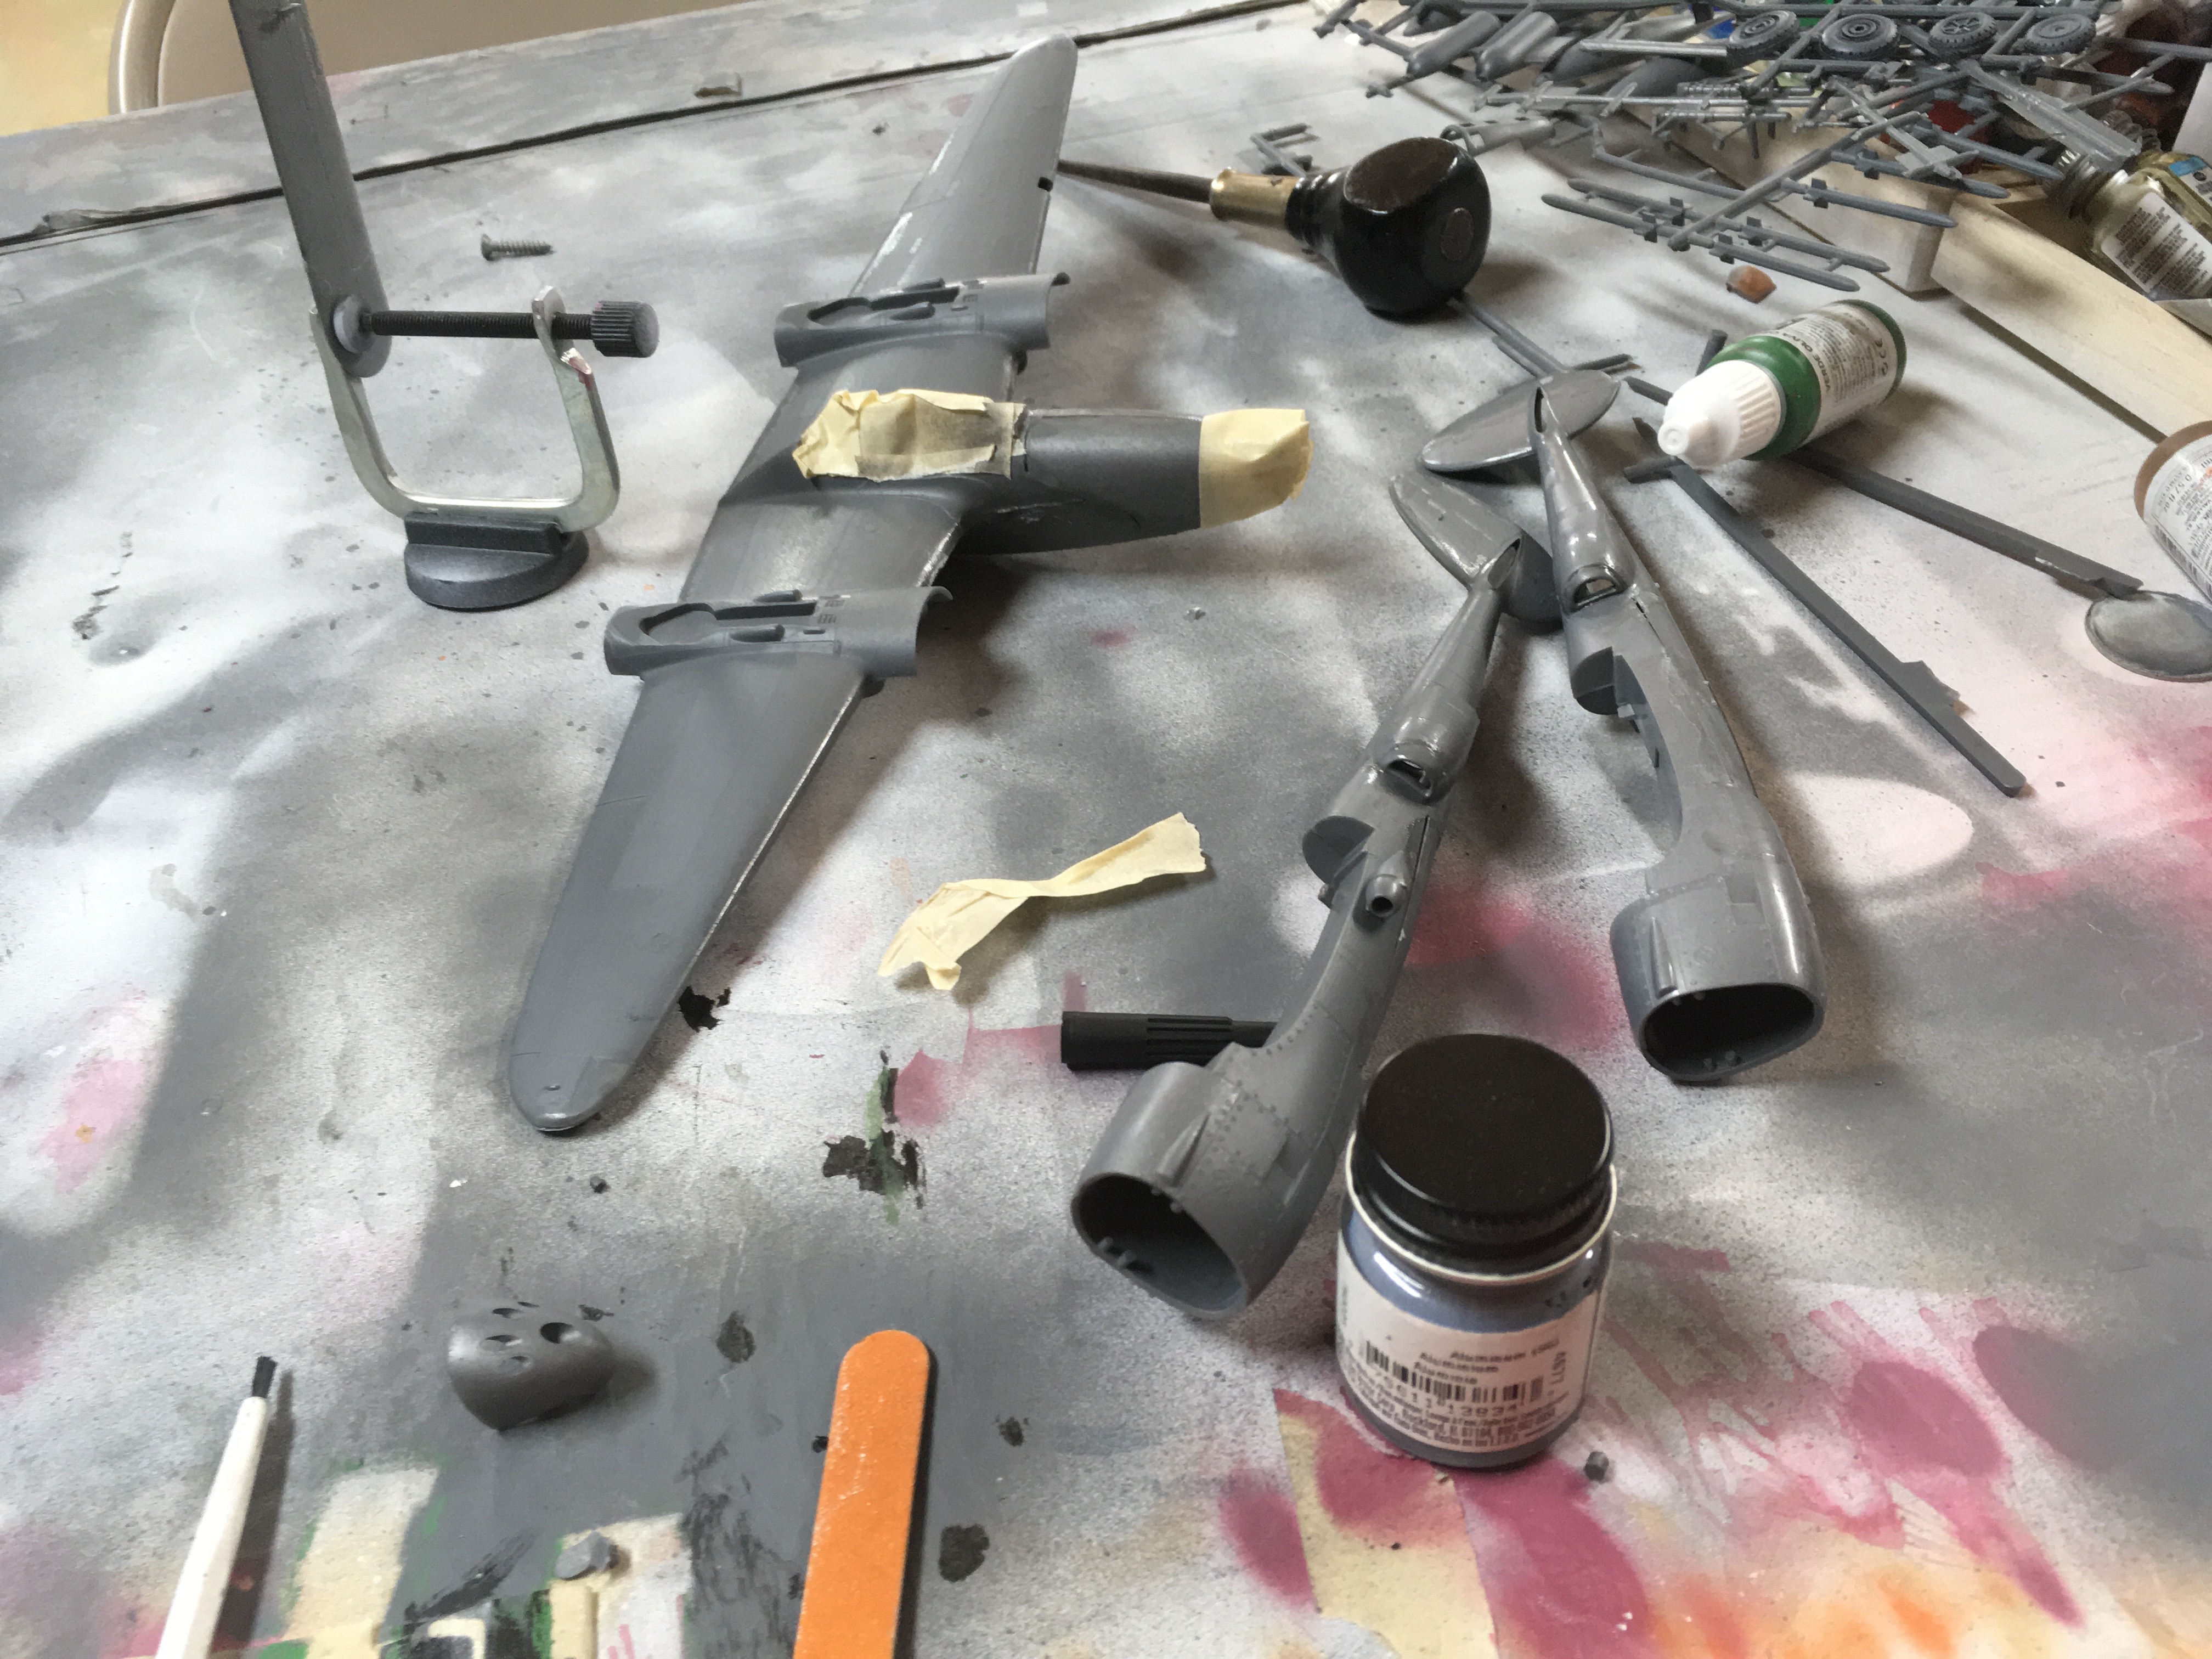
Step Three - Assembling the engines, the elevator, and weapons:
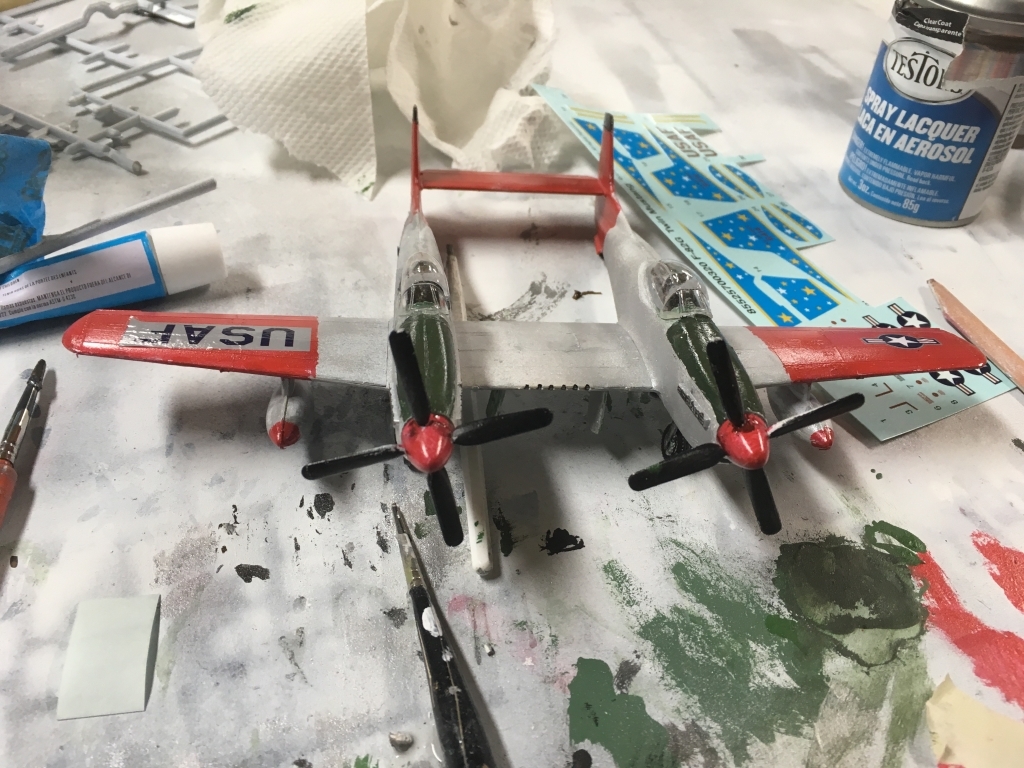
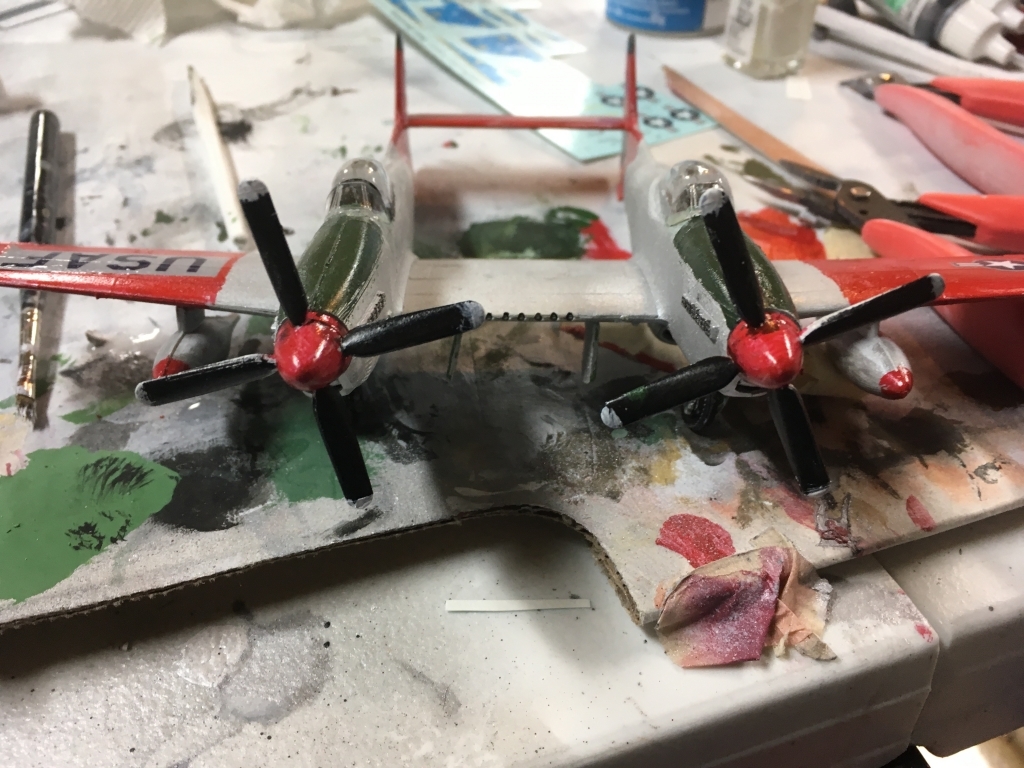
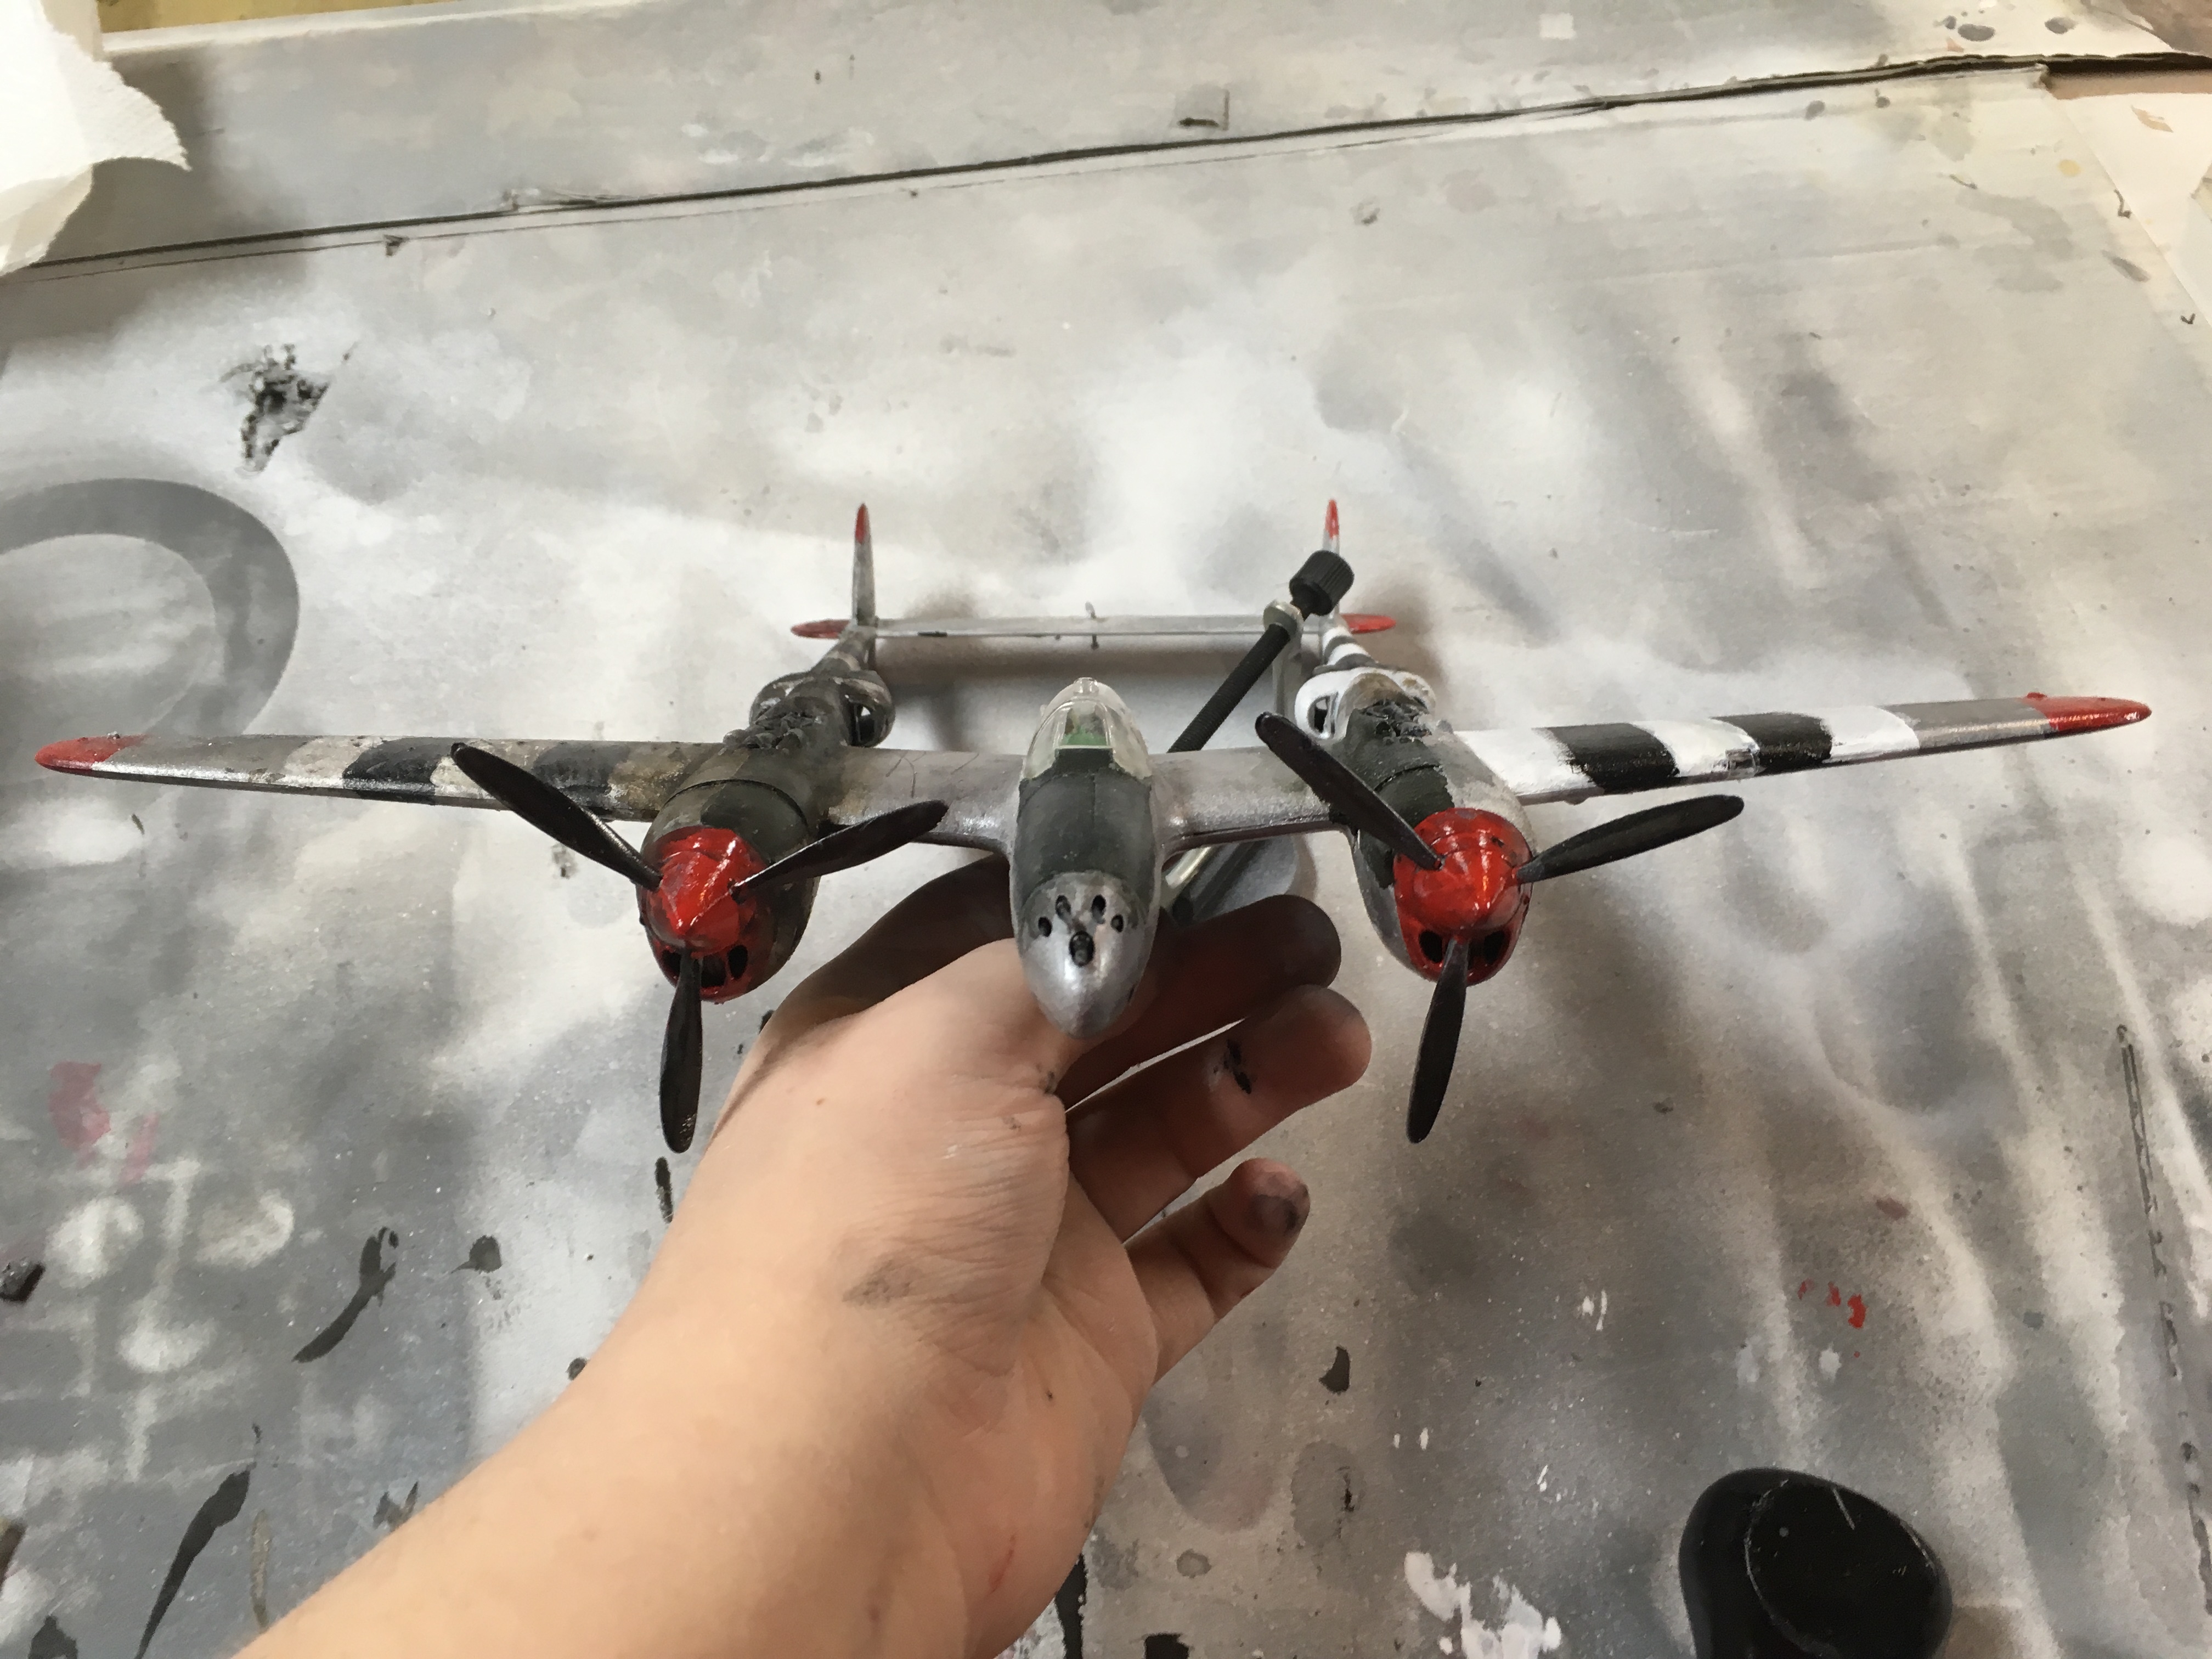
I first put together the two engine nacelles, but I kept the engine cowling and prop off so they would be easier to paint. I then assembled the weapons and painted them. The nacelles were somewhat warped, but nothing that could not be overcome.
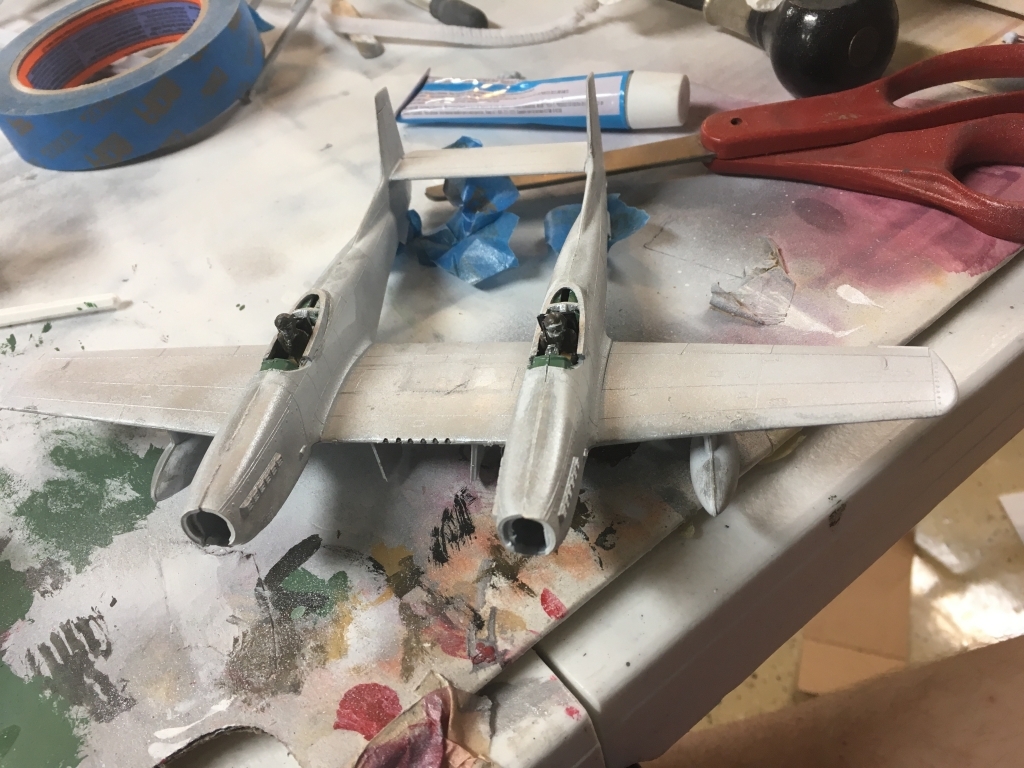
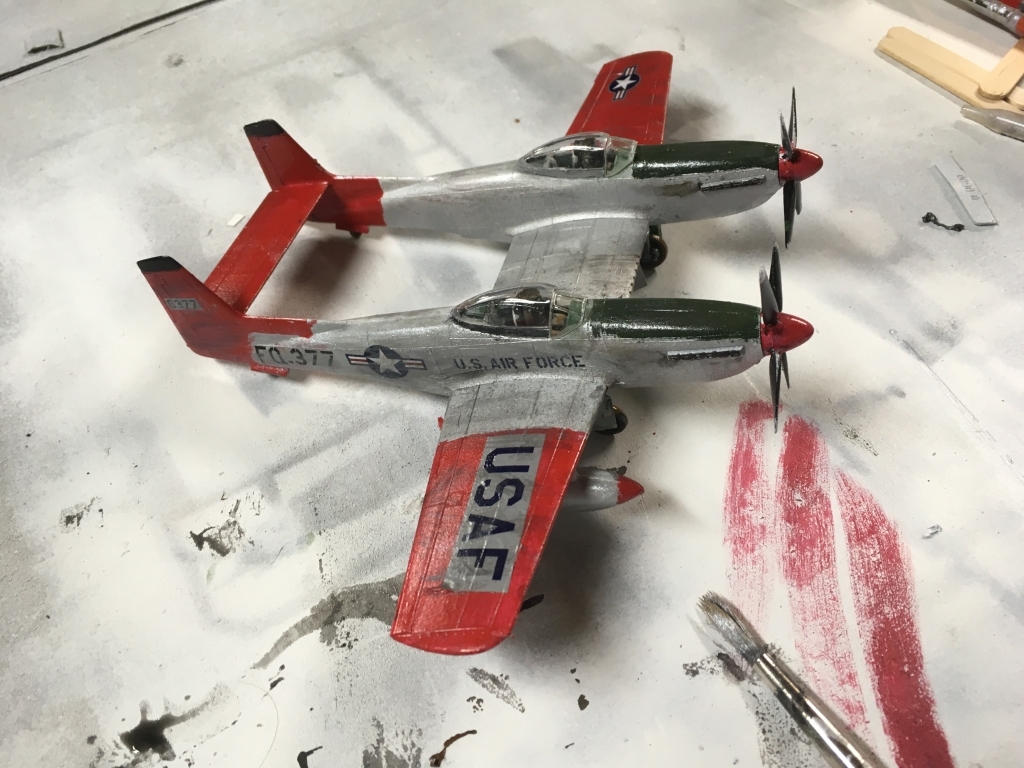
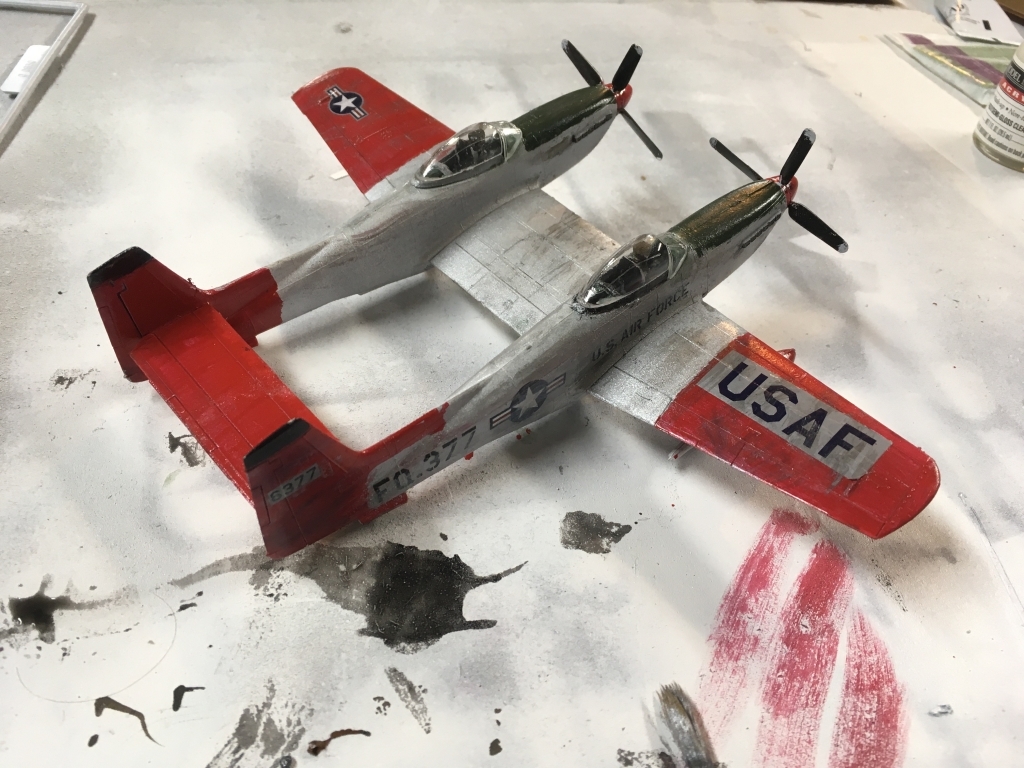
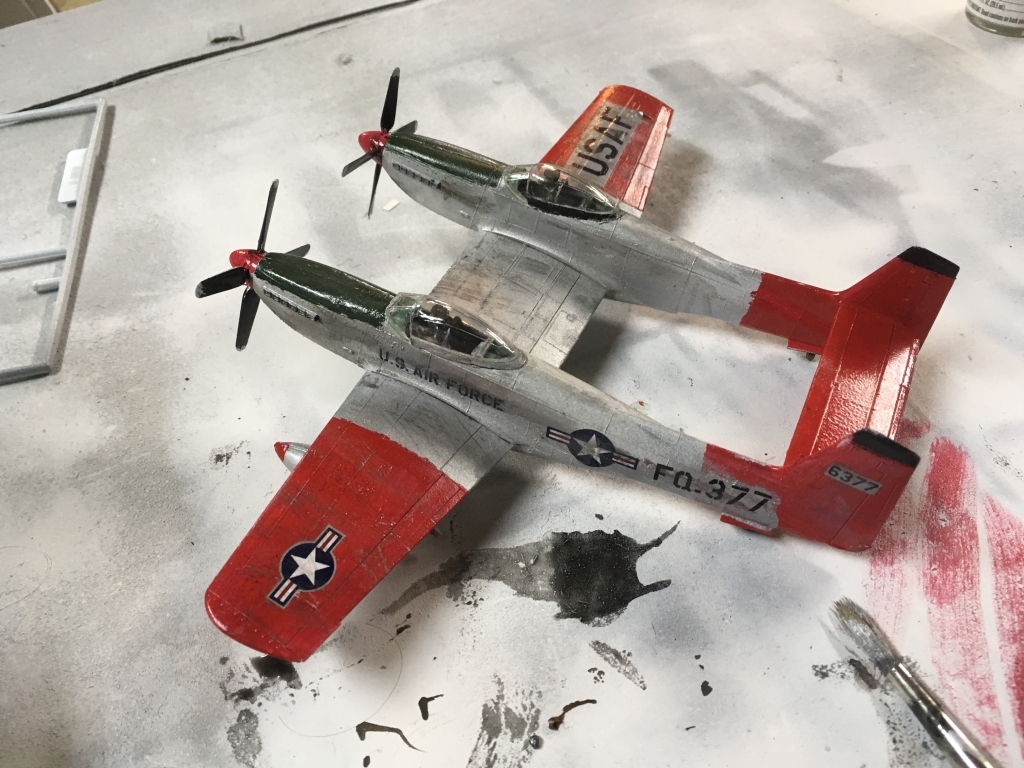
Step Four - Painting:
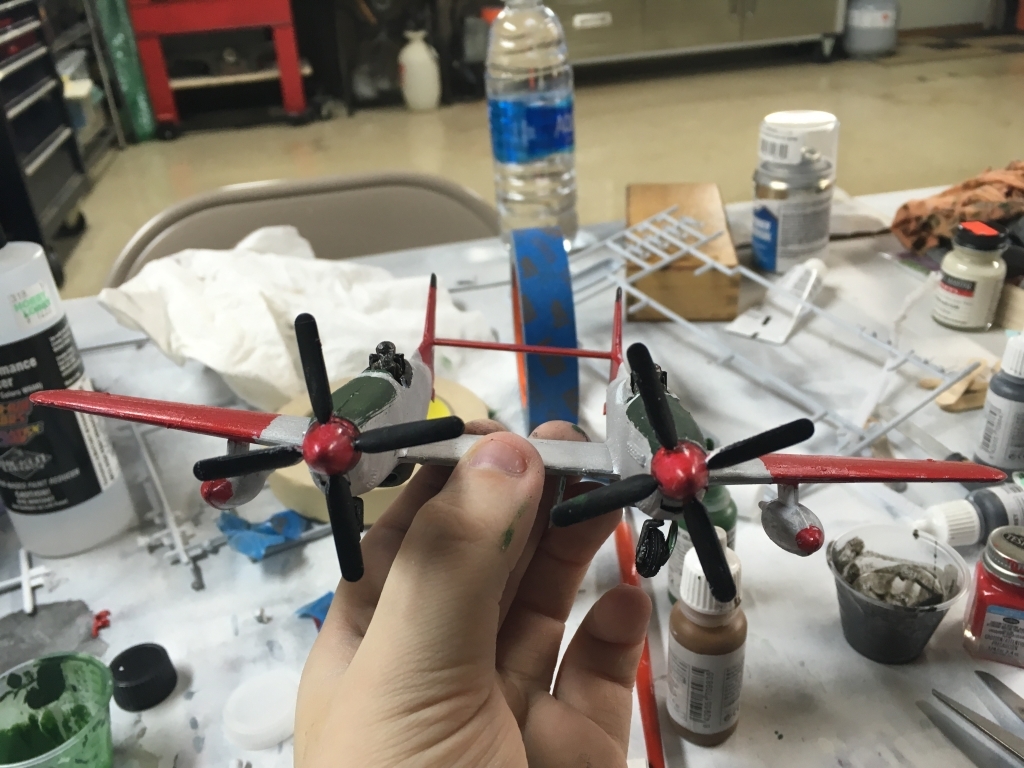
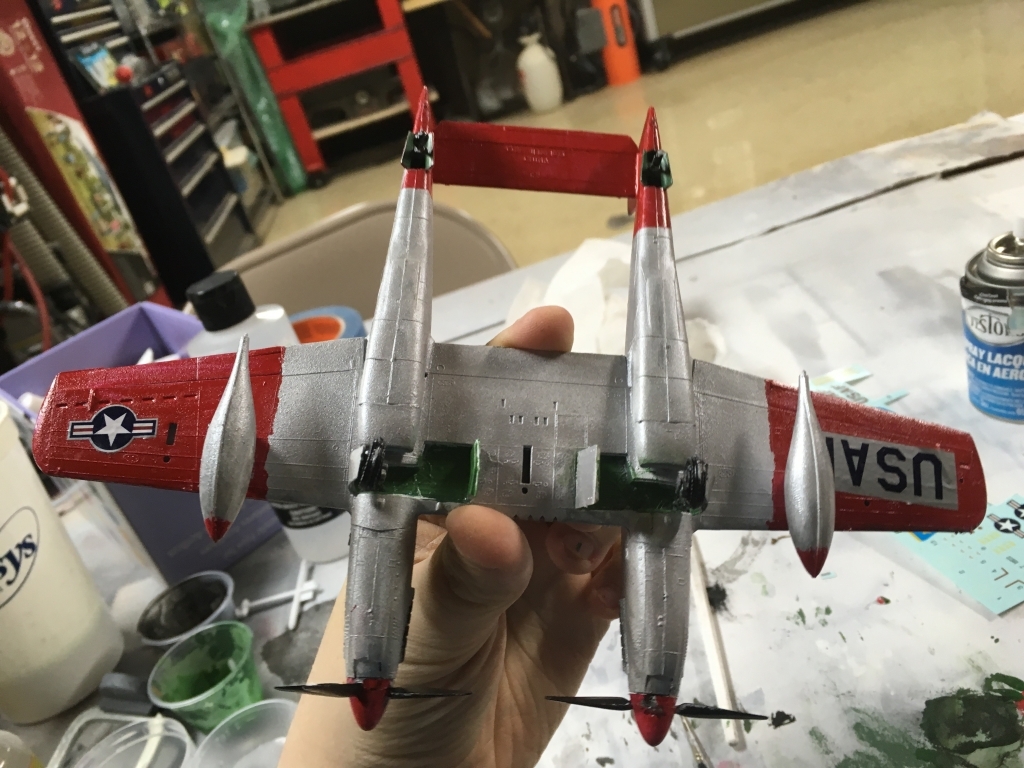
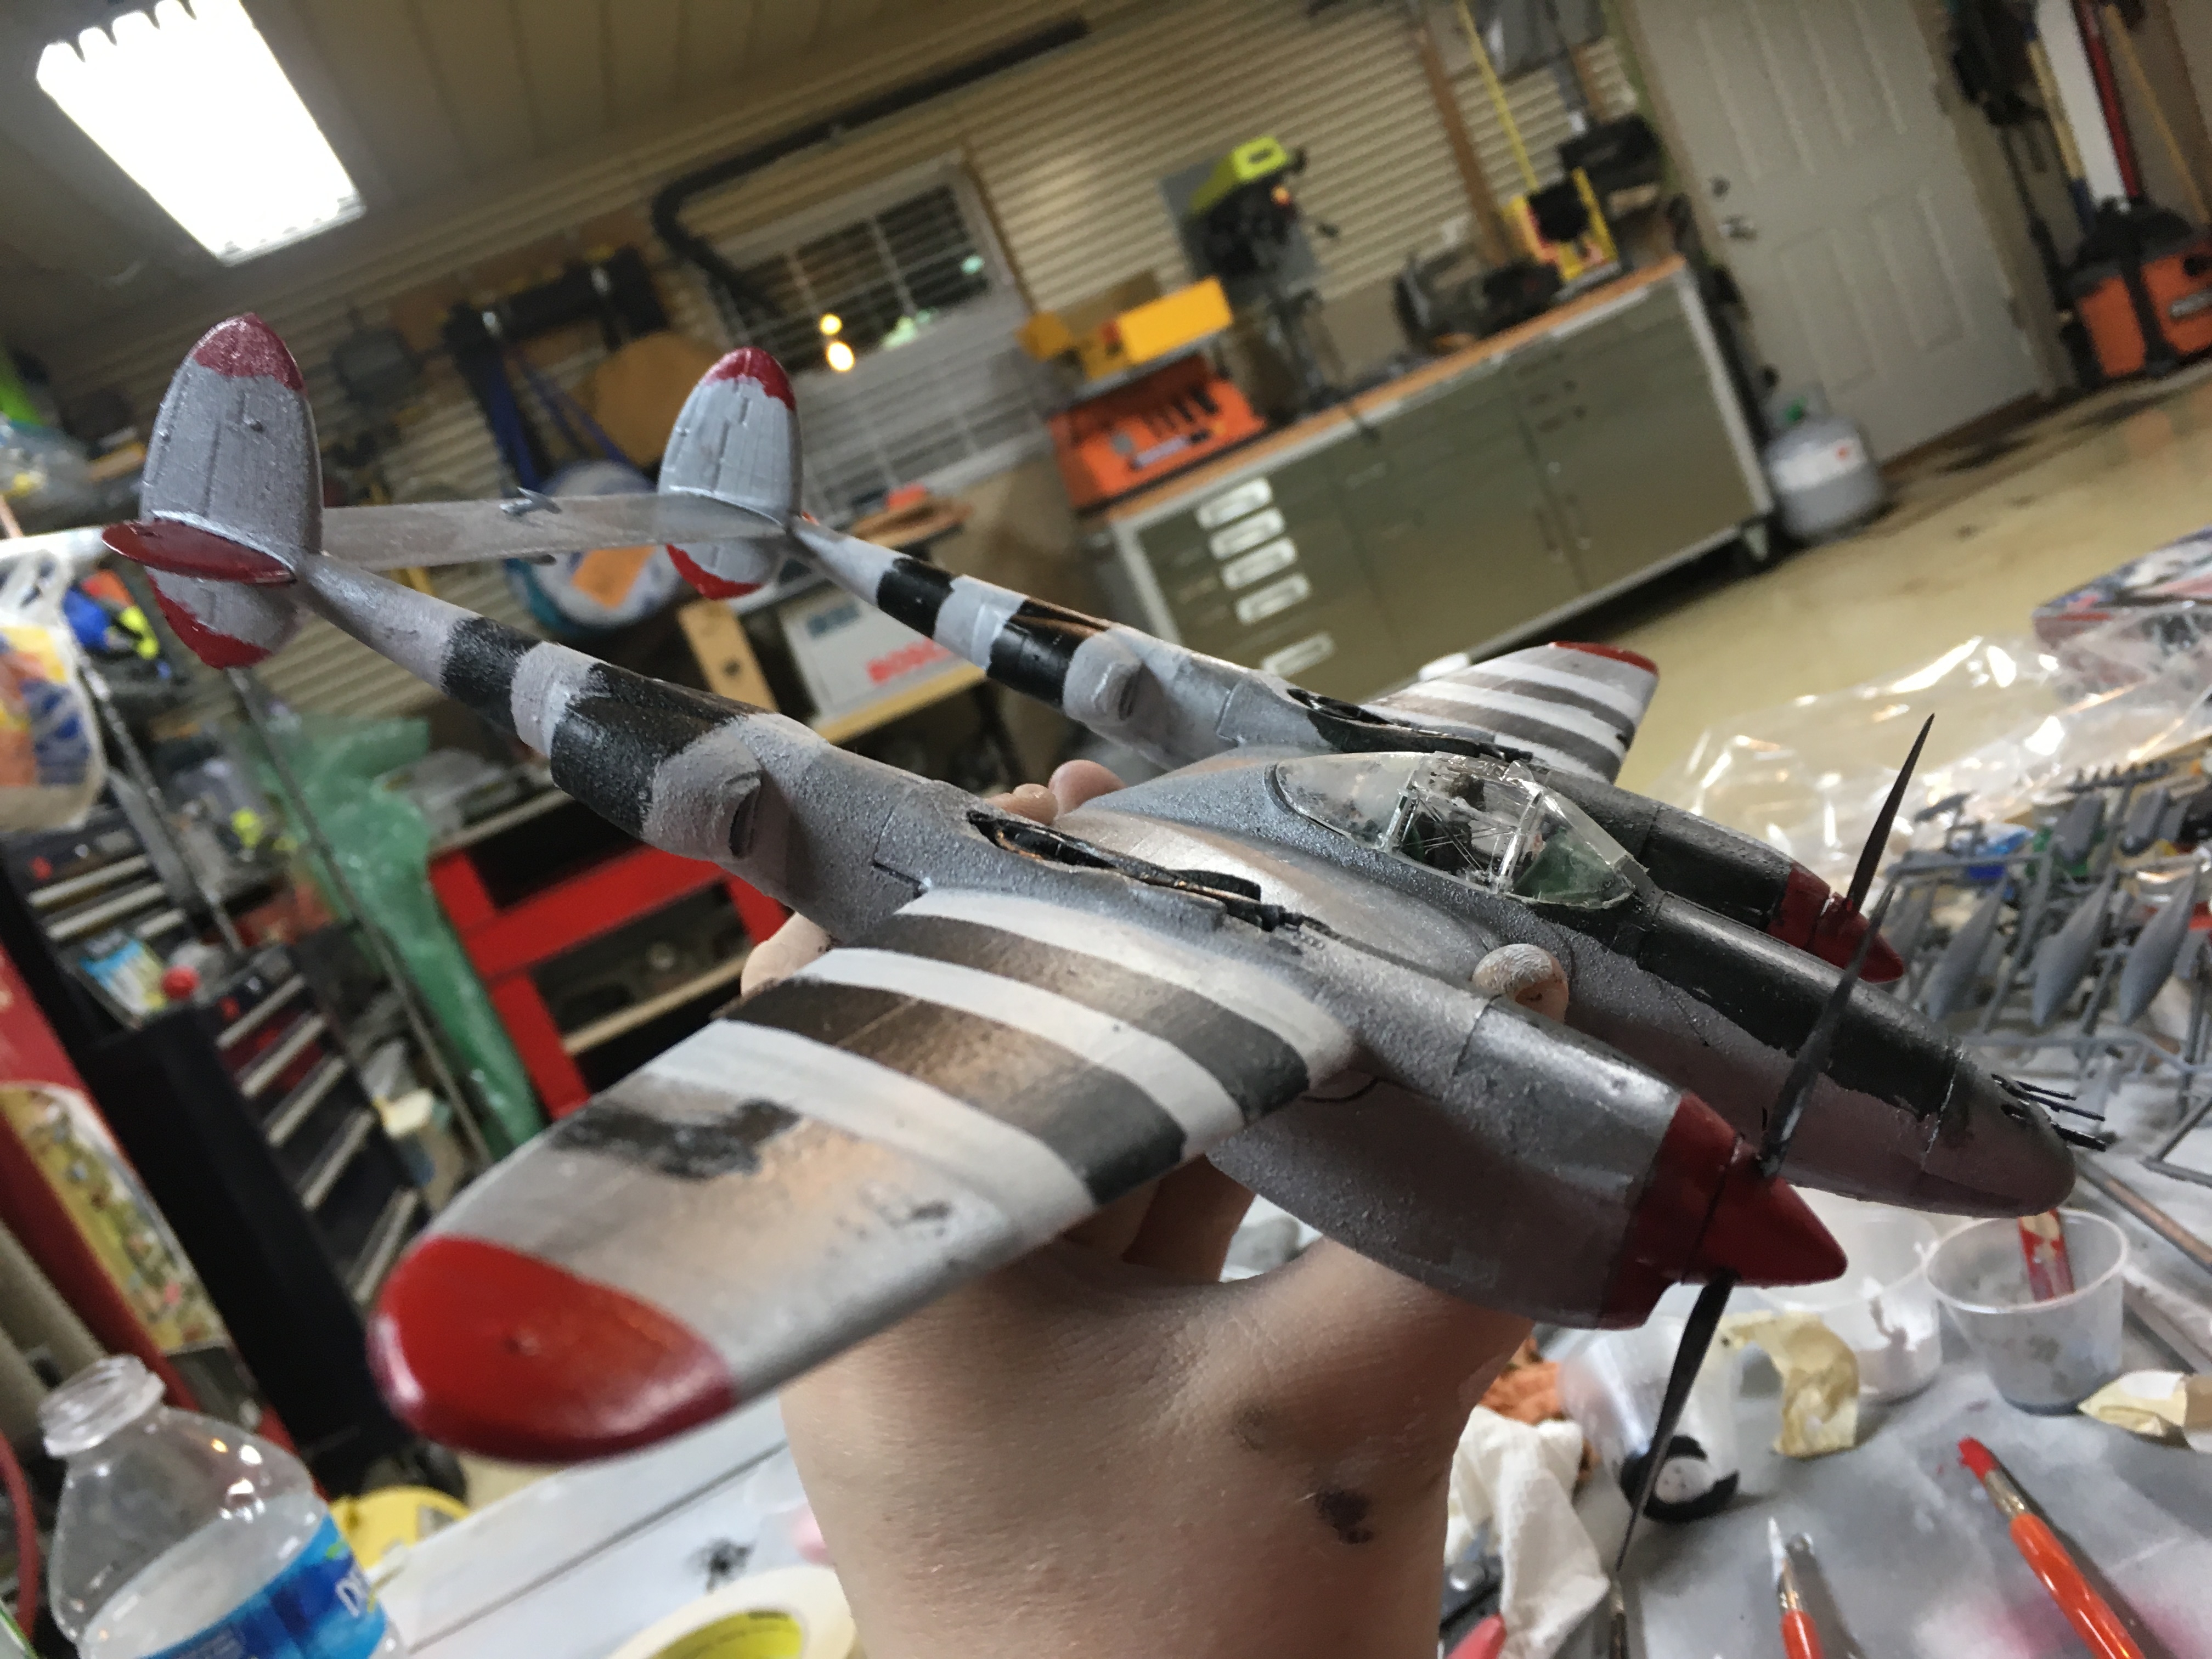
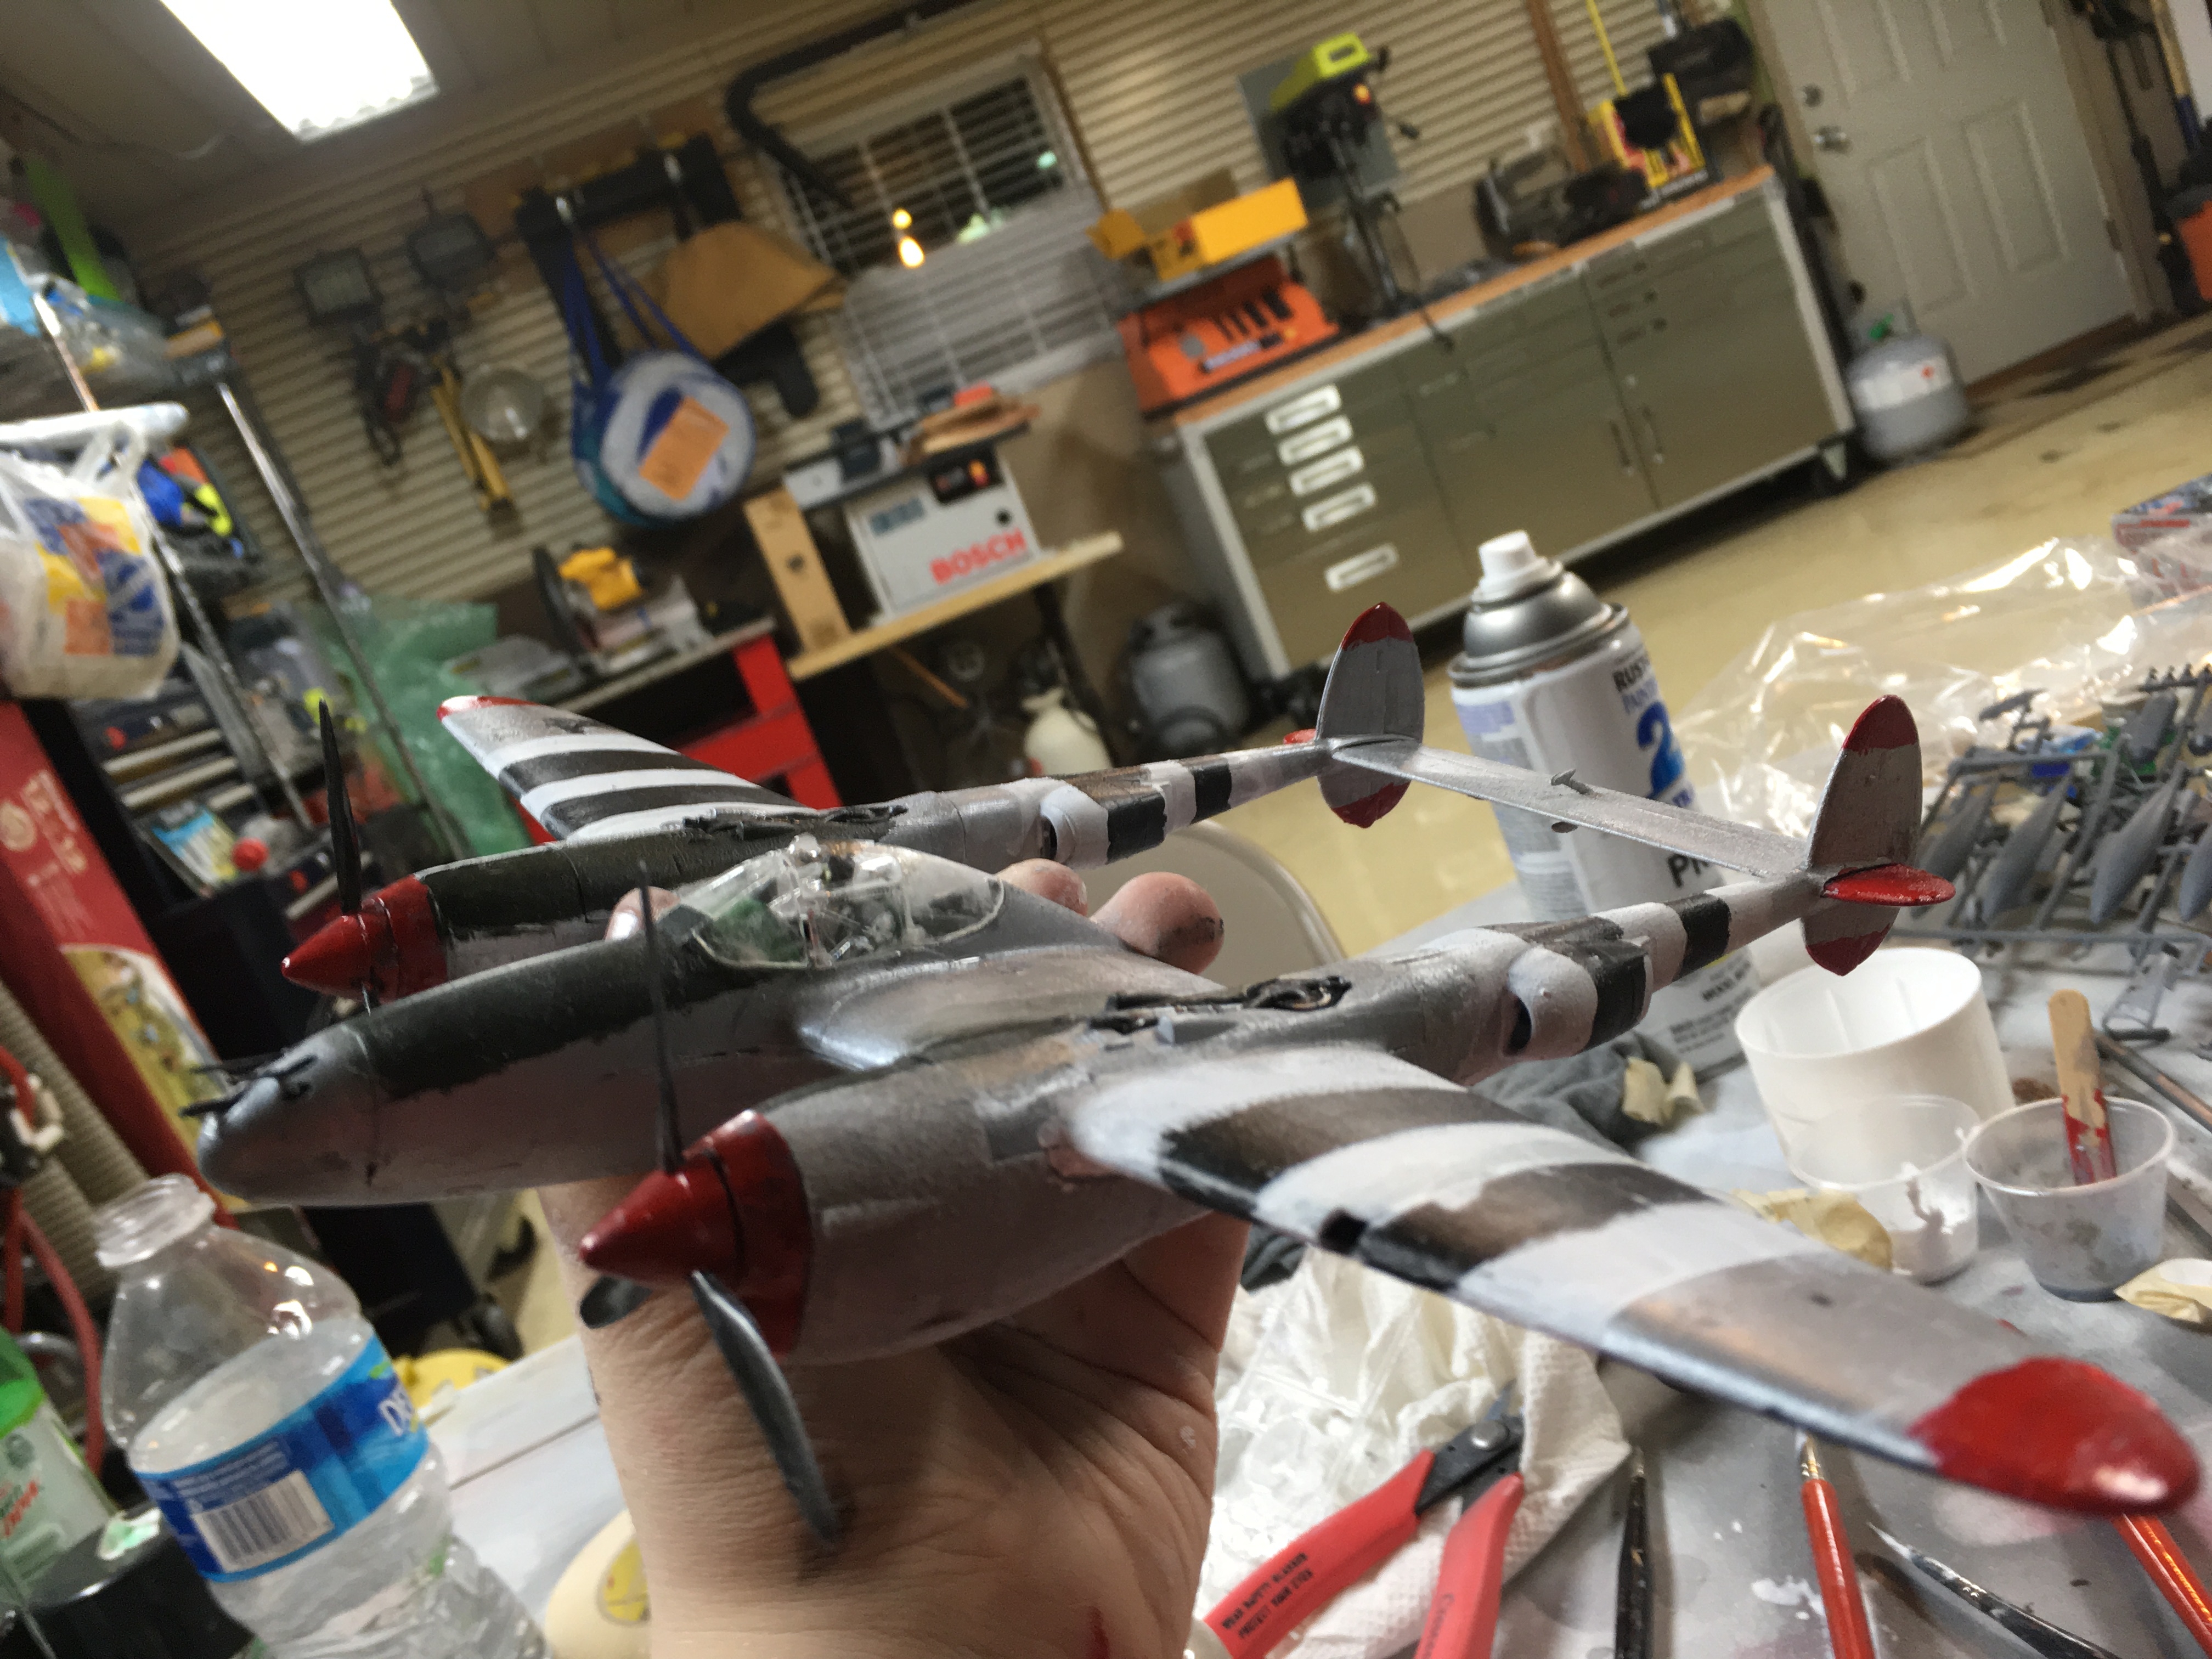
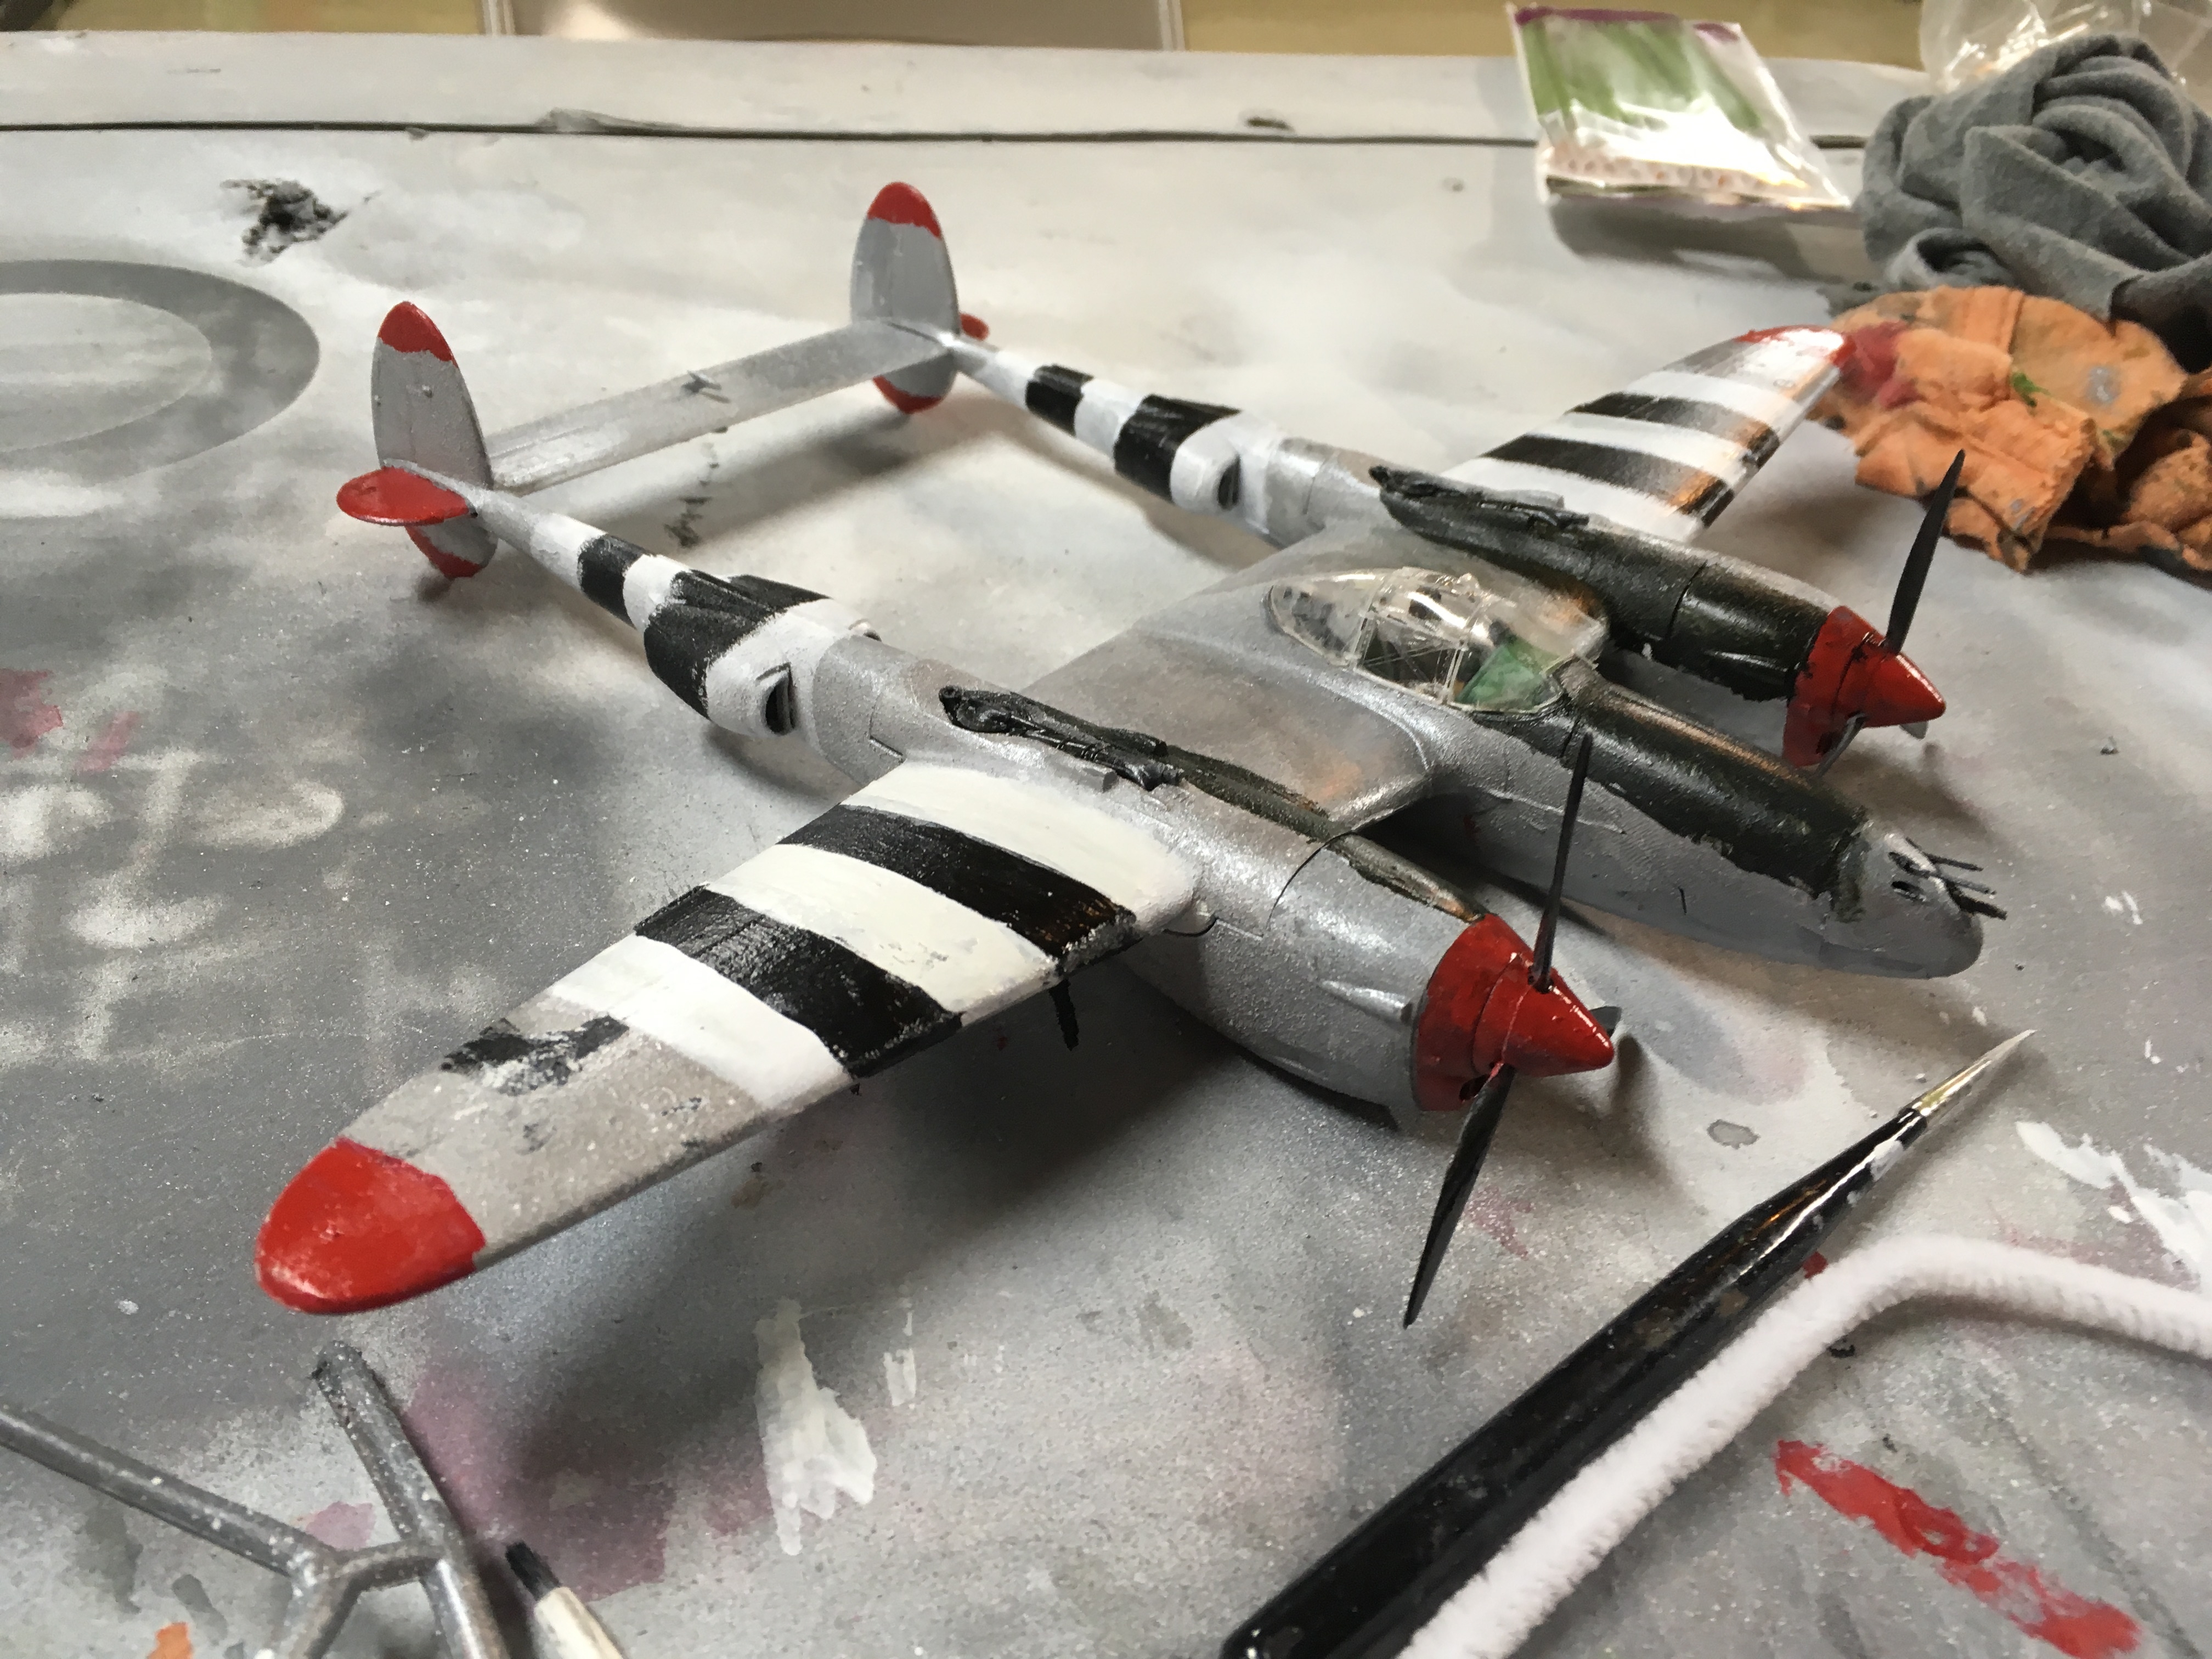
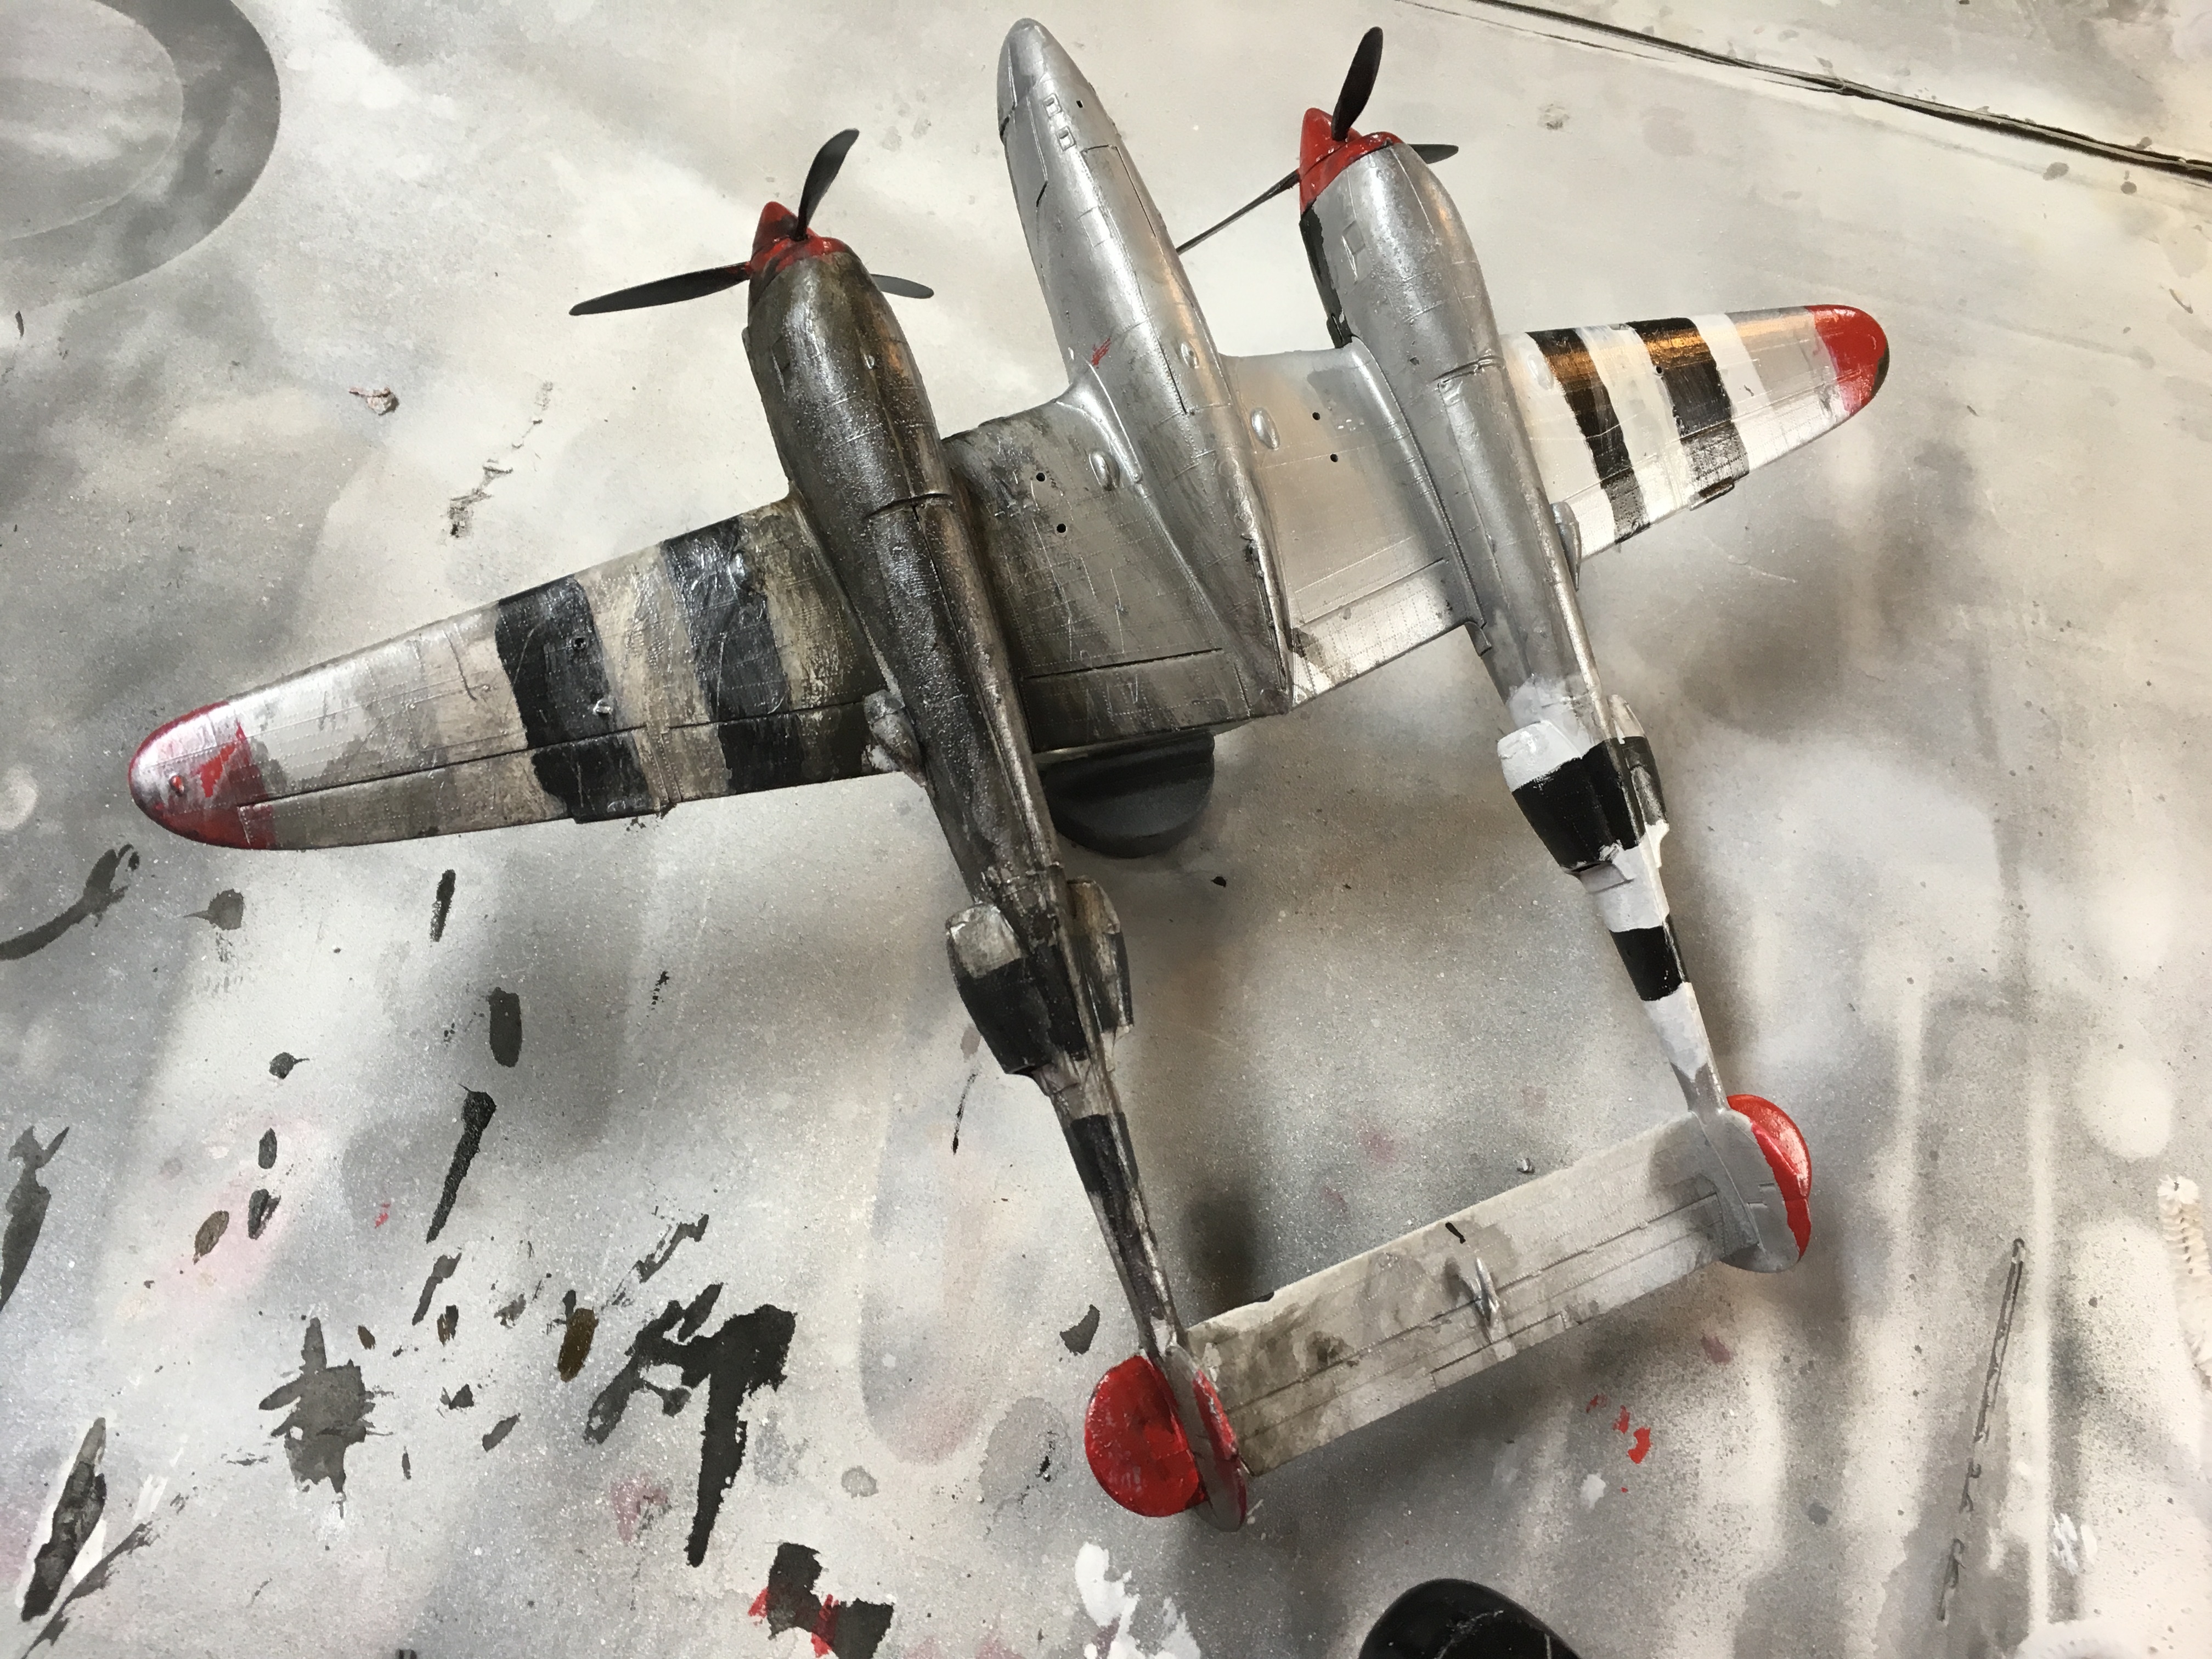
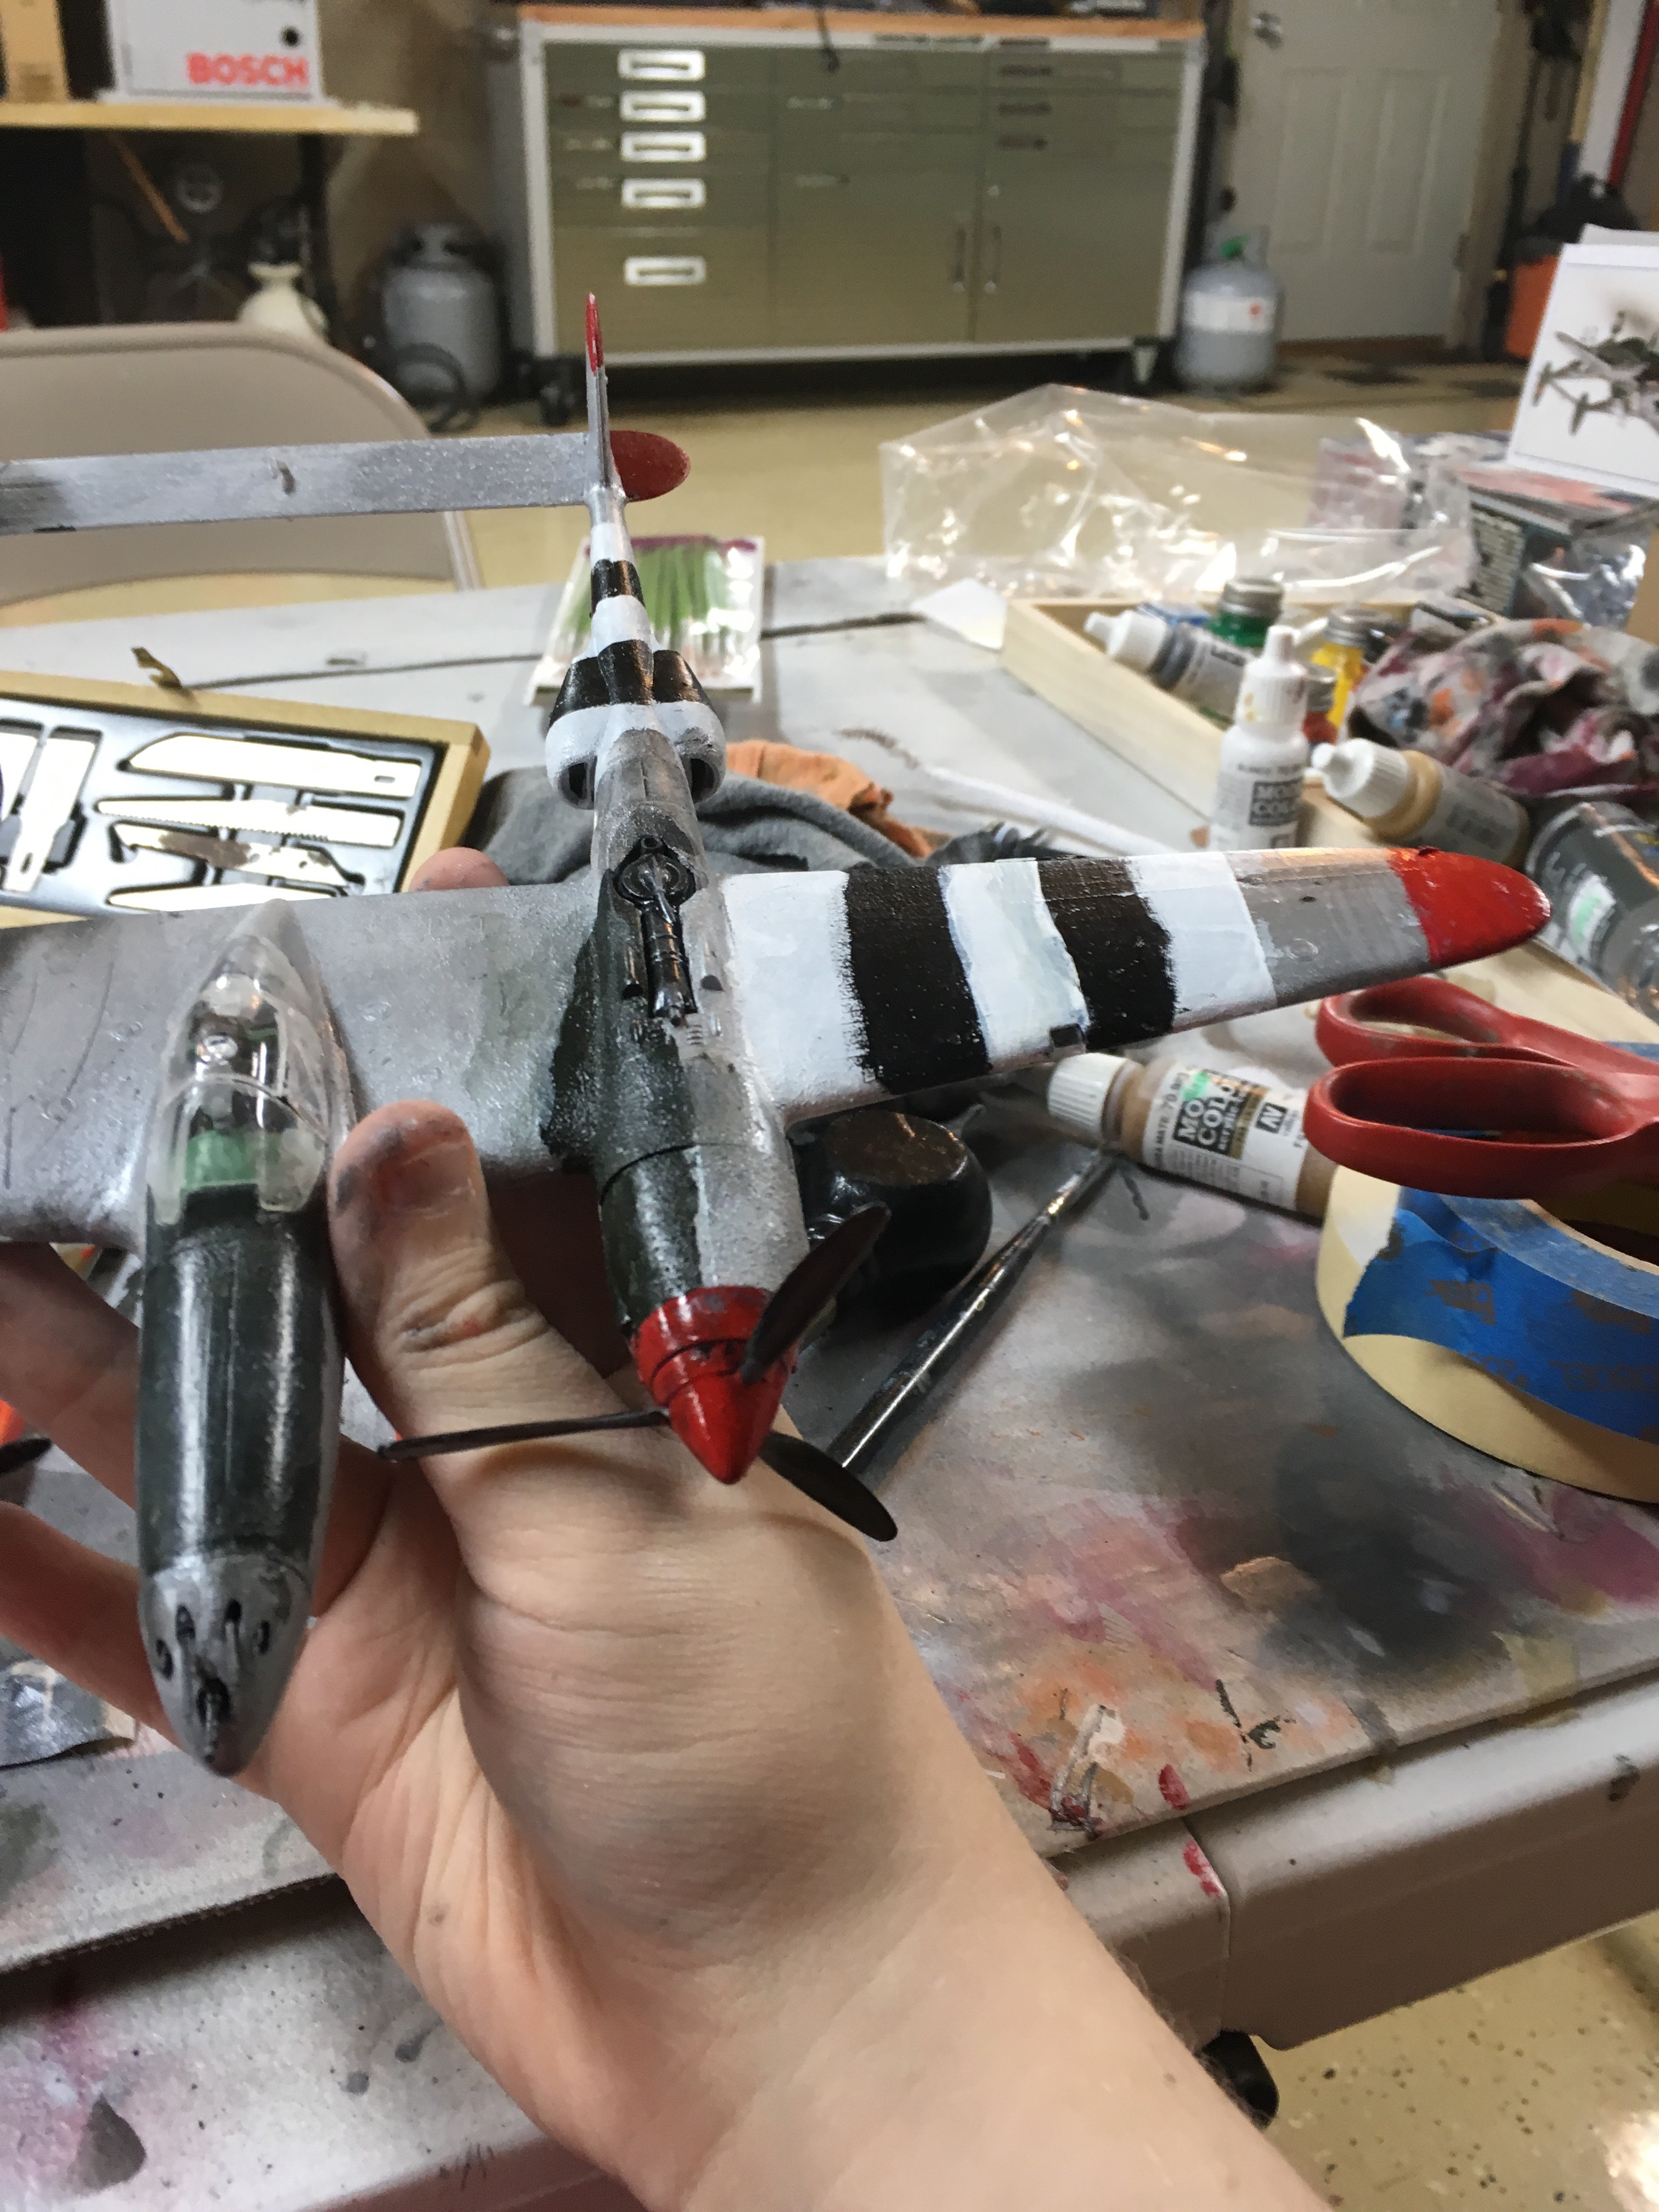
I taped off the cockpit and the guns to prevent any overspray. . I initially tried to airbrush aluminum onto the gray primer, but the dark primer was too overpowering and I was not getting the color I was looking for. I opted to spray it again with white primer. However, I did not mix the primer enough and I ended up with a grainy texture on part of it, more on that later though. I decided because I could not get rid of that texture without losing all of the raised panel lines, which also proved to be a problem when painting. The raised lines prevented the tape from sticking correctly and I got overspray on some parts. I decided that I was going to use this model to practice hand painting, so I hand painted invasion stripes and the dark panels, with the aid of tape. A section of the right wing had really bad paint issues, so I opted to remove it and paint it dark like it was damaged. I opted for a similar paint scheme to Richard Bong’s P-38, but with invasion stripes. I also decided not to do decals, partly because of the paint issues, but also because I wanted to focus on practicing painting. The cockpit canopy was probably the hardest thing to put on because it didnt fit and the plastic was so thin that it could barely grab onto the cement OR the solvent.
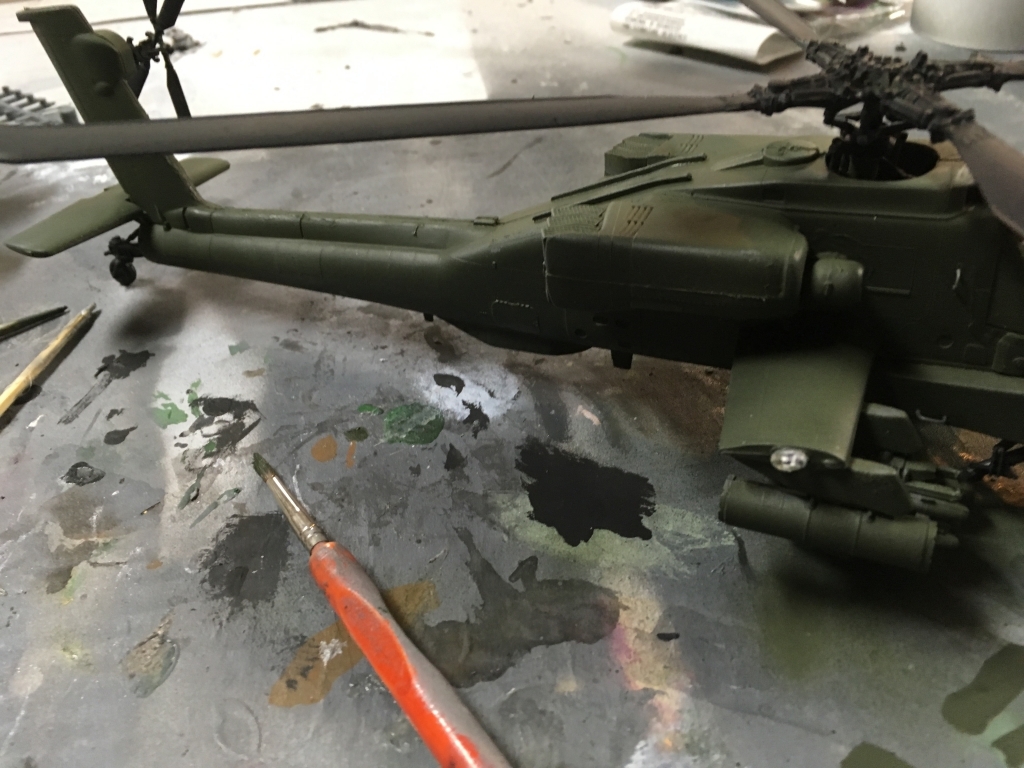
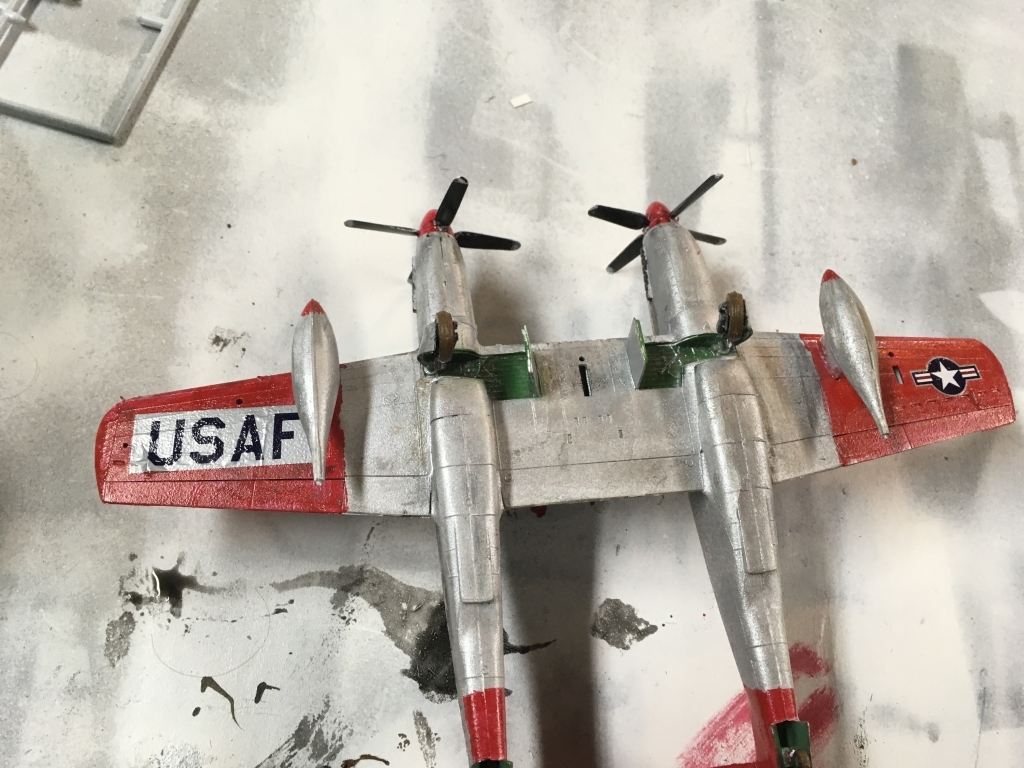
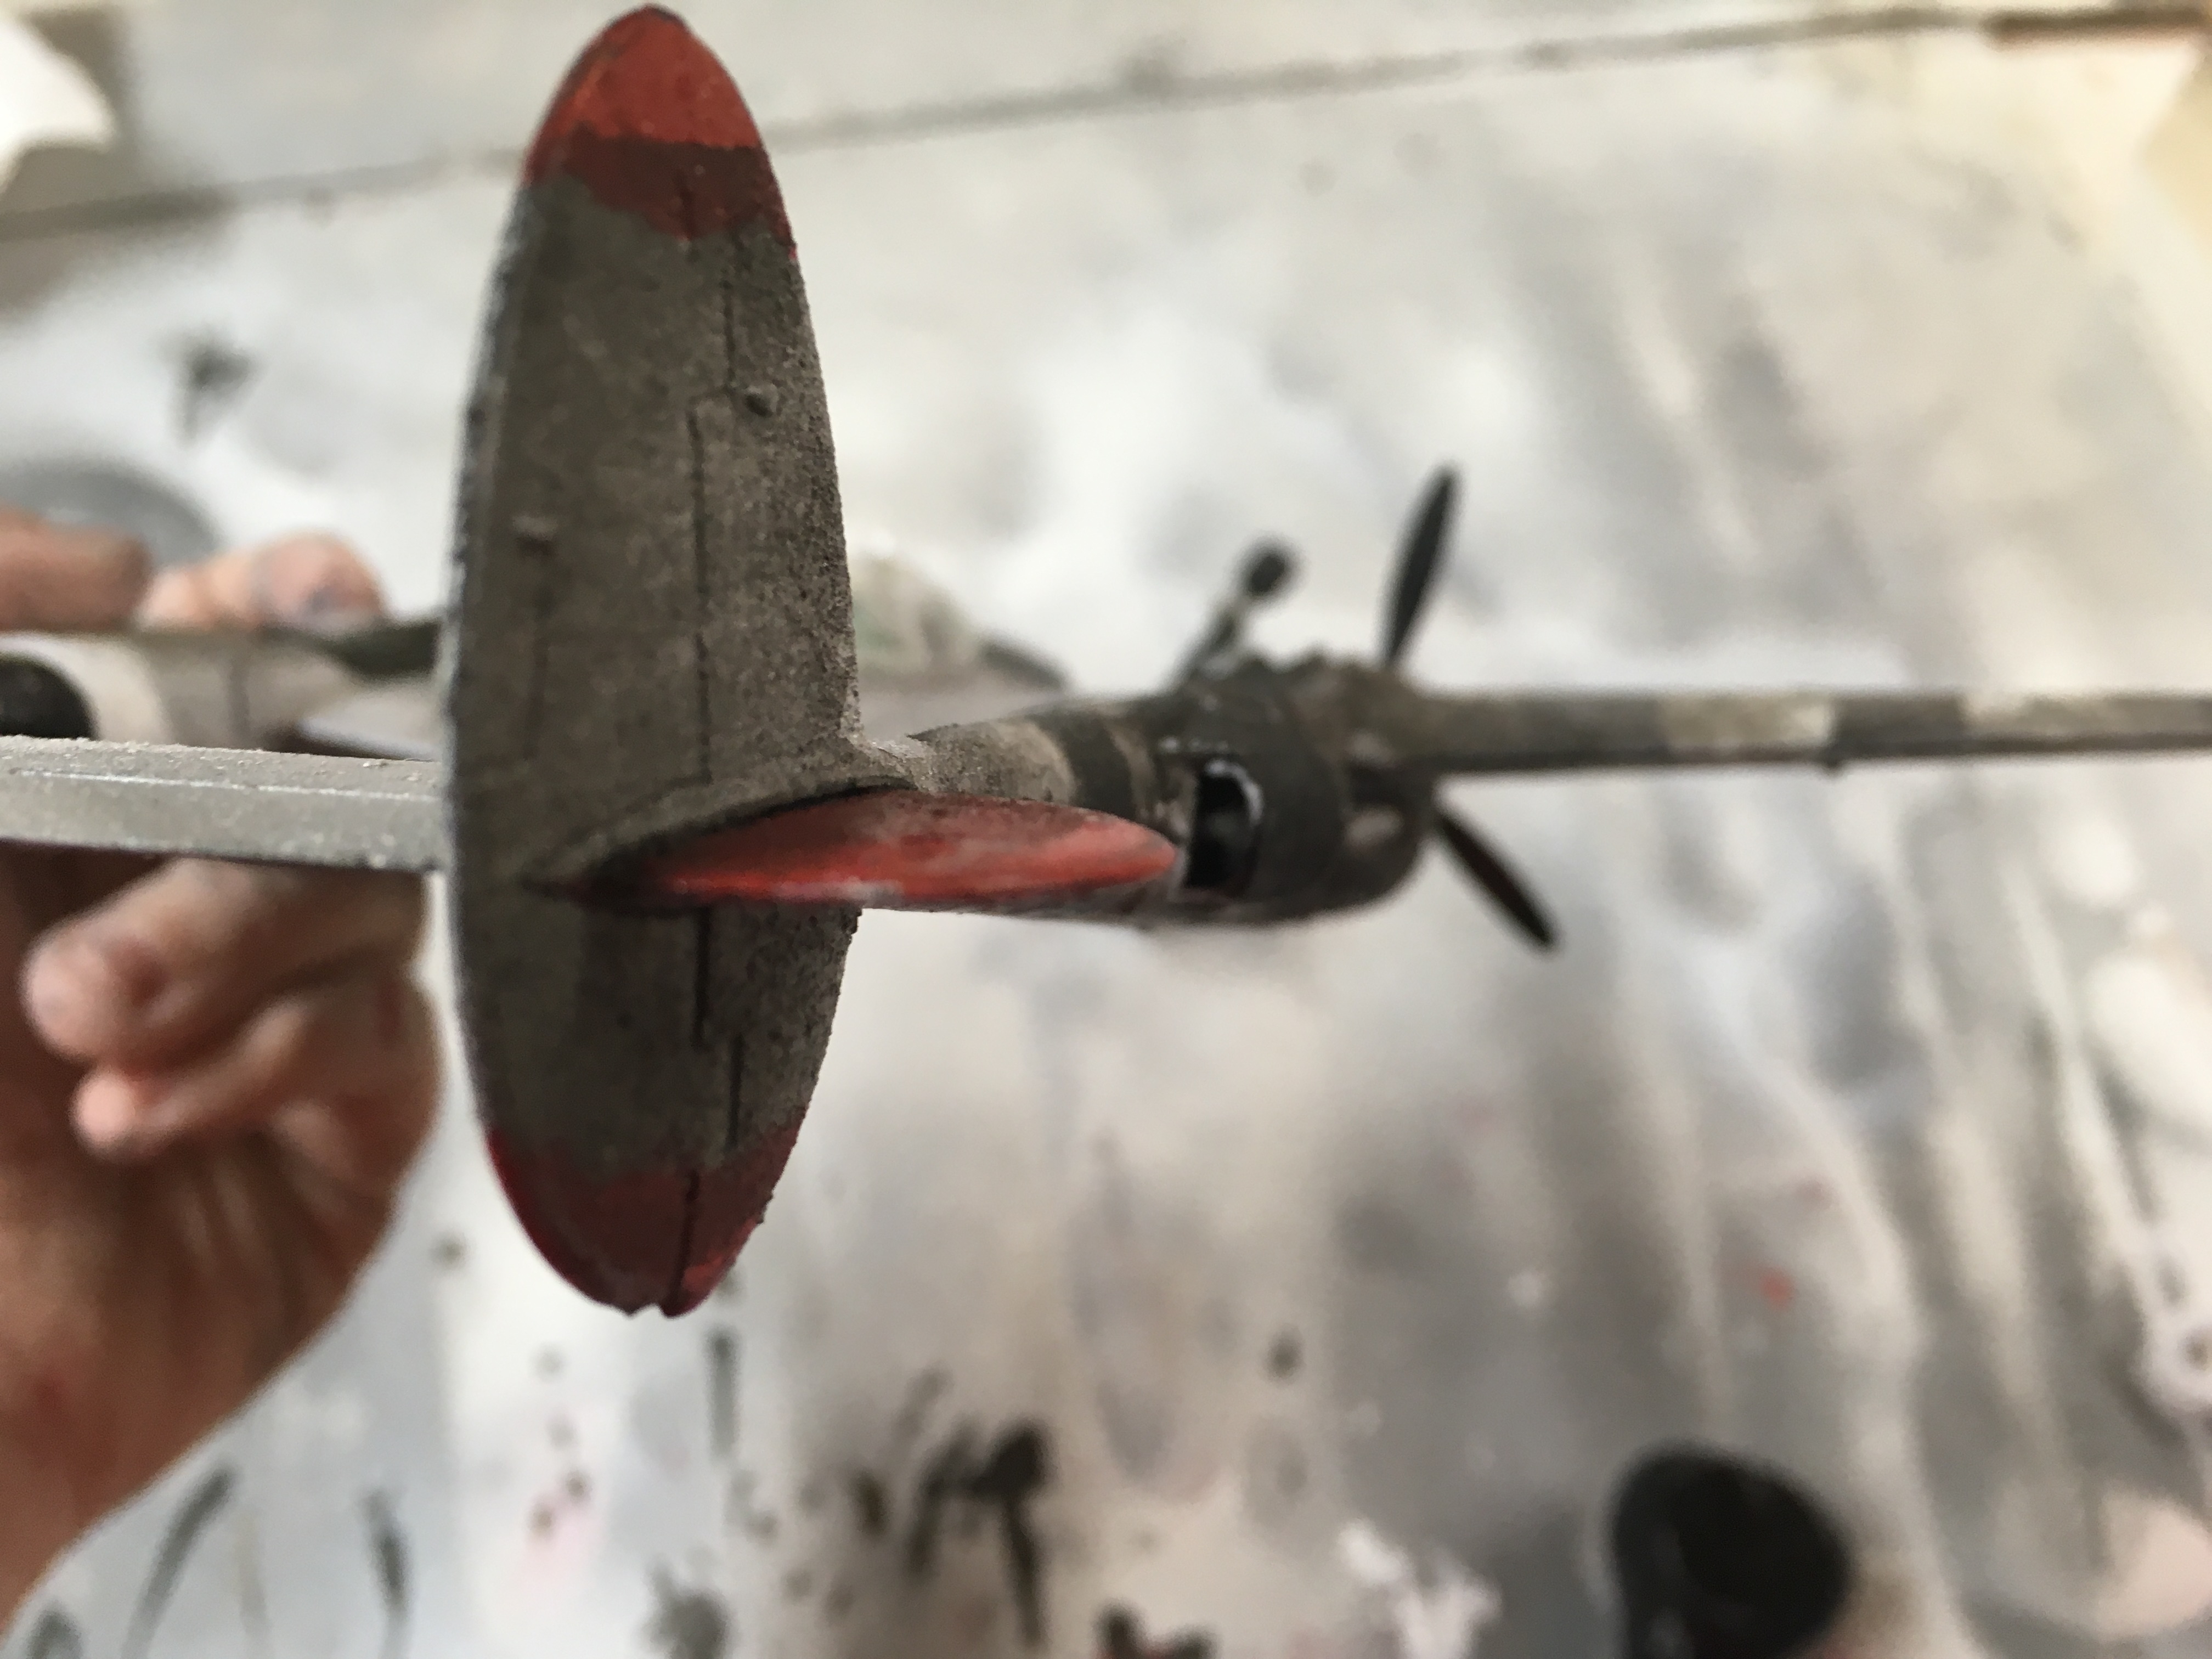
Step Five - Weathering:
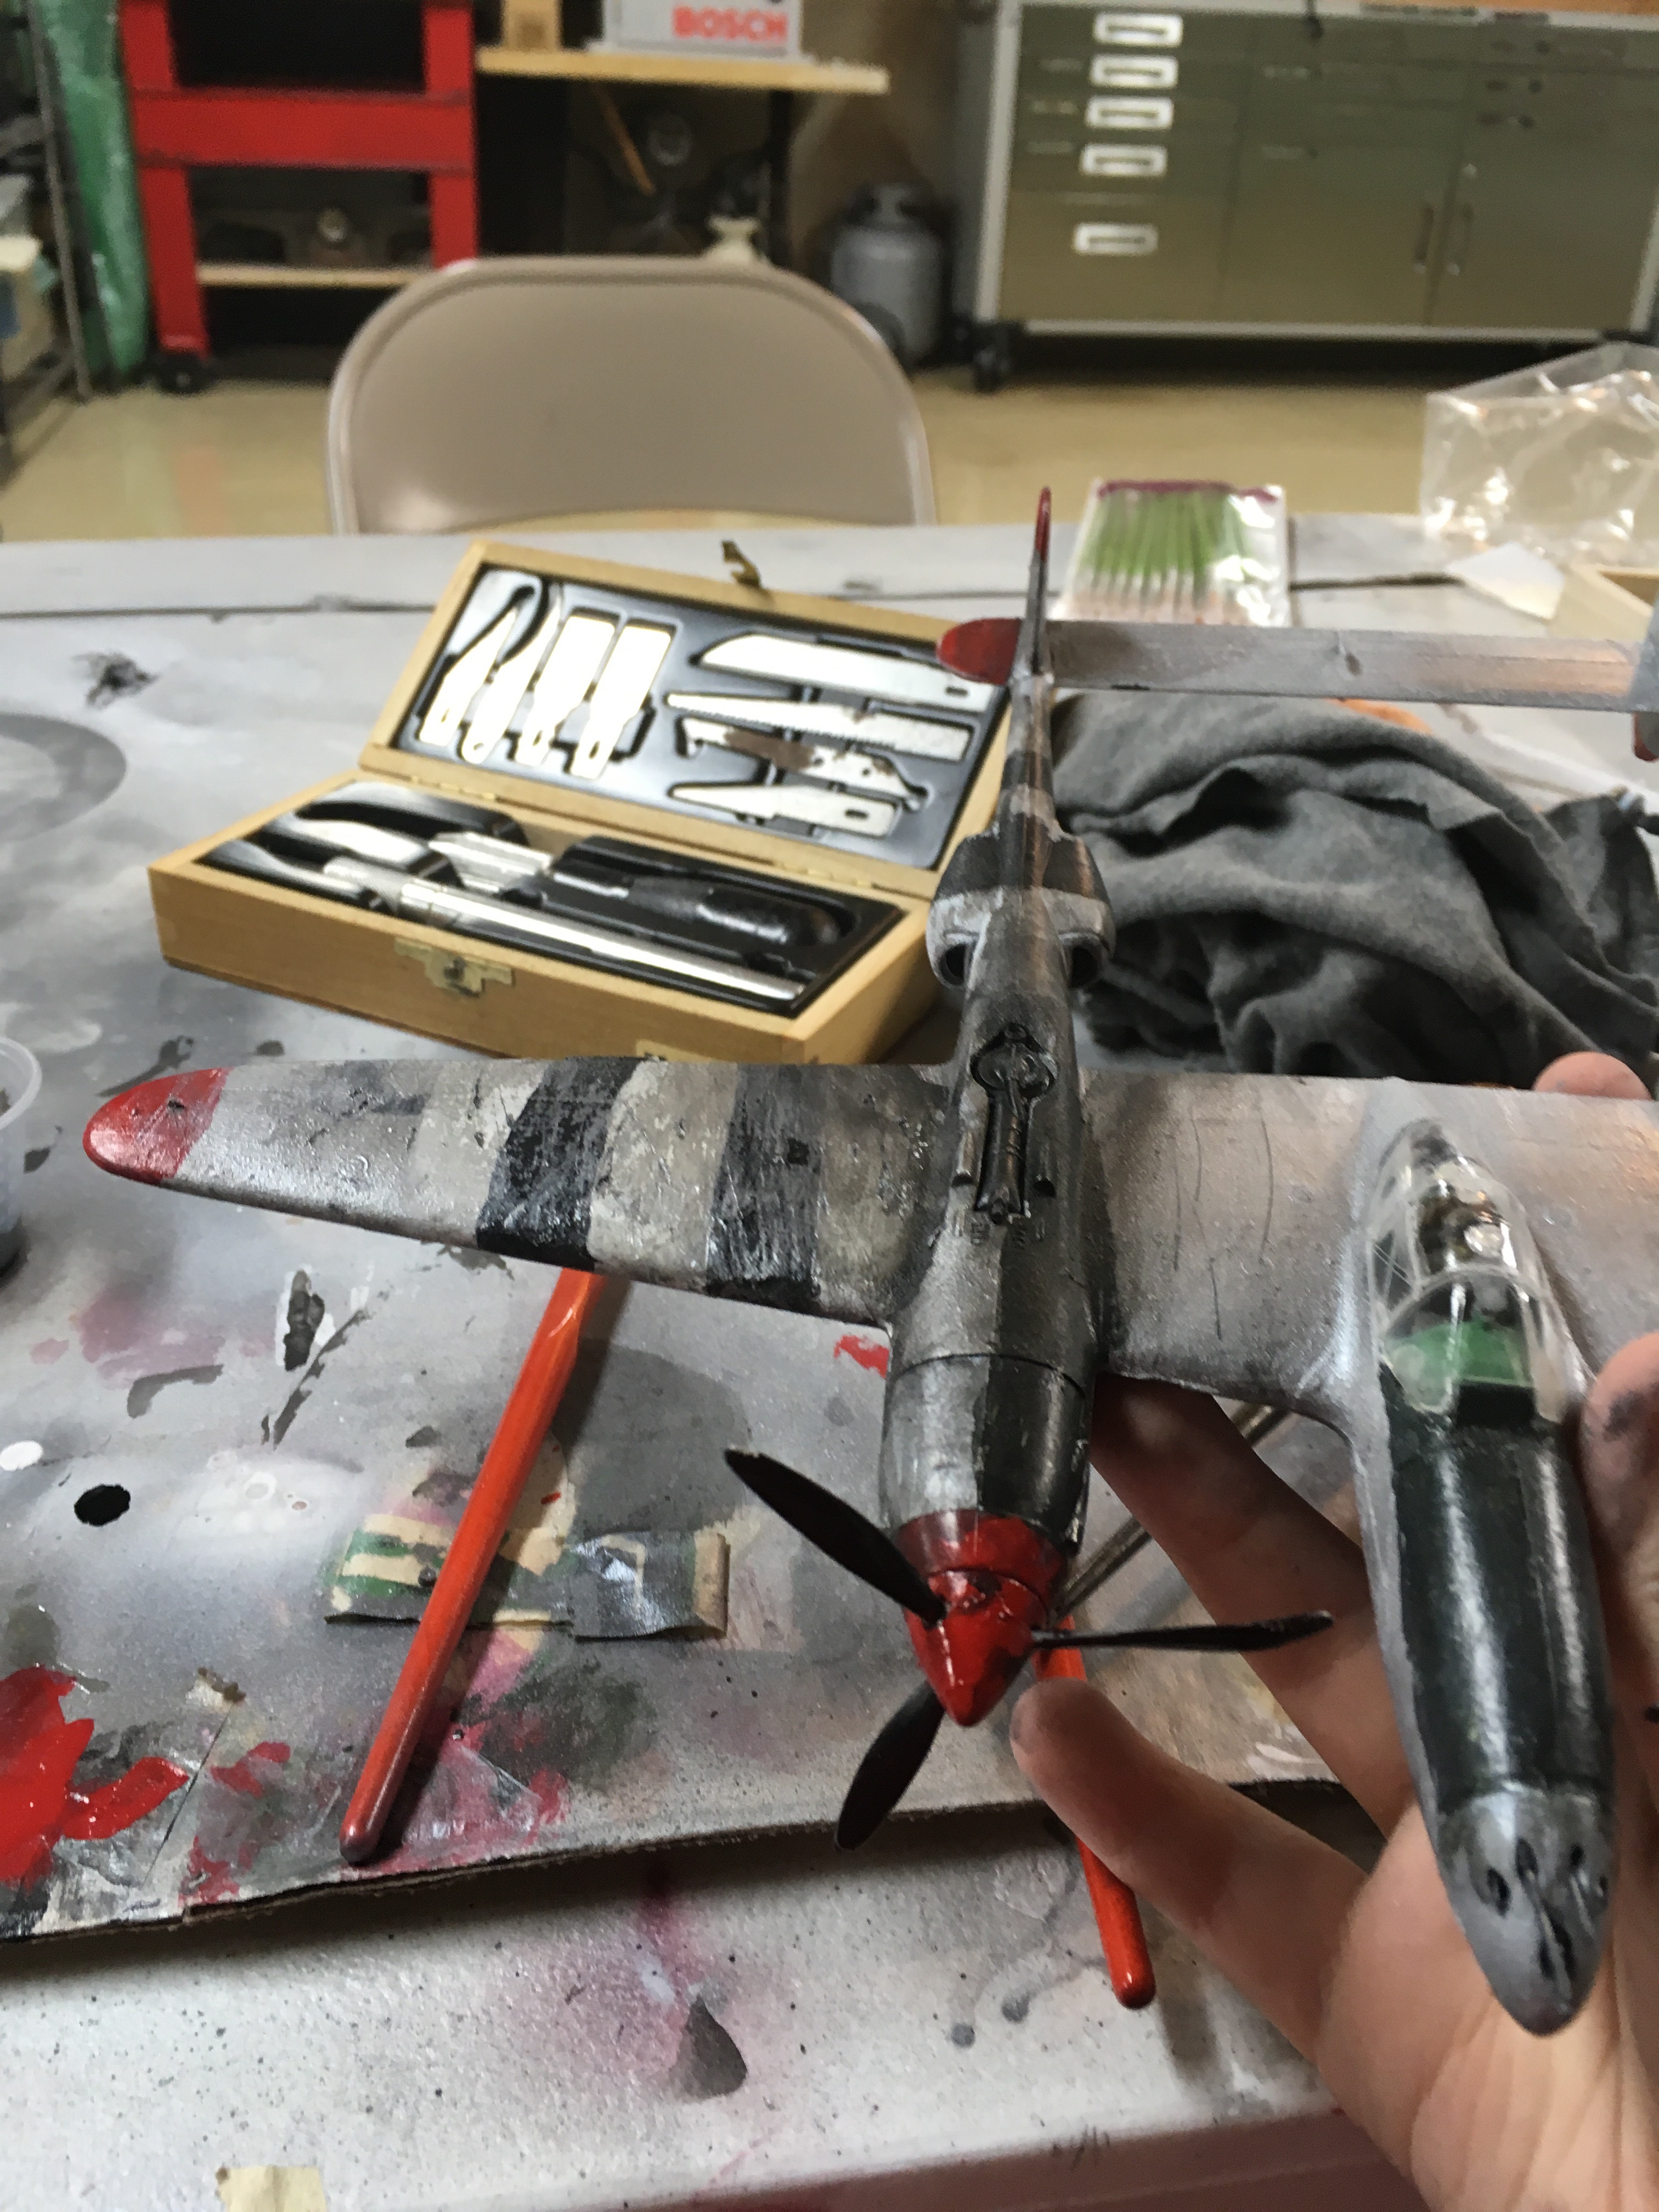
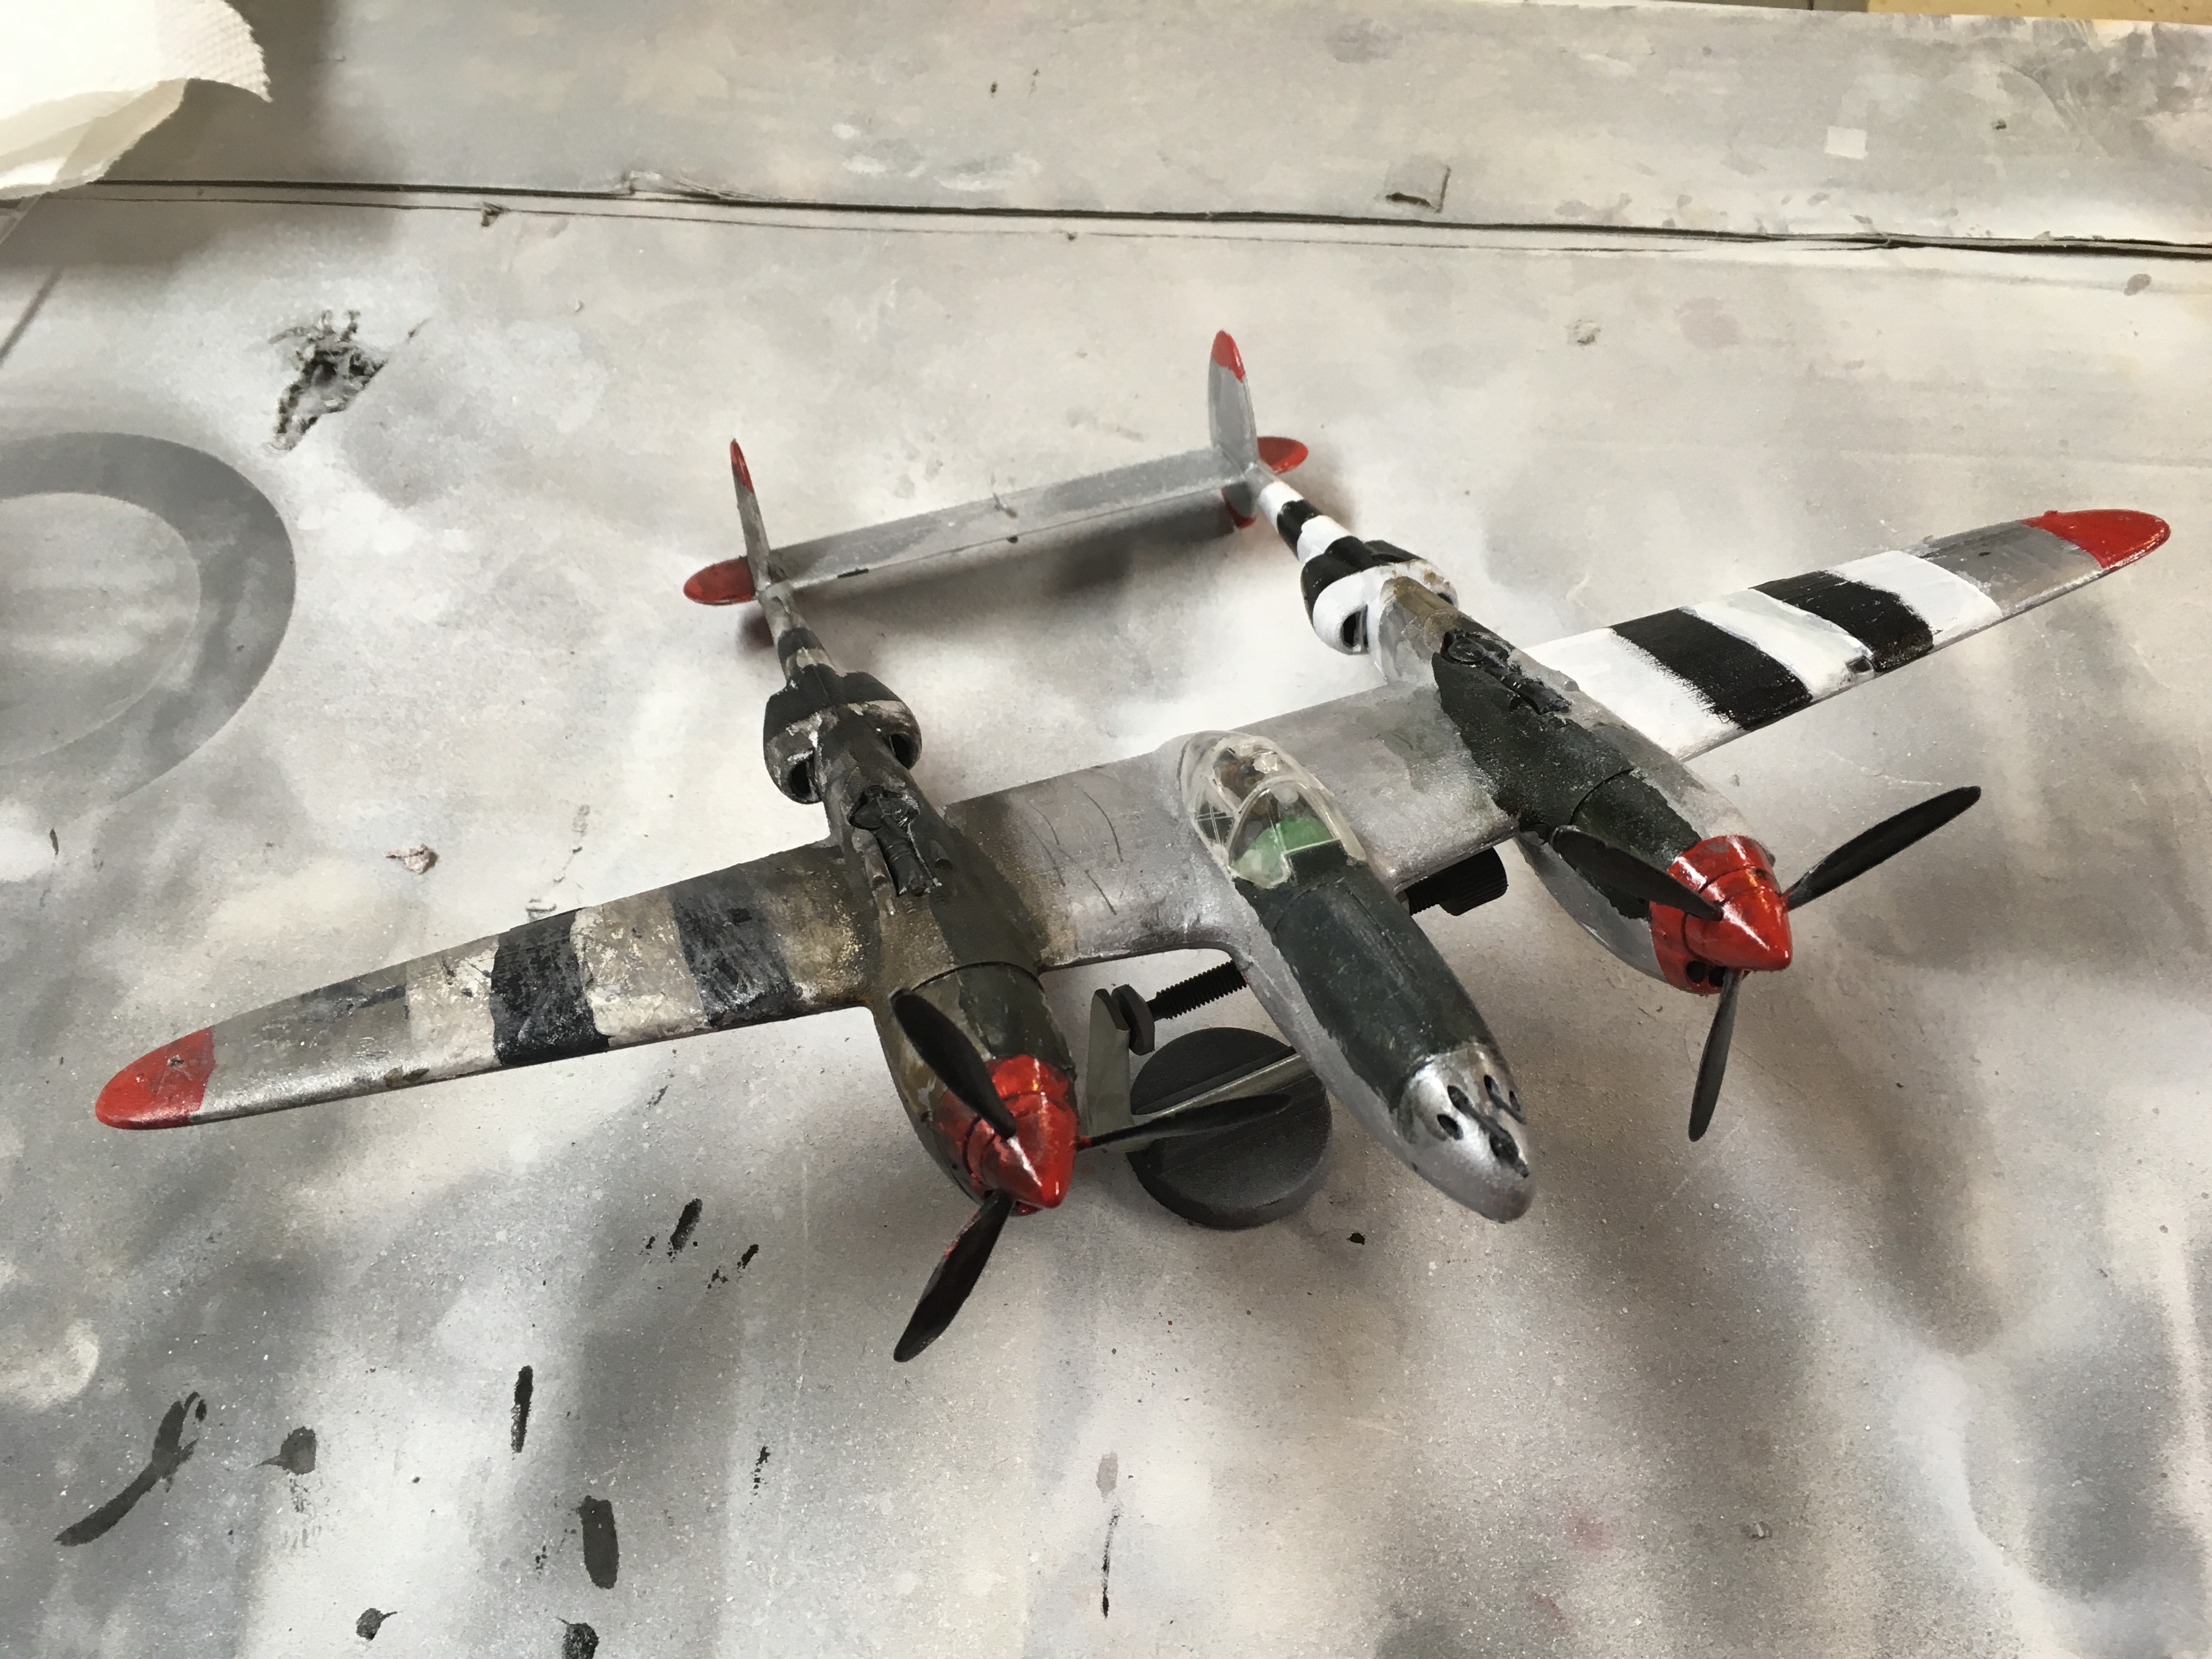
I noticed that most of the graininess was focused on the right wing, so I decided, in an attempt to help cover up the paint issues, to weather it like it had been shot in its right wing and the engine was blown. I started with a thin black wash for the general damage, I then dry brushed on some aluminum acrylic, then a thicker black wash for the heavier parts and crevices, then a brown medium viscosity wash to give it some depth.
Step Six - Final Thoughts:
This model has its share of problems, but I didn’t help with the paint issue. It is an alright P-38 kit, but there are better ones out there for sure. This kit had several fit and seam issues. I had fun doing the weathering and painting, but I would not make this kit again.