Sprukits Master Chief (Level 2) - Battle Worn Weathering
I saw this model kit several months ago and, being a longtime fan of the series, I knew I had to get it. I never got the chance until the holidays came around. I didn’t take any photos of the construction since it was all color plastic and didn’t involve any painting. If you want a review of the actual construction, here is a good article on it. I’m just going to go in depth about how I did the legs, since that is what I took the most pictures of, but I used all of the same techniques on the other pieces.
Step Zero - Taking note of the original colors:
The actual base colors of the plastic were very accurate to the game, so I decided not to paint it. I did, however, spray it with some lusterless clear-coat while still on the sprue since the plastic was fairly shiny.


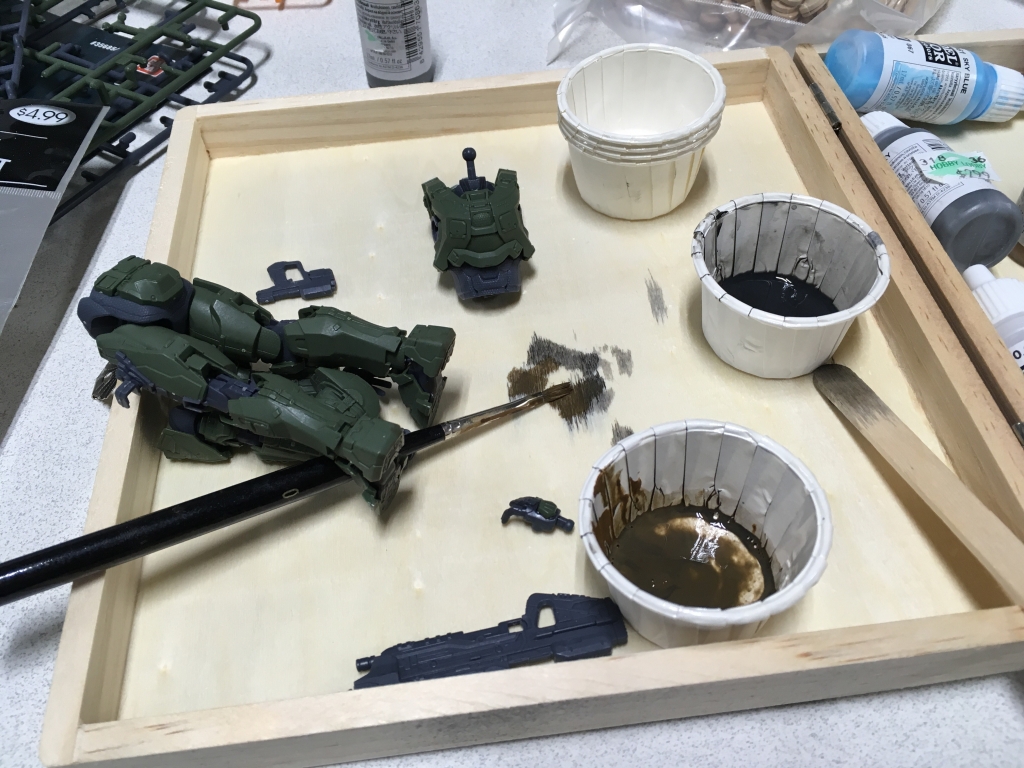
Step One - Putting mud on the boots:
I mixed some Vallejo “Flat Farth” with Vallejo “Black” and thinned it with some water. I brushed it on the bottom of the boots, let them sit for about 10 seconds, then wiped off the excess.

Step Two - Applying the grime:
I mixed some Vallejo “Black” with a touch of Vallejo “Gunmetal” and thinned it with some water. I did each section of the leg one at a time. I brushed it on, let them sit for about 3 seconds, then wiped off the excess. I repeated this process about 3-5 times. After this, I reapplied the mud, but covered more of the feet.


Step Three - Dry-brushing the scratches:
I took some Testors “Silver” metallic acrylic and dry brushed over the legs. I may have done a bit too much, but I liked the look it gave it. After this, I reapplied the mud again.


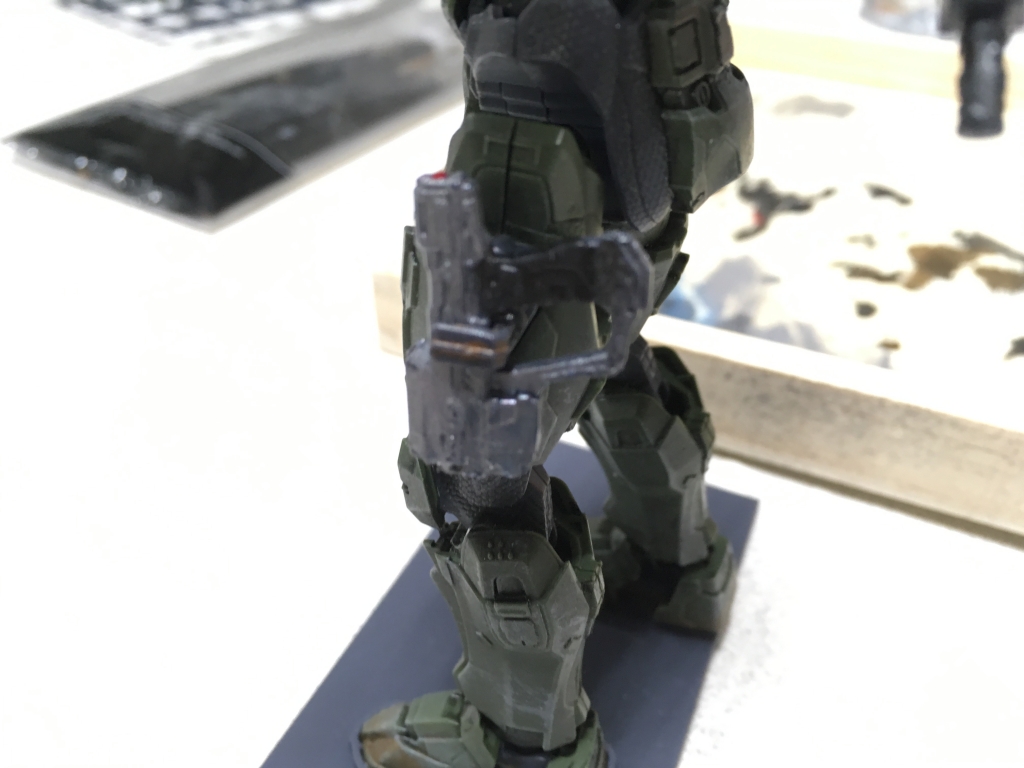
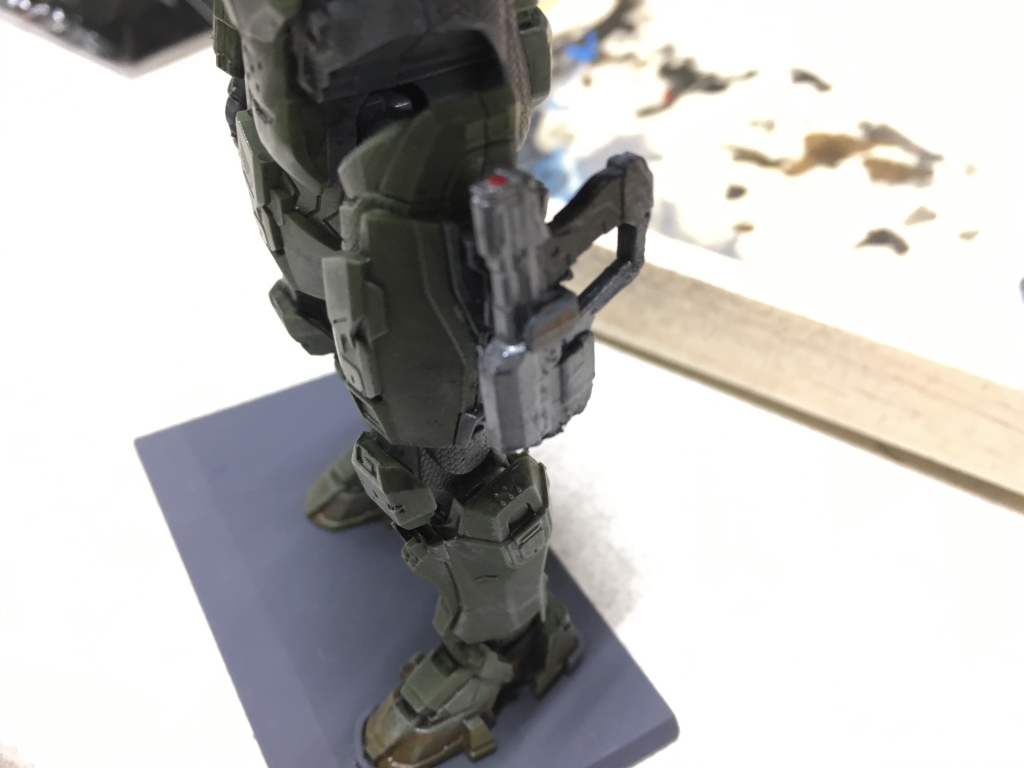
Step Four - Repeating the grime and scratches on the rest:
Not much to say here, I repeated the grime weathering and the scratches dry-brushing on the rest of the model kit.


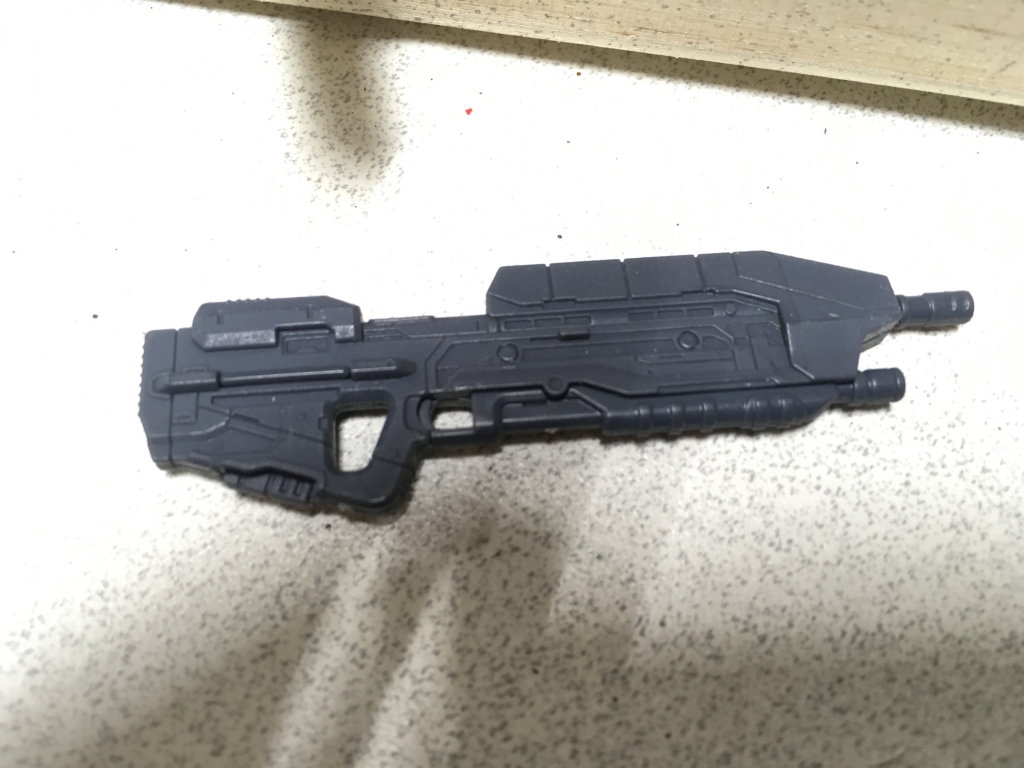
Step Five - Painting the guns:
I hand painted the guns and that took up a large chunk of the time getting the coloring right and all the little details, but I am satisfied with how they turned out. The lighter part of the assault rifle is Vallejo “Natural steel” darkened with some “Gunmetal”. The dark part is Gunmetal darkened with a little black. The Green is a Testors acrylic green that I forget the name of. The white is Testors Acrylic “White”. The Red on the pistol is Testors Acrylic “Gloss Red” and the silver is straight Testors Acrylic “Silver”.


Step Six - Final Thoughts:
I loved the way the model came together and it is still fairly posable. I do wish the pieces fit together a bit better, the ball joint that connects his torso and hips is particularly loose, but it isn’t that noticeable.


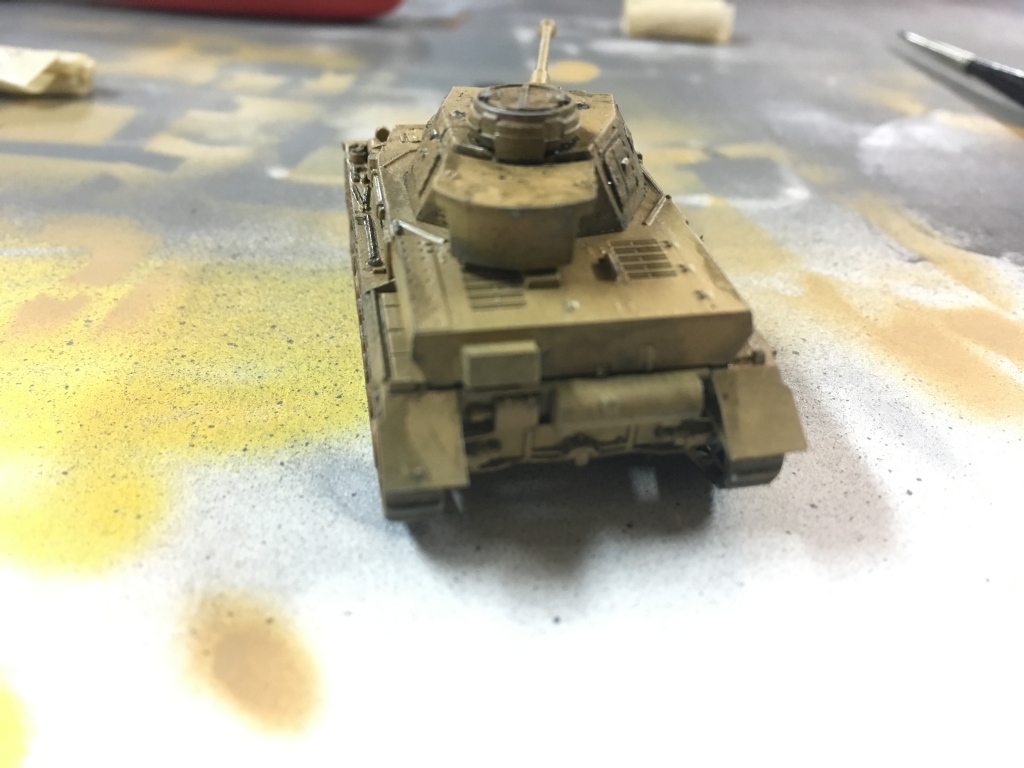
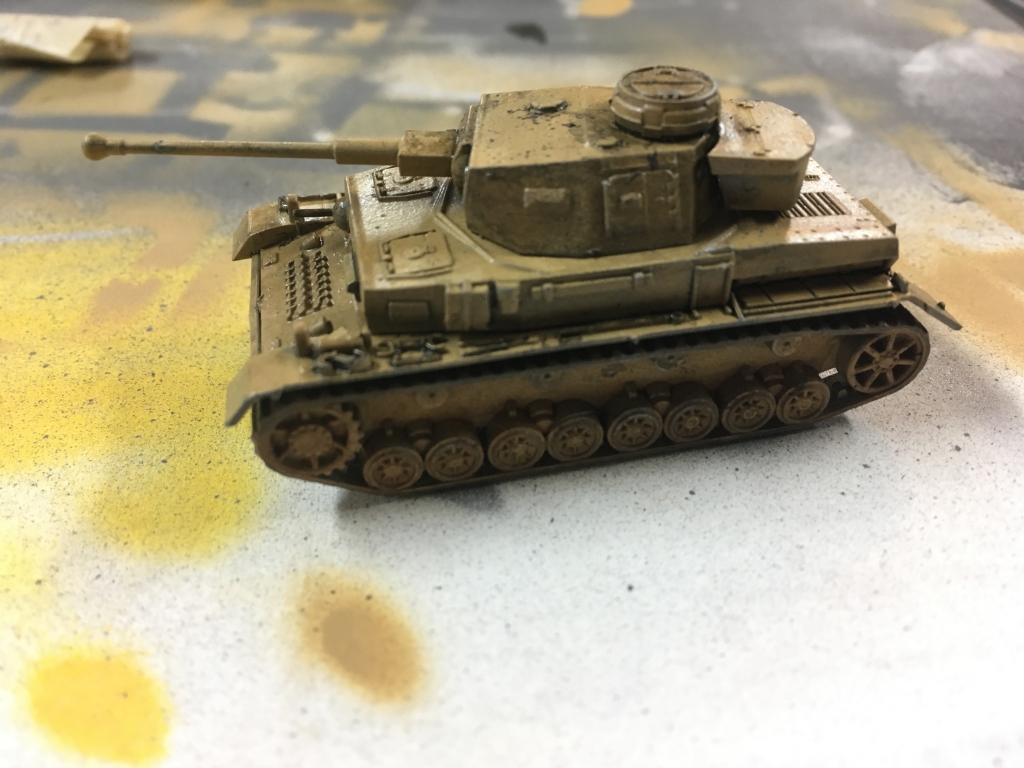
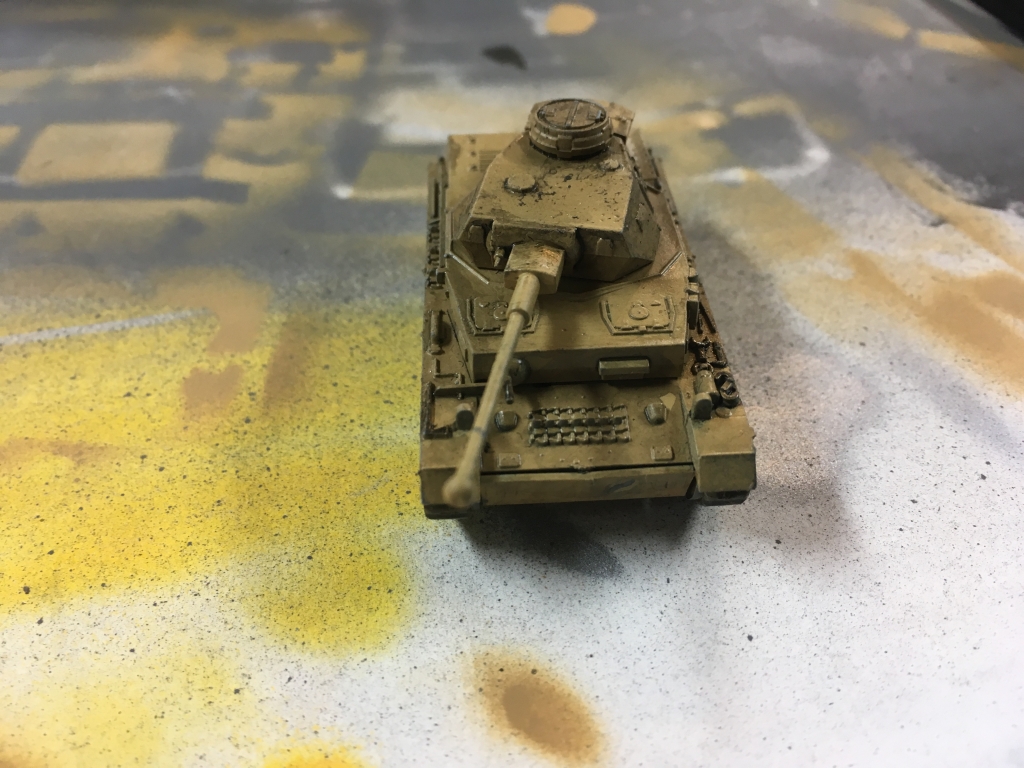
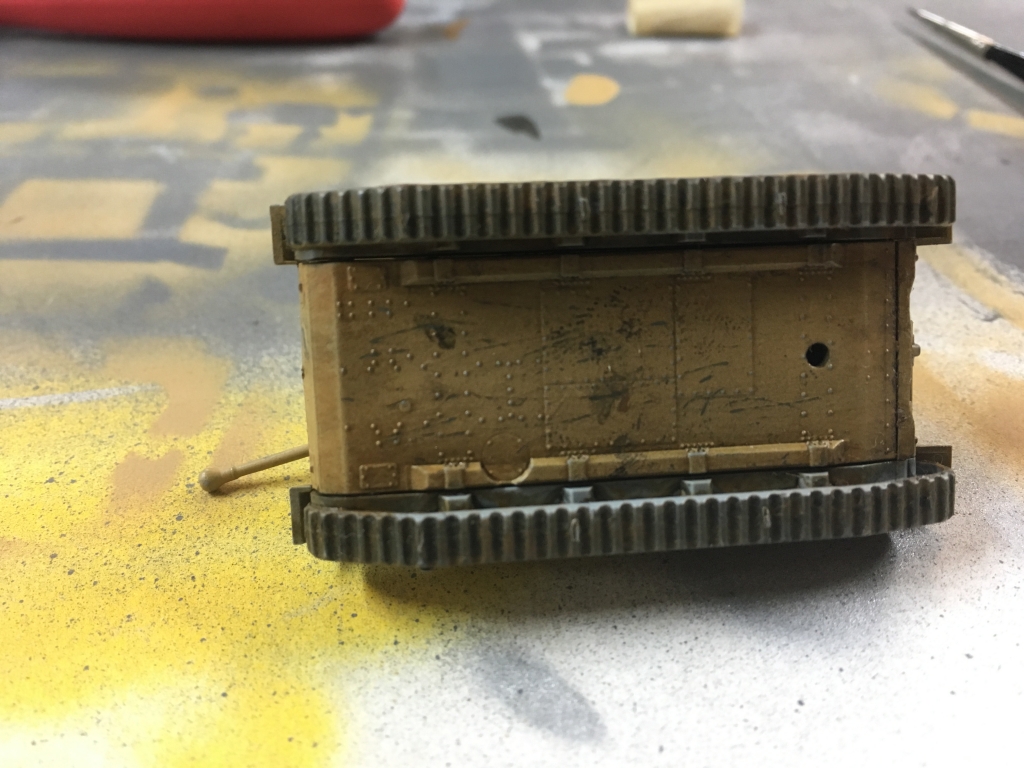
Bonus - Zvezda 1/100 Panzer IV Ausf.F2 I Painted and Weathered
I was a bit too heavy with the grime on the turret, but otherwise it was a nice tank to paint and build while I was waiting for my brother to finish his bi-plane.